


Are you ready to learn how to hang prepasted wallpaper? This DIY project will totally transform a room in your house! Wallpapering is a great way to give any space a fresh and unique look. If you’re new to the world of wallpaper, have no fear – in this blog post, we’ll give you all the tips and tricks for hanging pre-pasted wallpaper that will have you feeling like a pro in no time. And who knows? Maybe you’ll even be able to do what I did – use your newly-acquired skill to give a loved one’s home a makeover they’ll never forget.
What is prepasted wallpaper?
Prepasted wallpaper, also known as self-adhesive wallpaper or peel-and-stick wallpaper, is a type of wall covering that comes with an adhesive backing. This means that the wallpaper already has glue on its back, eliminating the need for additional paste or glue during installation. Water is what activates the glue. I find it easiest to use a wallpaper water tray as opposed to squirting the wall side of the paper with water. It is more convenient to soak it in the tub, because the water spreads evenly on the backside of the wallpaper.
Before we get to how to hang prepasted wallpaper, let me fill you in on the backstory…
My husband and I traveled to Italy for 10 days. It was the longest we have ever been away from the kids, so my parents (particularly, my mom) volunteered to watch the kids for us while we were gone. This was such a generous thing to do. To show my parents gratitude for their assistance, I offered to wallpaper my their dining room.
While in my hometown visiting a friend for her 40th birthday celebration, I was able to squeeze in just enough time to tackle the dining room wallpaper in my parent’s dining space.
Their dining space is really unique; when I was a kid, my dad used to travel a lot for work. We even lived in Japan for 6 years, and in that time, my parents were able to travel all over Asia. My mom took complete advantage of her special situation and shopped all of the countries for special decorative items. She was able to accumulate so many special treasures while overseas. These things are what make their home and interior decor so special.
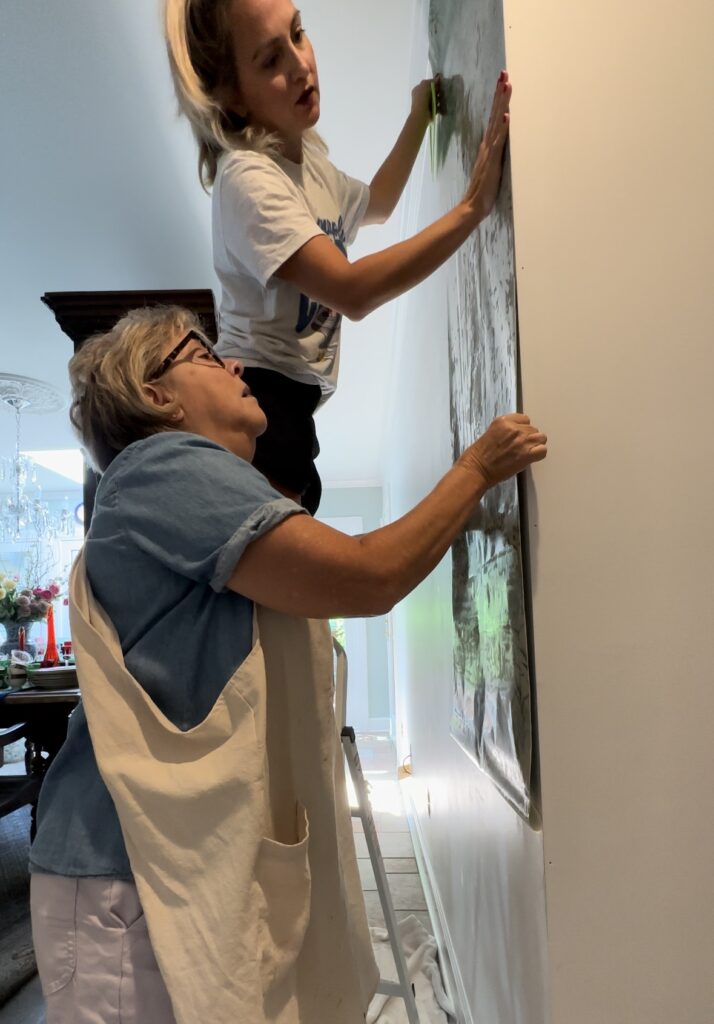
Anyways, here is how we wallpapered their dining room using prepasted wallpaper.
Supplies…
First things first, make sure you have all the supplies you’ll need. You will need fresh blades, a water tray, a ladder, a putty knife, a straight edge, apron, drop cloth and a level (I do like the convenience of a laser level). This is a supply list for this project, which also includes a link to the gorgeous wallpaper we used.
Trust me, having the right tools will make all the difference in the world.
Once you have everything you need, you can get started. Begin by measuring the walls you’ll be wallpapering, and cut your first piece of wallpaper into a strip that is a bit longer than the height of the wall – I like to add a 4-inch buffer to each strip. You can cut a couple strips at a time if you’d like, for the purpose of time, but I don’t like to get too far ahead of myself. Working with one to two strips at each given point seems to work well for me. Since we were just doing an accent wall with few obstructions (just a couple electrical outlets)we started on the right side and worked out way left. Depending on your space, you may want to begin at a different point.
Once you’ve picked a starting point, fill the tray with water and let it sit for a few moments while you prep the first strip of wallpaper.
The Water Tray – A prepasted wallpaper game changer!

Dip the rolled strip into the water tray, making sure to completely coat it with water. Then fold the ends together for five minutes, this is referred to as “booking.” This is what will activate the wallpaper’s adhesive. Remove the strip from the water tray, gently unfold it, and position it on the wall. Use the straight edge to make sure it’s smooth and also keep a close watch that the paper is level. This is especially important on the first piece installed.
This video is quite helpful in regards to this process.

Once your first strip is hung, it’s time to move on to the next one. Repeat the same process, matching up the patterns as you go along. Use your fresh blades to trim the excess wallpaper from the top and bottom of each strip.
BIG TIP: be sure to change the blade out every 4-5 cuts, as they dull out quickly. A dull blade will rip through wallpaper and it can become very frustrating. Do not skimp on this.
Wallpapering can seem like a daunting task, but with some patience and the right tools, it’s totally doable. And the end result is so worth it – a gorgeous room that feels brand new and fresh. My hope is that you feel ready to tackle your own wallpapering project after reading this post!
Here is another wallpaper project I worked on if you want to see another beautiful, bold print choice…

Disclaimer: This post contains affiliate links. This means, if you purchase something from a link I provided, I will receive a small commission. This is at no extra cost to you! Thank you for your support!


