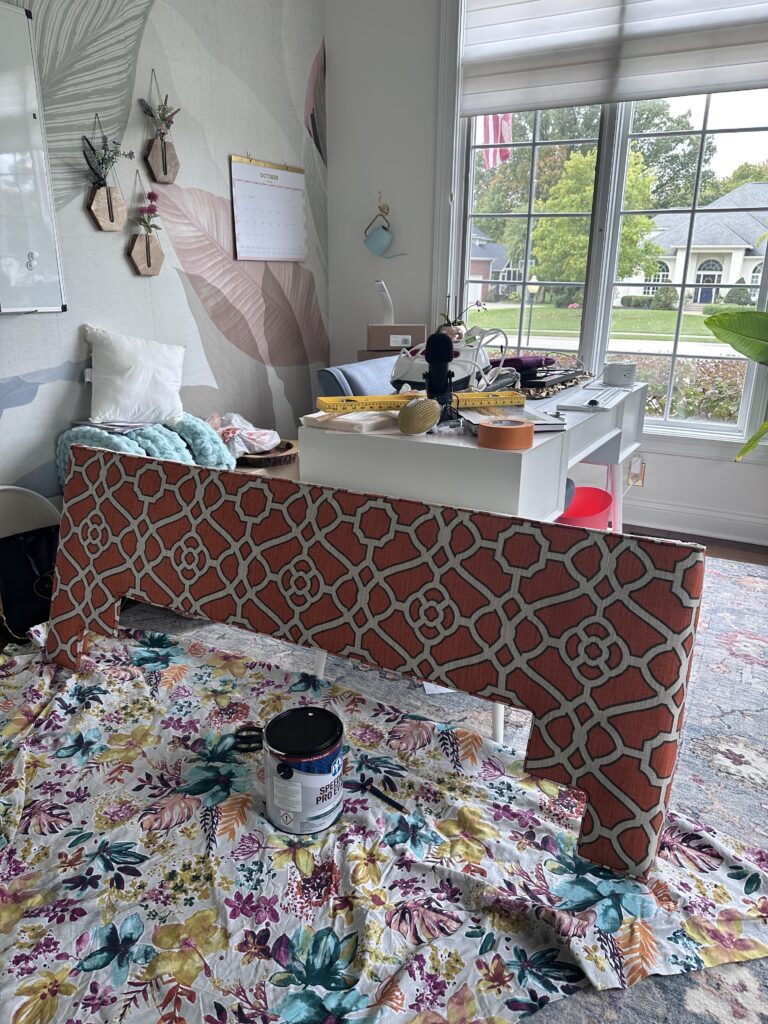
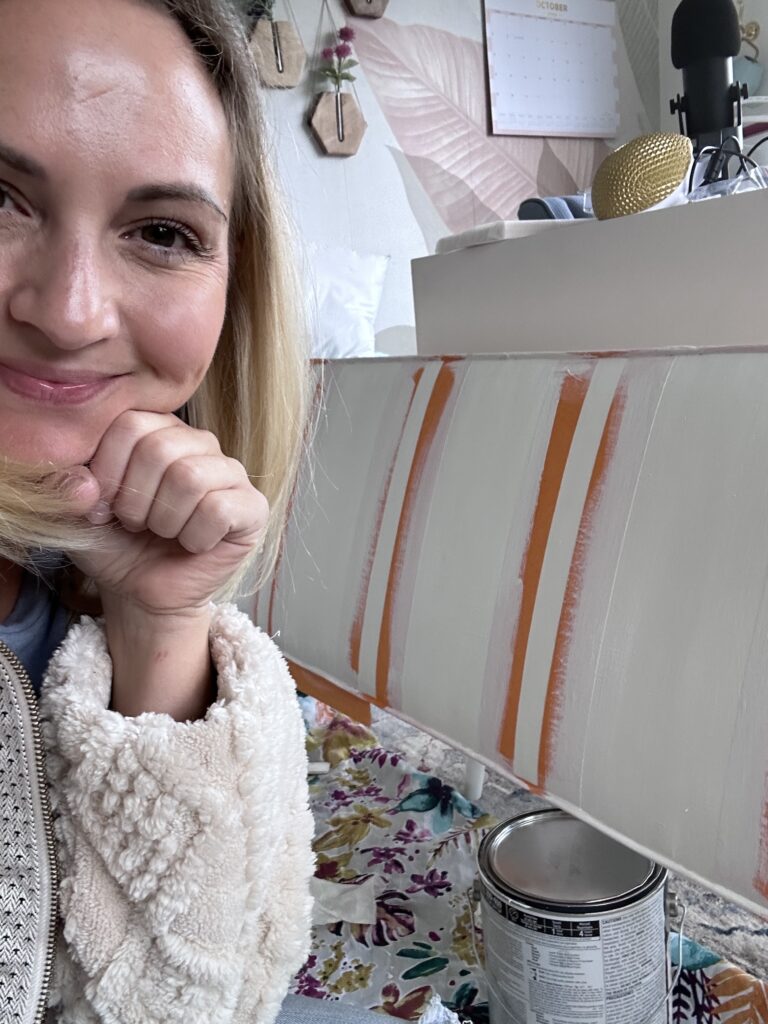
Have you ever had a decor item that just didn’t match your aesthetic anymore? That’s what happened with my bright orange printed upholstered cornice in my home office. But instead of tossing it out and spending a lot of money on a new one (or having the new one professionally recovered), I decided to get creative and try my hand at painting over it. In this blog post, I’ll walk you through the process of how to paint upholstery. I still cannot get over how easy this process was and how awesome it turned out!
I had to cover the bright orange print
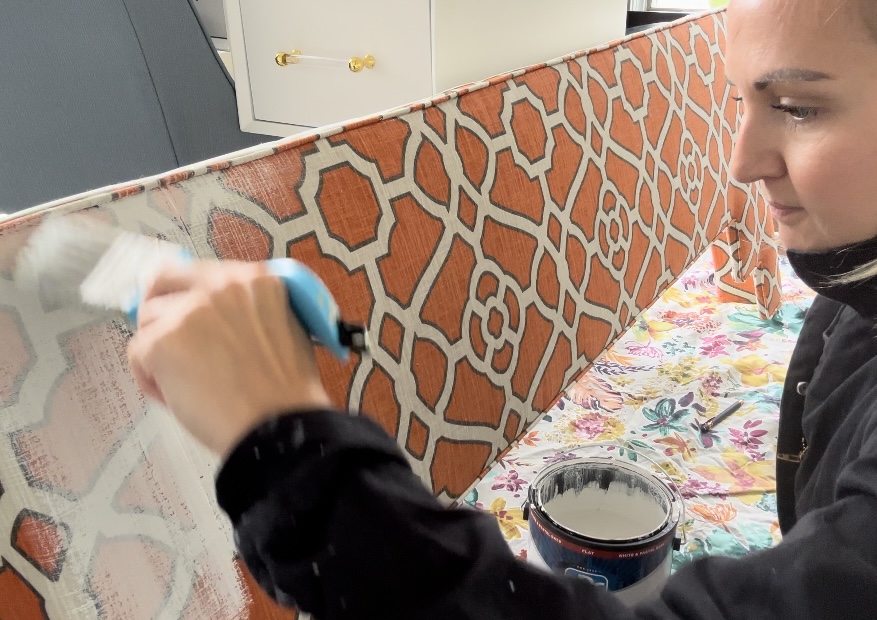
First things first… I knew that I needed to prime the cornice to cover up the original orange print. I used three coats of primer, making sure to spray the fabric with water to help it absorb smoothly. After letting it dry between each coat, I was ready to apply my base color – Alabaster. I used two coats of this creamy white paint and let it dry overnight. Honestly, it was already looking a million times better than where I had started just that morning.
Taping off the design
The next day, I taped off the cornice in six-inch sections to add thick green strips, using the same can of paint I previously used on my office’s built-in bookshelves for a perfect color match. I was excited to add this green paint because it has a high sheen, whereas the white color is a matte sheen — The contrast between the two colors and finishes intrigued me.
A quick tip when wanting crisp paint lines…
One important tip for adding patterns using painters tape is to outline the edges of the tape in the base white color before adding the green paint. Doing so ensures that the green paint won’t bleed and will present nice, crisp paint lines after removing the painters tape.
After letting the green paint dry, I peeled off the painters tape and revealed my white and green striped cornice masterpiece. But something was still missing – it needed a little bling. I grabbed an old jar of gold paint and added a thin outline around the entire trim. This small touch really made the cornice pop with the rest of the gold/brass accents I have going on in the office.

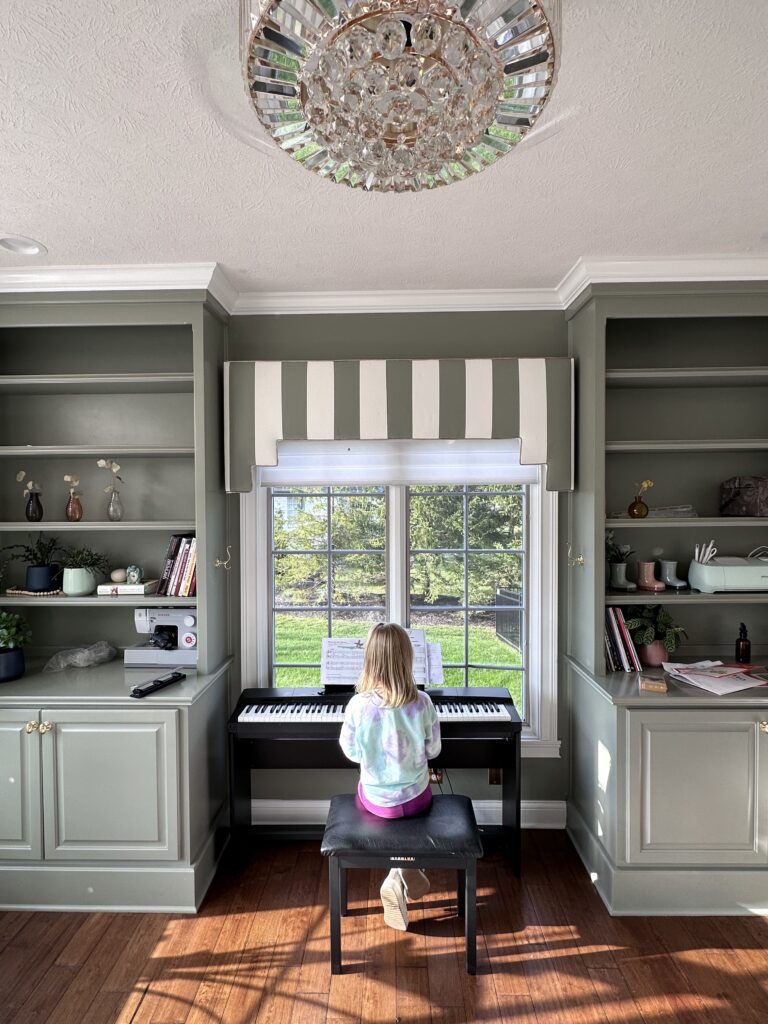
After the gold paint had dried, I could finally see the completed masterpiece. I honestly couldn’t believe the transformation of the valence; it looked brand new. It now matches perfectly with my updated color scheme and is quite the show-stopper in my office.
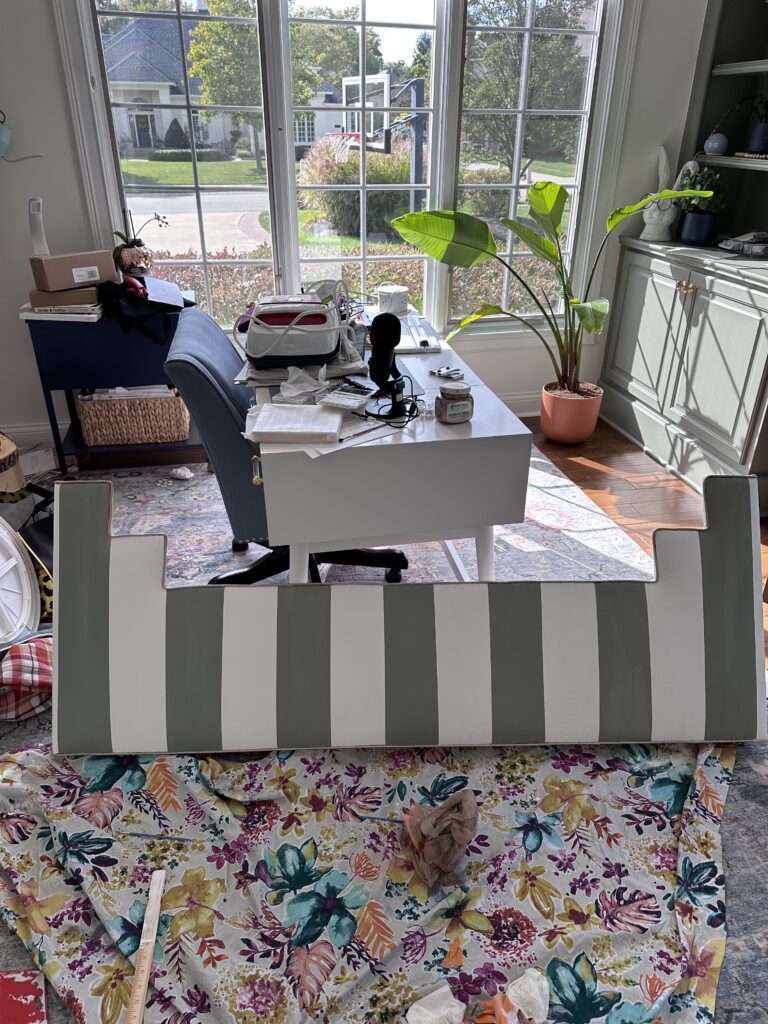
If you’re looking for an easy and budget-friendly way to update the look of your home décor, I highly recommend trying to paint an old window cornice. With just a bit of patience and creativity, you can breathe new life into an old and outdated piece. I hope this post has inspired you to try this simple DIY how that you know how to repurpose an upholstered piece with paint. Now that you know how to paint upholstery, do you think you will try it?
How pretty does this look?? PS, the paint colors I used were Sherwin Williams’ Alabaster and Evergreen Fog. If you want to see a video on this, please checkout what I have on Instagram here. And if you want to see other creative DIY projects I have tackled, please click here 🙂