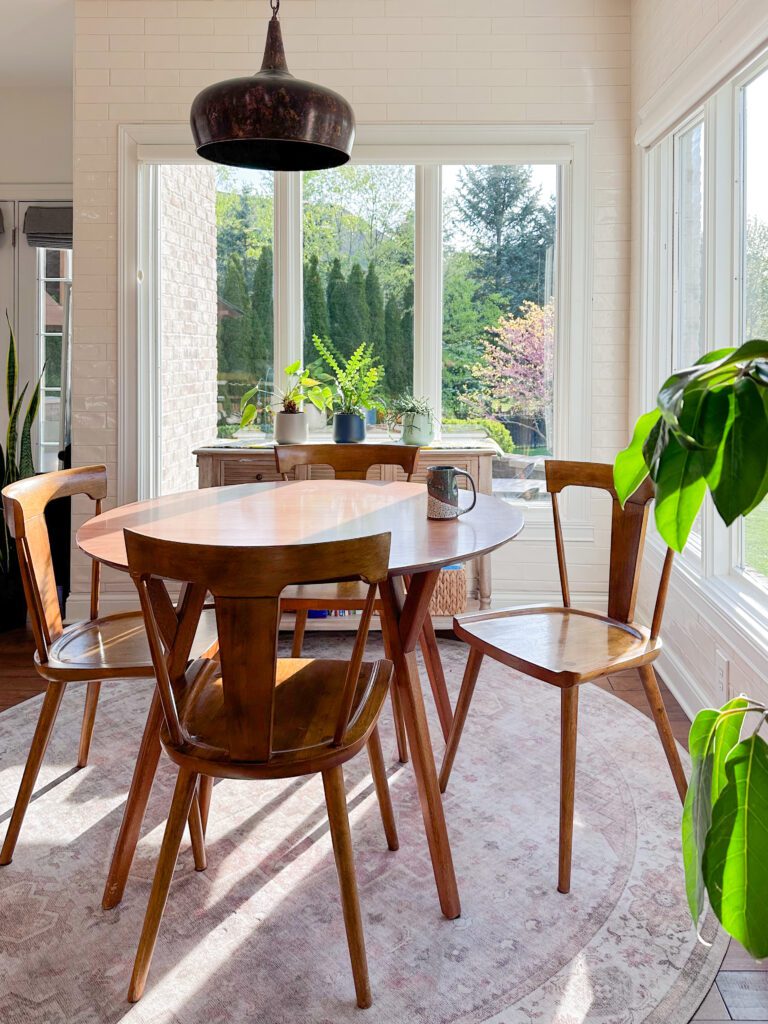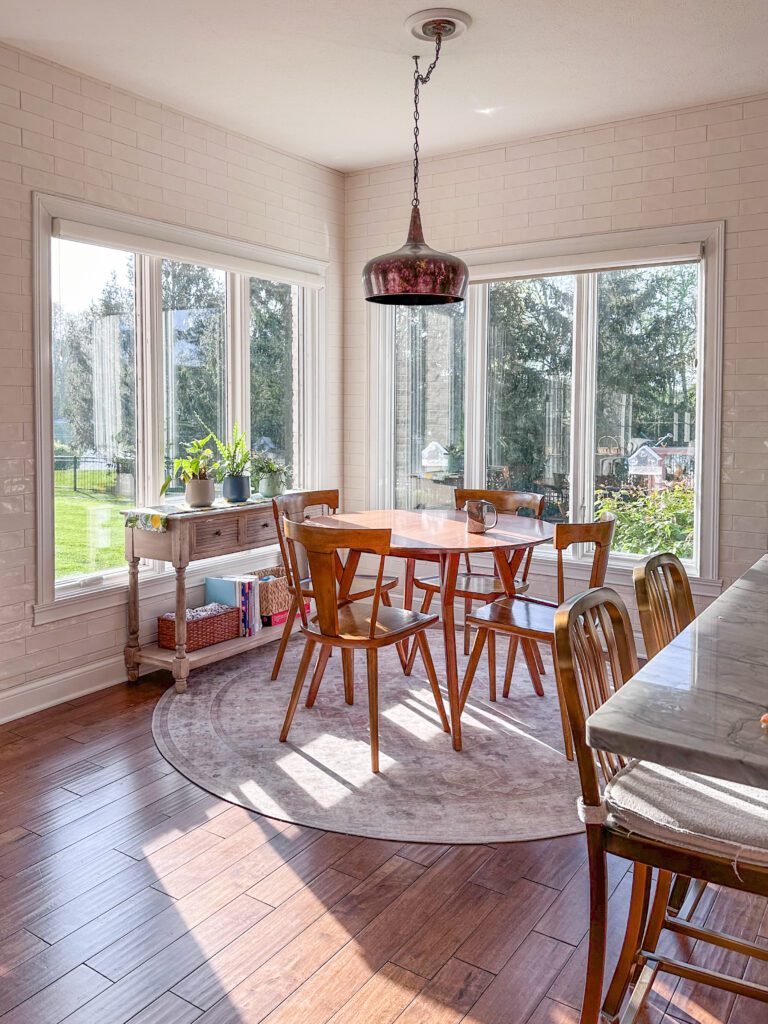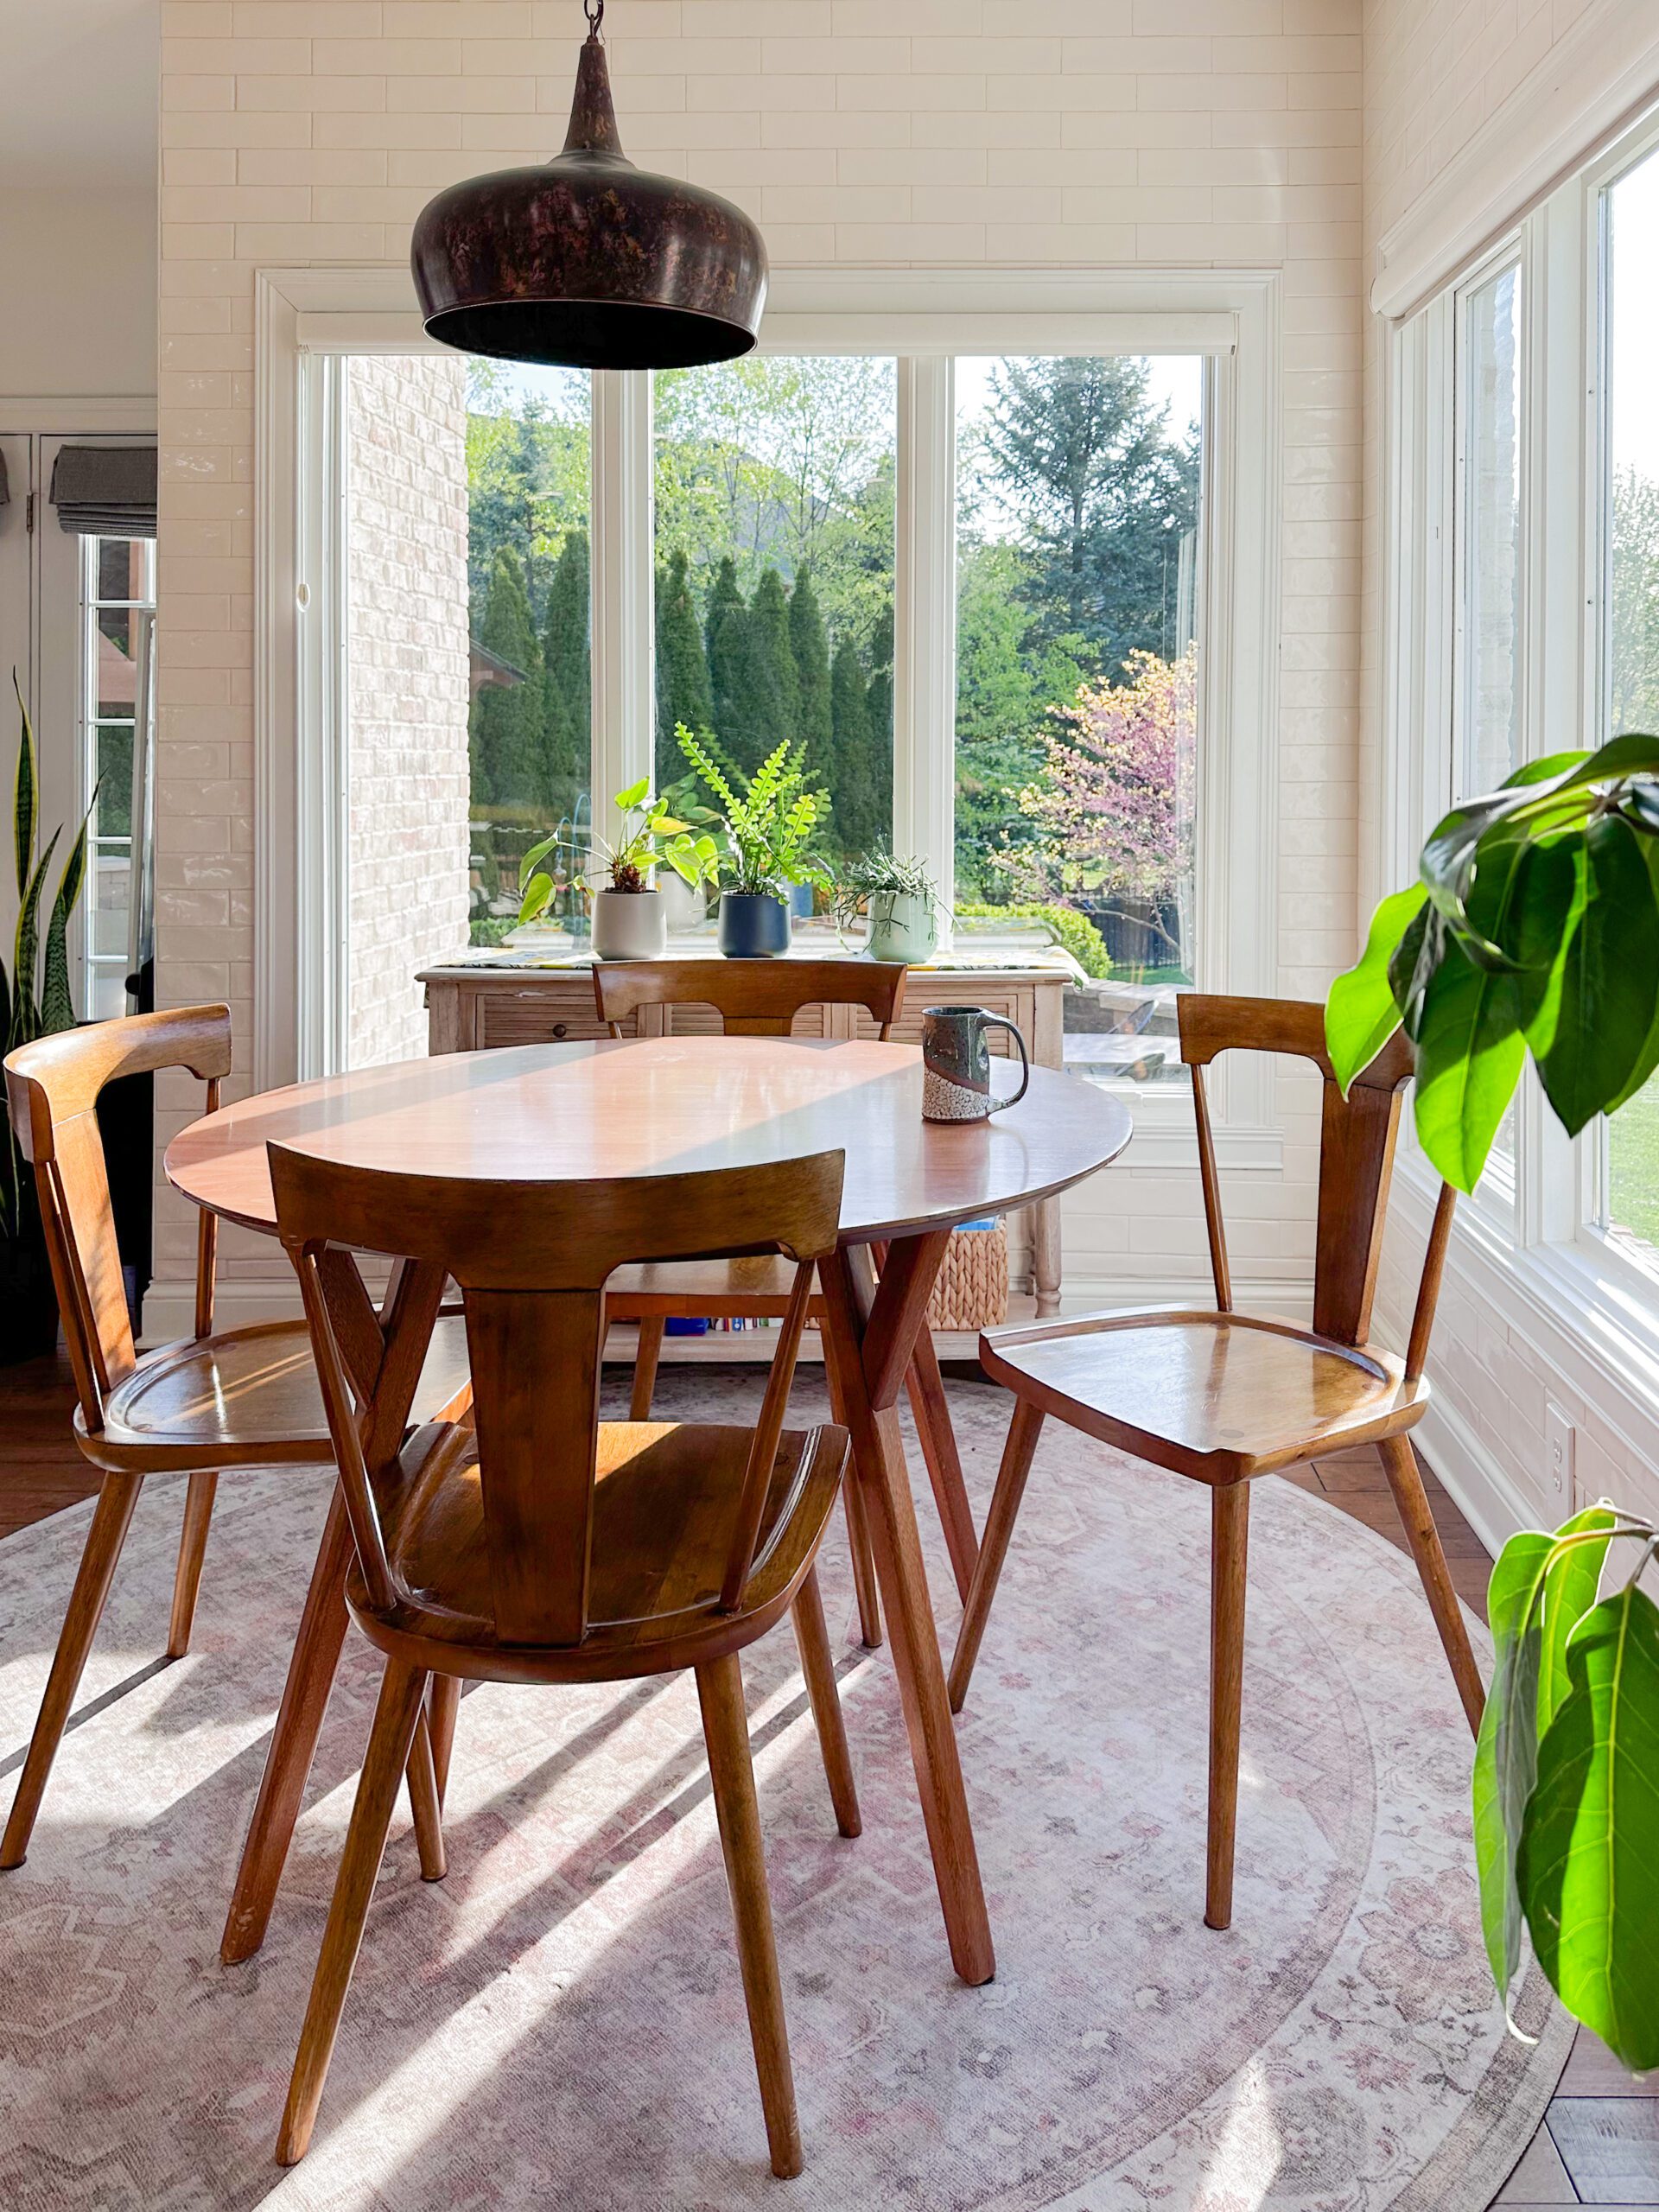
Three years ago, I embarked on a DIY project to install a backsplash in our kitchen. I chose a classic subway tile, installing it up to the cabinets. The transition from the elegant tile to regular, painted drywall seemed fine at the time, but over the years, I felt there was something missing. The abrupt cut-off between the backsplash and the painted wall left the space feeling somewhat incomplete. This eventually became a DIY backsplash turned into a completely tiled wall.
One day, I was staring at the wall feeling like it looked unfinished. After brainstorming with my mom and a friend, I decided to extend the backsplash throughout the rest of the wall. The vision was to carry the tile seamlessly from the kitchen into our casual dining space, creating a cohesive and visually appealing look.
Tile Selection
I picked out this tile three years ago and am so grateful that it is neutral and classic in design. Here is a similar tile to the one I went with. What I love about the tile I used is that it is one of the more budget friendly ones. I like that it has organic edges and a slightly textured surface as well. It definitely adds some texture to the entire space.
Installation
The installation process was straightforward, albeit time-consuming. By carefully measuring and planning, I ensured that the new tiles aligned perfectly with the old ones, maintaining a consistent pattern and grout line. The result is nothing short of fantastic. The continuous backsplash now brings a sense of unity and sophistication to both the kitchen and dining areas, making the entire space feel more polished and put-together.
If you’re considering a taking your backsplash and extending it to an entirely tiled wall, I highly recommend it. The transformation has made a significant difference in the overall aesthetic of our home. Plus, the sense of accomplishment from completing another DIY project is incredibly rewarding.
To see a three minute video of this process from start to finish, click here. Otherwise, please take a look at some of my other DIY projects here.
Thanks for stopping by! -Jessi @thegoodwrench

