

Are you ready to give your room a makeover it truly deserves? Today, I will be telling you how I installed Tongue & Groove PVC Wainscoting wainscoting in my powder room (quick video of install day). With a few tools and some good music playing, you’ll turn that little space into a stylish space that’s resistant to the humidity and splashes of daily life (AKA: kids and their messes). Grab your tool belt, it’s time to install some tongue and groove white PVC wainscoting panels! Trust me; it’s like adding water resistant superhero armor to your walls, but much prettier!
Why PVC Wainscoting is a Game-Changer
“Bathroom Armor” That’s Got You Covered

We all know what happens in powder rooms; a little splash here, a spill there – especially when the kids use this bathroom before heading off to school. The usual paint-and-drywall combo is no match for water—enter PVC wainscoting. It’s like your walls suddenly got their very own waterproof armor. Not to mention, it’s a breeze to clean and totally paintable. Want a splash of color? DO IT! It is just paint, after all.
DIY-Friendly (Even if You’re All Thumbs)
Tools might not be your best friends, but with PVC wainscoting, even the self-proclaimed ‘non-handy’ folks can look pro. We’re talking about a straightforward process that’s gonna make you want to wainscot every wall in your home.
Supply List & Tools:
- Laser Level (I love these, but you are welcome to use a regular level if you already have one)
- Brad Nailer (I use this one)
- Brad Nails ( used 3/4 inch brad nails for this project)
- PVC Tongue & Groove Wainscotting Panels
- PVC Base & Chair Rail Trim Kit
- My favorite Paint brushes
- Caulk & Caulk Gun
- Jig Saw (for more intricate cuts around outlets, etc)
- Circular Saw or Miter Saw for cutting to desired height (I bought 96 inch planks and cut them to 48 inches for the more budget friendly option)
Installing Your PVC Wainscoting Panels
It’s All in the Prep Work
Make sure you start with a clean slate. You want a nice, flat surface to start with and also to make sure that you have enough material to cover the desired space. It is always a pain to have to stop and run to the store to get more. Measure that wall like it’s your job and plan out where everything’s gonna go. Pro tip: scribble down those measurements—trust me, you’ll forget. (I like to use my Notes on my Iphone)
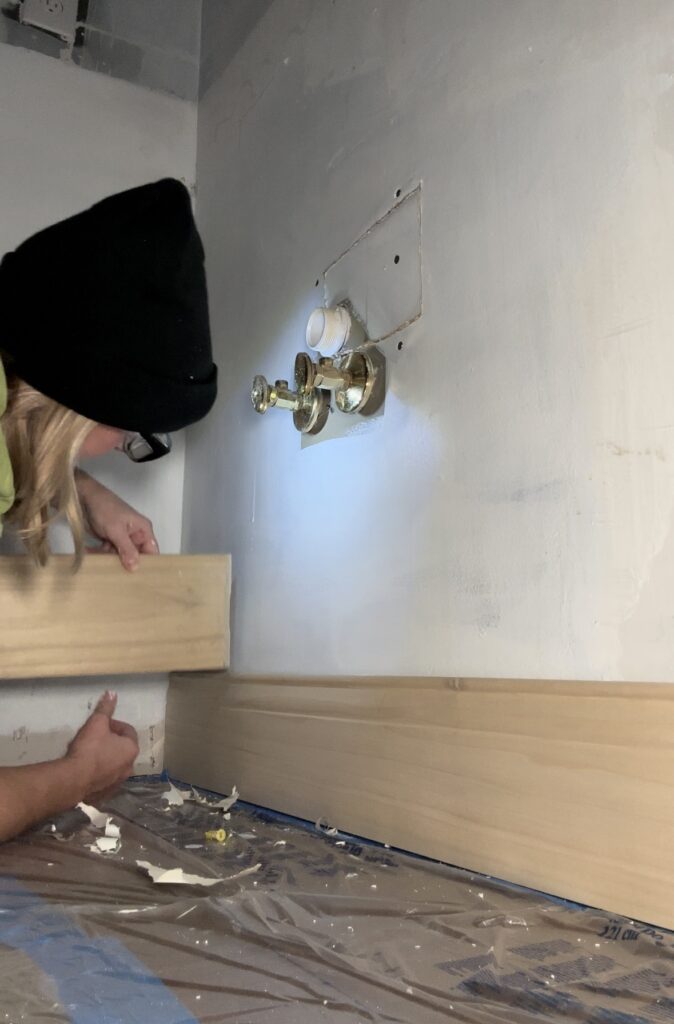
Laying Down the Base – Leveling Up (Literally)
Once you’ve cut your Base trim, make it as level as a pancake so the other items will follow suit. Brad nails come next, and make sure they’re hitting those studs. Now, you can use adhesive if you prefer, but I am afraid of this kind of commitment, so stick with good old brad nails and caulk (I skipped the adhesive for this entire project). They can be removed more easily and do much less damage to the walls without the adhesive. Please note, I did not use the base that came with the kit. I preferred to stick with the base trim that was in my home.
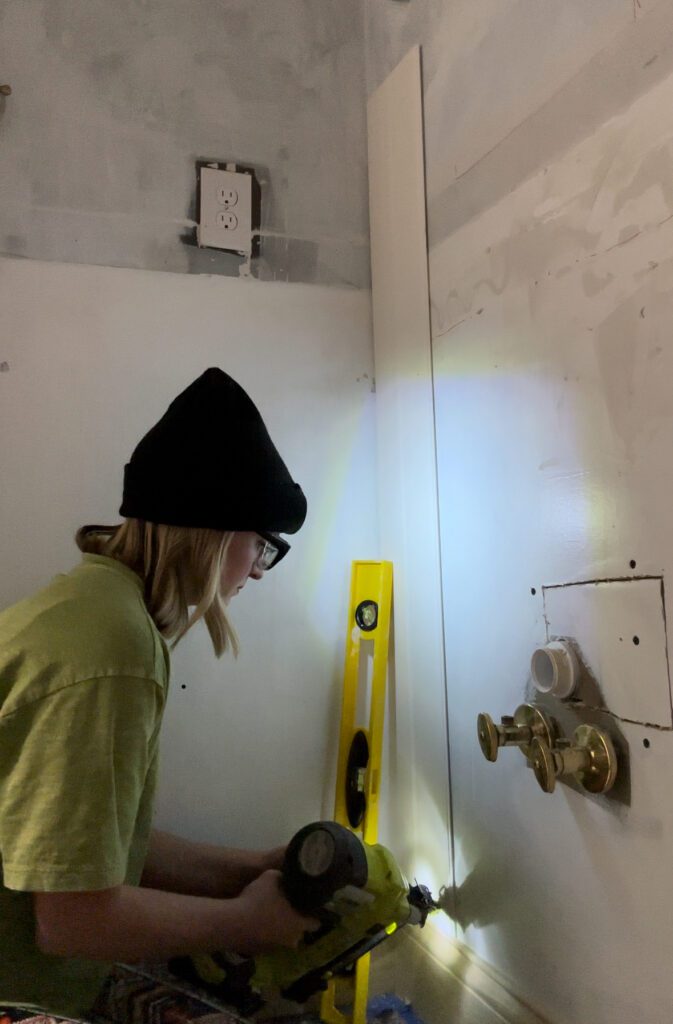
Start Installing the Planks
Cut your Planks (again, I cut my 96 inch planks in half), dab some adhesive on the back (if you choose), and stick them onto your base. The planks I used in this project are double sided, so you get to pick which you prefer. I went with the wider plank look in here. Use your miter saw (or circular saw) for the straight cuts and the jigsaw for around outlets and pipes.

We’re making some serious vertical progress here, people! Keep those Planks as straight as possible because you do NOT want those looking wonky.
Crown(ing) With Trim – It’s the Little Touches
Trim’s up next! Apply adhesive (if you are using adhesive) stick it on top, and make sure it’s level—because it’s basically the crown and no one needs a crooked crown. A few nails secure the deal, and you’re one step closer to remodeling to perfection. Pro tip: if you are skipping wall adhesive and just using brad nails, be sure to apply the nails to the wall in a crisscross fashion, so that it gets a nice grip into the wall.

Sealing the Deal
The last hurrah is caulking along the top edge of the Trim and filling in all of the nail holes. It’s like magic putty that hides all the little imperfections. I find so much joy in this part of the process because it really does pull the entire look together.
To Paint or Not to Paint
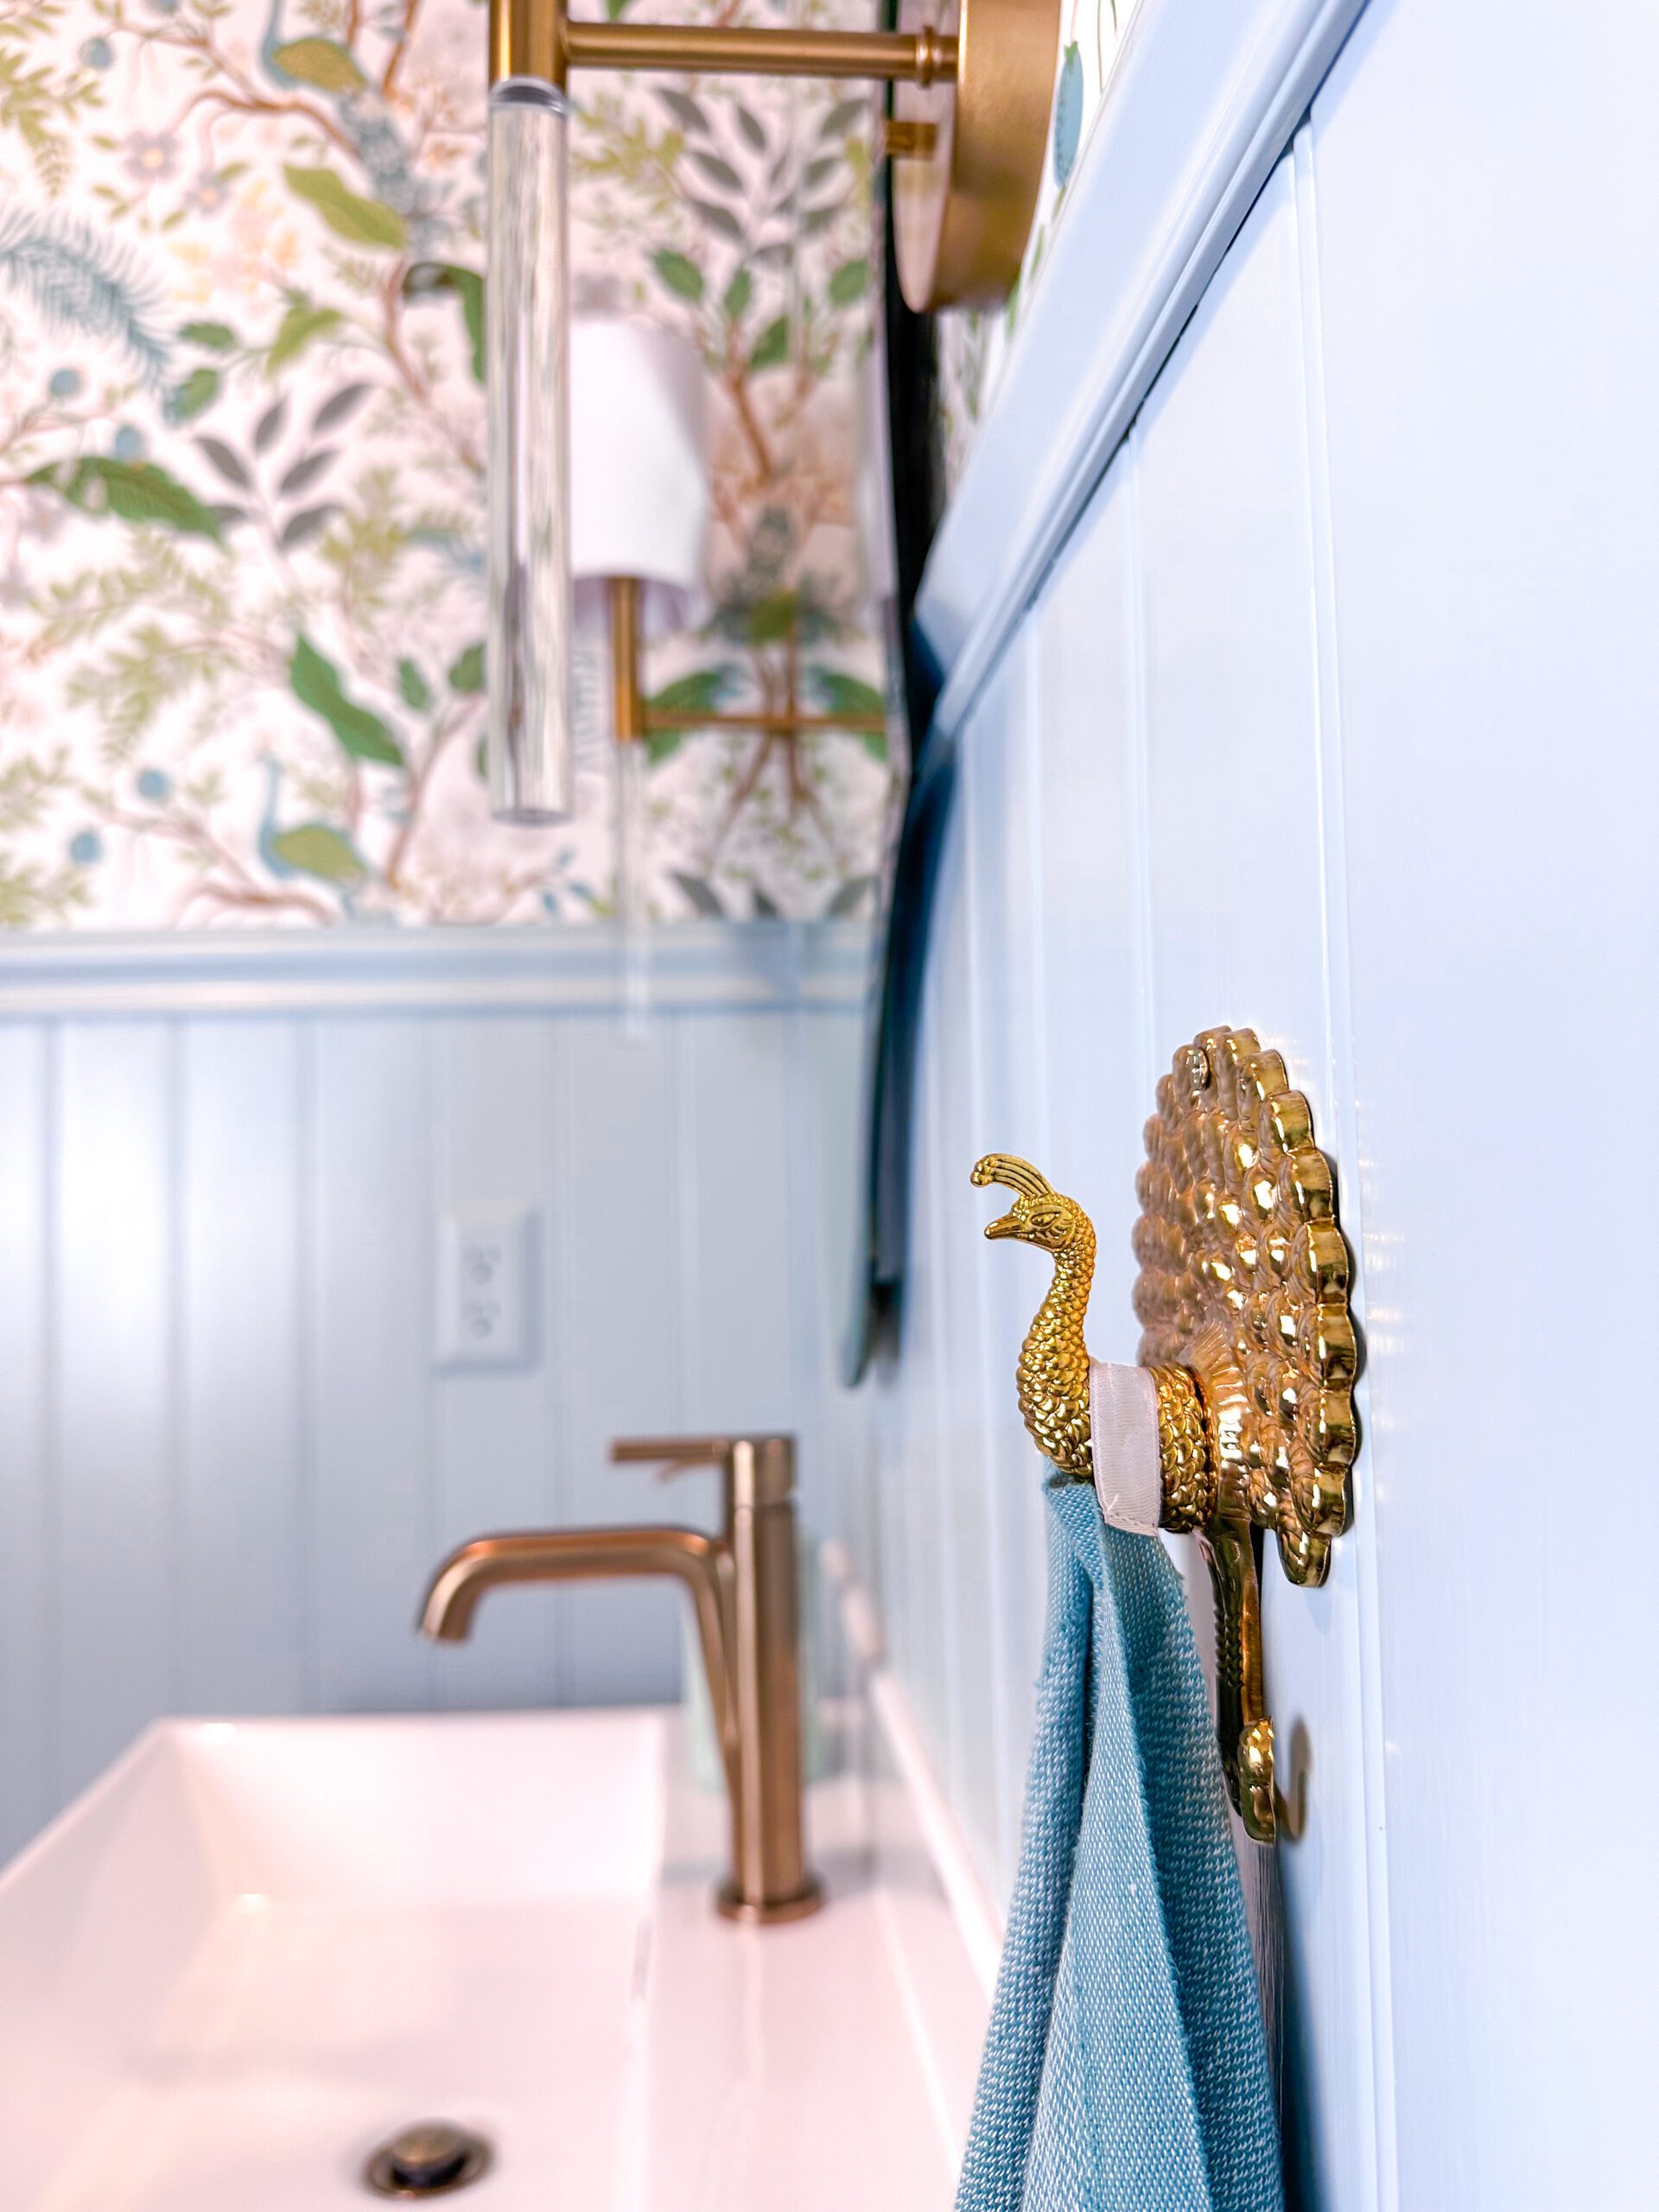
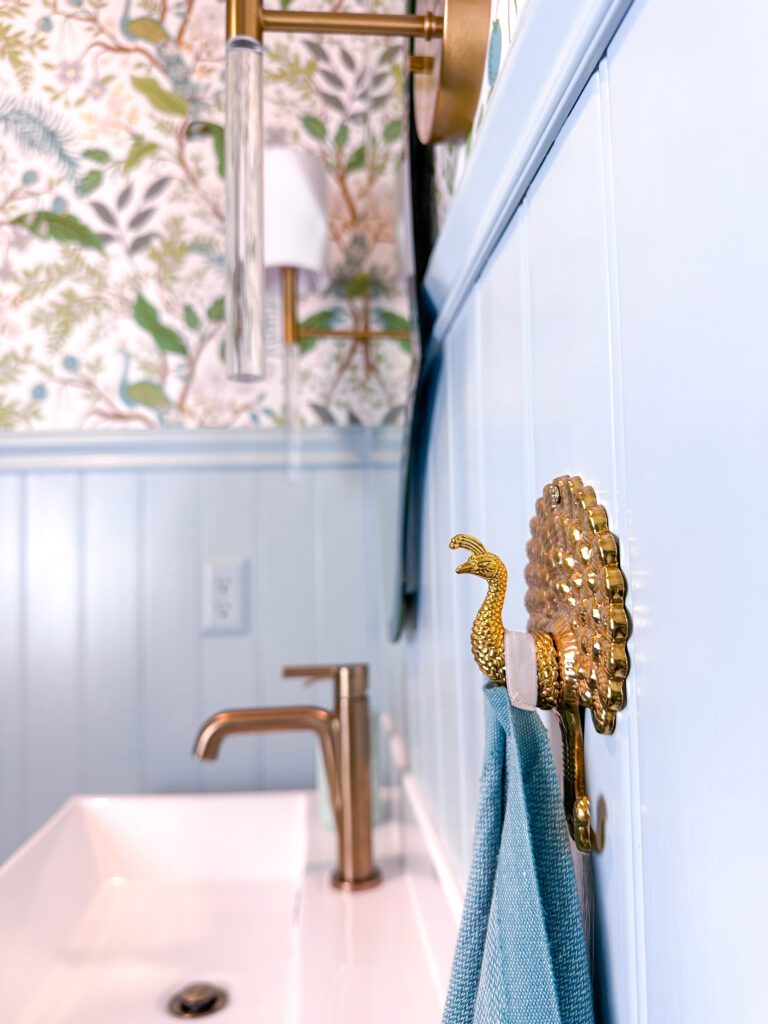
This is a personal preference! I decided to paint mine blue to coordinate with the wallpaper that would go on the upper half of the space.
Wrapping It Up
Once you’re done, take a step back and admire that spiffy new armor you’ve just installed. Your powder room is not only ready for the high seas of splish-splash but looks like a million bucks (without costing it!). You’re basically a weekend DIY warrior now, and you are ready to tackle the next project!
Go on, you DIY dynamo, show off that newly designed room with pride!
Now that you know how easy it is to install tongue and groove PVC panels, which room will you tackle first?
Happy tongue and groove PVC wainscoting! 🛠️🚽✨
To see the different peel and stick wallpapers I considered for this powder room makeover, check out this blog post!


