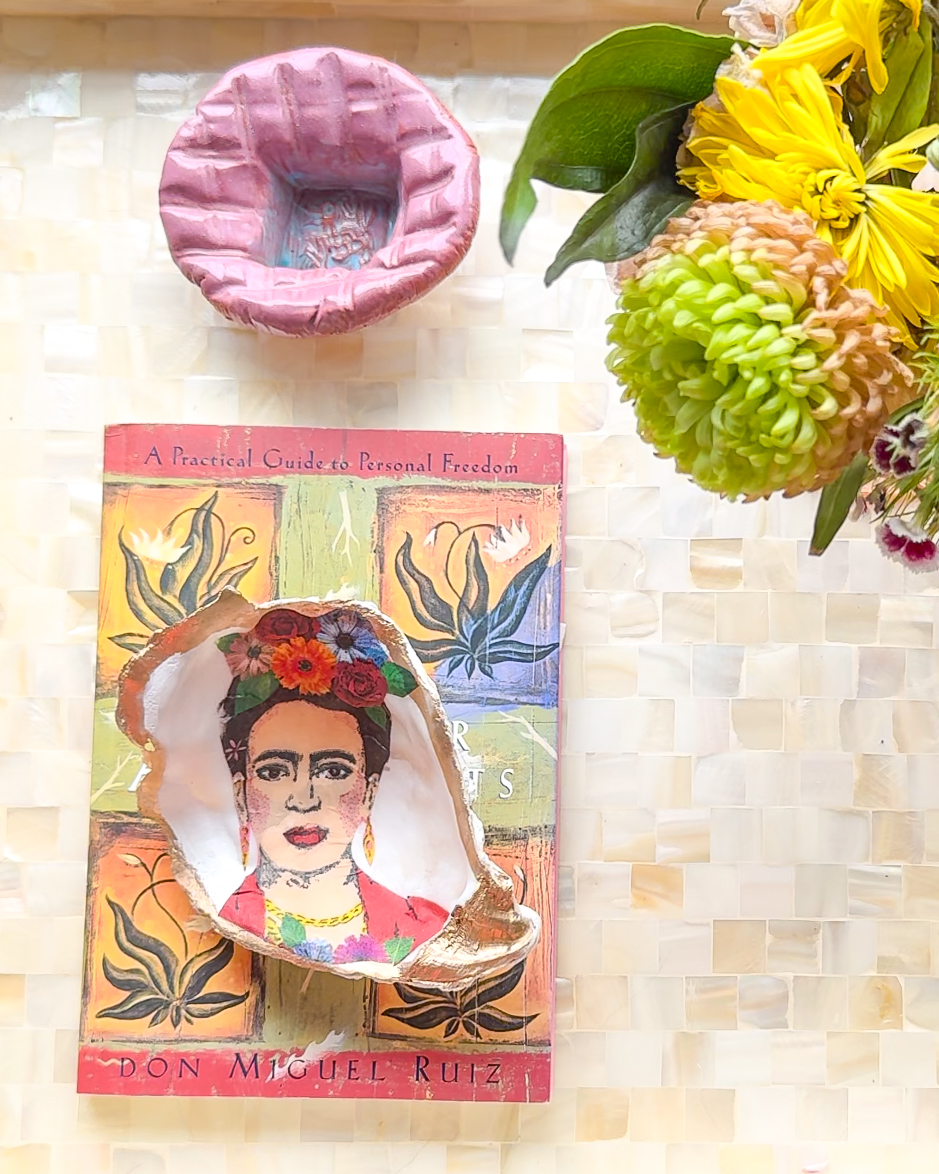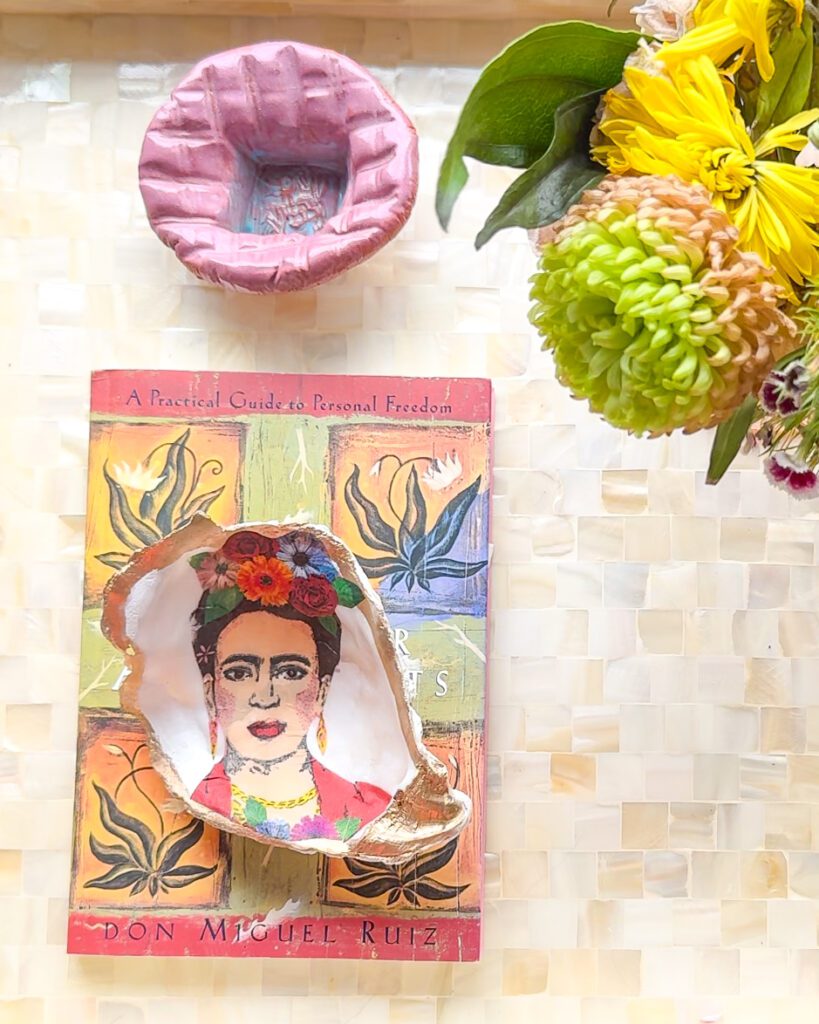

Feeling crafty? It is a rainy day here in Indiana, and I have had the itch to tackle a craft for a few weeks now… perfect opportunity with the wet weather happing outside as I type this. Today, we’re going to walk you through process of tackling a super easy decoupage oyster craft. This DIY craft is perfect for creating unique trinket dishes, adding a personalized touch to your decor, or making sweet, handmade gifts. Whether you’re a seasoned crafter or a beginner looking to try something new, this project is beginner-friendly and incredibly rewarding.
Decoupage, the art of decorating objects with paper cutouts, is a versatile technique that can transform everyday items into beautiful pieces of art. In this post, I’ll show you how to use printed napkins, ModPodge, and a little metallic paint to create fun oyster shell crafts.
Gathering Your Supplies
Before you begin, make sure you have all the necessary supplies. Having everything on hand will make the process smoother and more enjoyable.
Essential Materials
To decoupage an oyster shell, you’ll need the following:
- Oyster Shells: Cleaned and prepped for crafting. (TIP** You can also use scallop shells)
- Fun Printed Napkins: Choose designs that inspire you.
- ModPodge: This will be your adhesive and sealant.
- Scissors: For cutting out napkin shapes.
- Spray Bottle Full of Water: To moisten the napkin cutouts.
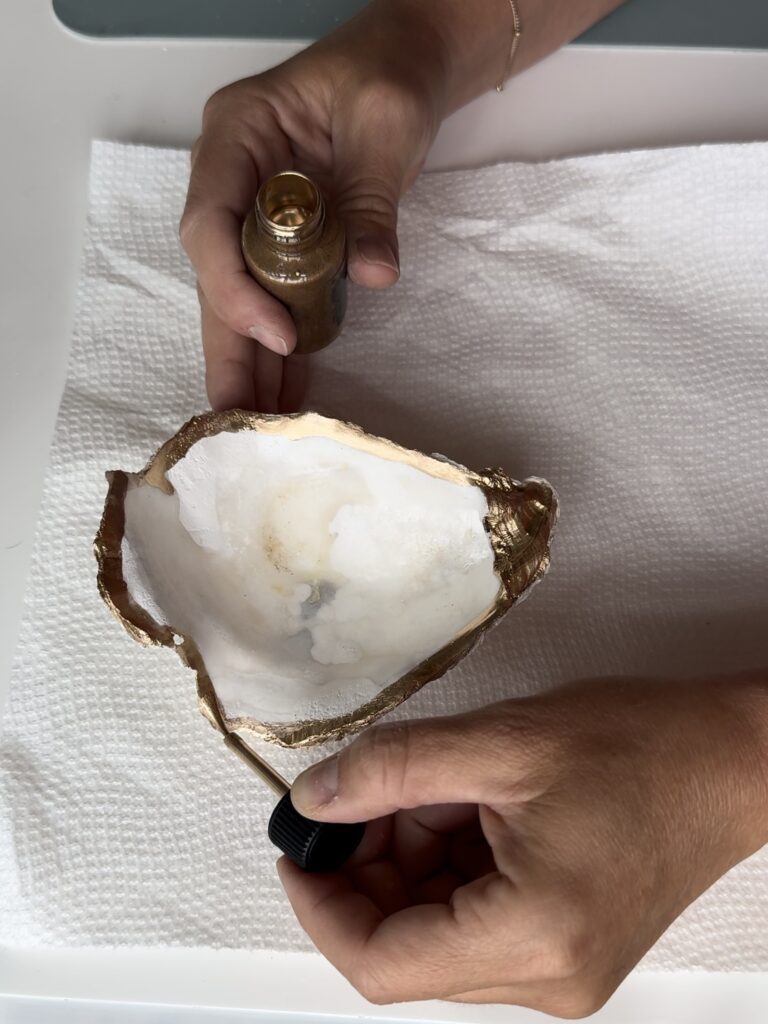
- Metallic Paint: For adding a decorative border. (PS. I am obsessed with this paint)
- Foam Brush: For applying ModPodge.
(Click here for the compiled list of supplies)
Painting the Oyster Shell Edges (Optional but highly recommend)
Adding a metallic border to your oyster shell gives it a fun, polished look.
Step-by-Step Guide
- Choose Your Paint: Select a metallic paint color that complements your napkin design.
- Apply the Paint: Using a small brush, carefully paint the edges of the oyster shell.
- Allow to Dry: Set the shell aside to dry while you move on to the next step.

Cutting Out Napkin Designs
While the paint dries, you can start preparing your napkin cutouts.
How to Cut Napkin Shapes
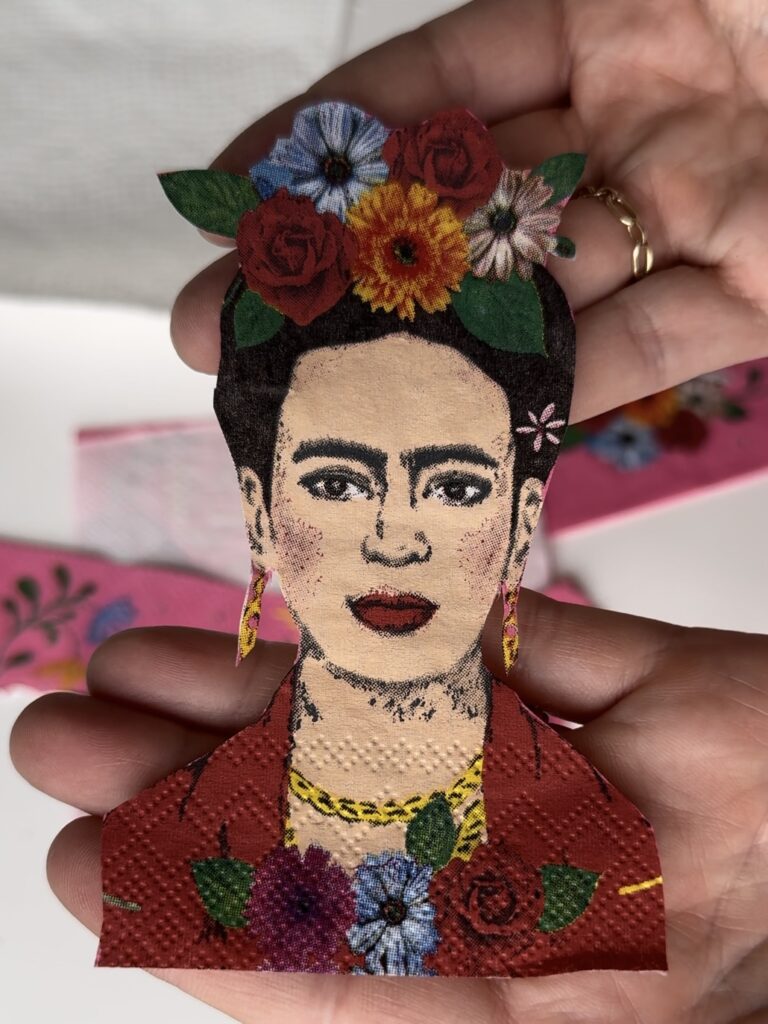
- Select Your Design: Choose the part of the napkin you want to use. (I went with Frida and have zero regrets)
- Cut Carefully: Use scissors to cut out the design. (I used my small cosmetic scissors and they worked beautifully)
- Separate Layers: Gently peel away any extra layers of the napkin until only the printed top layer remains.

Applying the First Layer of ModPodge
Precision in cutting ensures better adhesion and a more seamless design.
With your napkin cutouts ready, it’s time to start decoupaging.
Applying ModPodge
- Prepare the Shell: Place the oyster shell on your workspace.
- Thin Layer of ModPodge: Dip your foam brush into the ModPodge and apply a thin, even layer to the inside of the shell.
- Work Quickly: ModPodge can dry fast, so be efficient in this step.
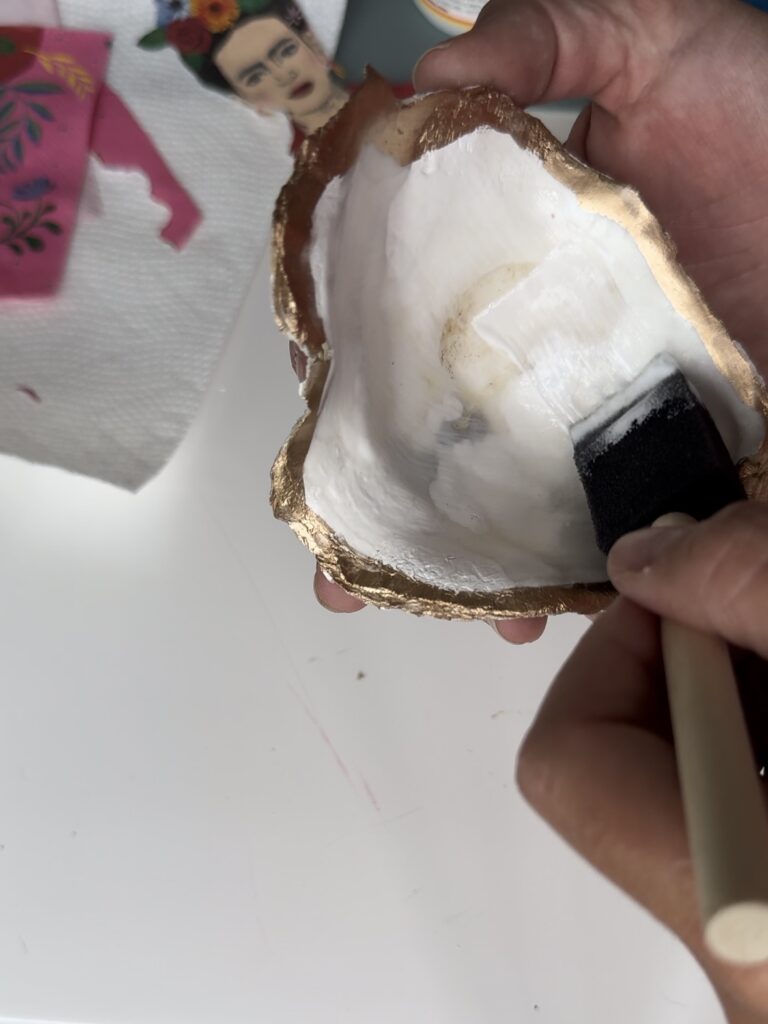

A smooth layer of ModPodge ensures the napkin adheres well without wrinkles.
Spraying the Napkin Cutouts
To make the napkin easier to work with, you’ll need to moisten it slightly.
Moistening the Napkin
- Light Mist: Use the spray bottle to lightly mist the napkin cutout. Be careful not to soak it, trust me, it’ll rip… ask me how I know.
- Check Texture: The napkin should be damp but not falling apart.
This step makes the napkin more flexible and easier to manipulate.
Placing the Napkin on the Shell (BE GENTLE!)
Now comes the fun part—adhering your design to the oyster shell.
How to Place the Napkin
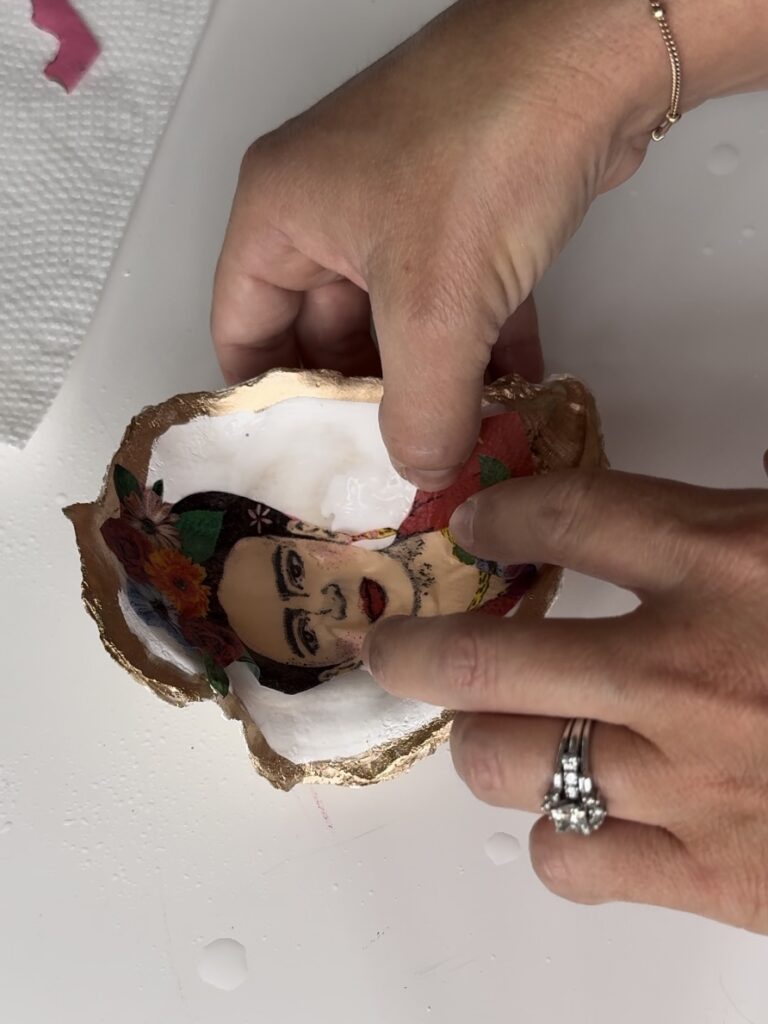
- Position the Cutout: Carefully place the damp napkin onto the glue-covered area of the shell.
- Smooth It Out: Gently smooth out any wrinkles or bubbles using your fingers or a soft brush.
- Adjust as Needed: Make sure the design is positioned exactly how you want it.

Adding the Second Layer of ModPodge
To protect your design and give it a glossy finish, you’ll need to add another layer of ModPodge.
Sealing the Design
- Wait for the First Layer to Dry: Ensure the first coat of ModPodge is completely dry before applying the second coat.
- Apply a Top Coat: Using the foam brush, apply a thin layer of ModPodge over the napkin design.
- Smooth Finish: Make sure the top coat covers the entire design and extends slightly beyond the edges of the napkin.
A second layer not only seals the design but also adds durability.

Final Touches
Your decoupage oyster shell is nearly complete! Here are some finishing touches to consider.
Enhancements
- Inspect for Flaws: Check for any areas that may need a touch-up.
- Additional Coats: If desired, add another layer of ModPodge for extra protection.
- Personal Touches: Add any additional embellishments like glitter or small beads if you wish. If the shell is really unlevel and not sitting up right, I hot glue these holeless pearl beads on the bottom of the shell to help balance it out.
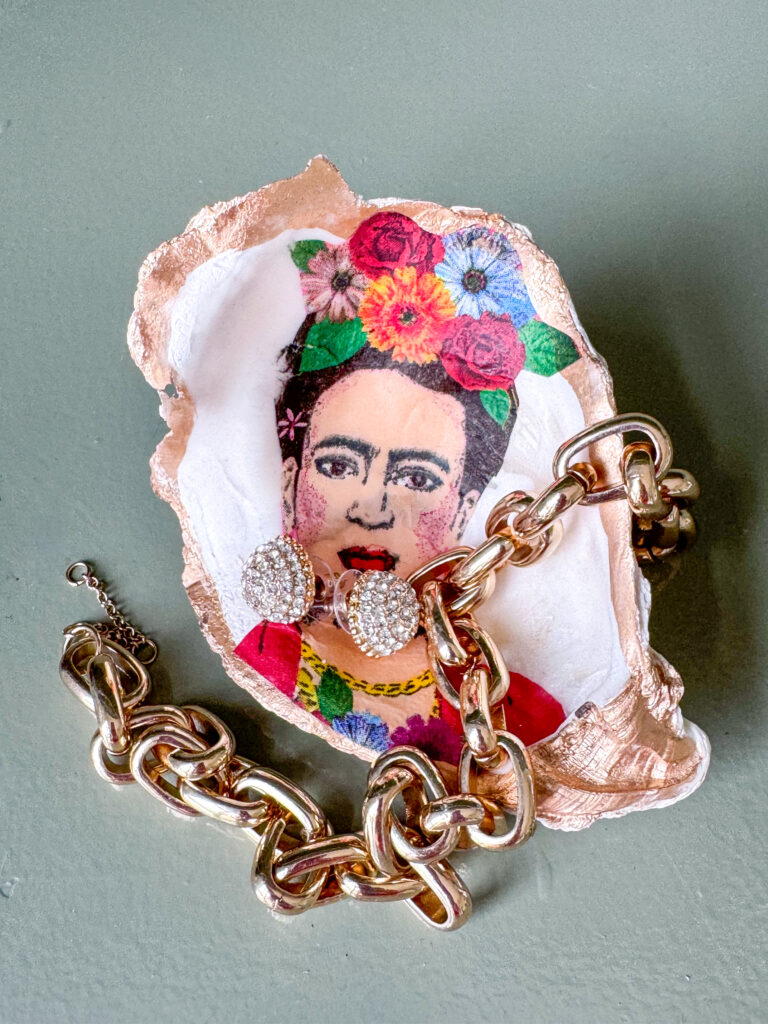

The Finished Product
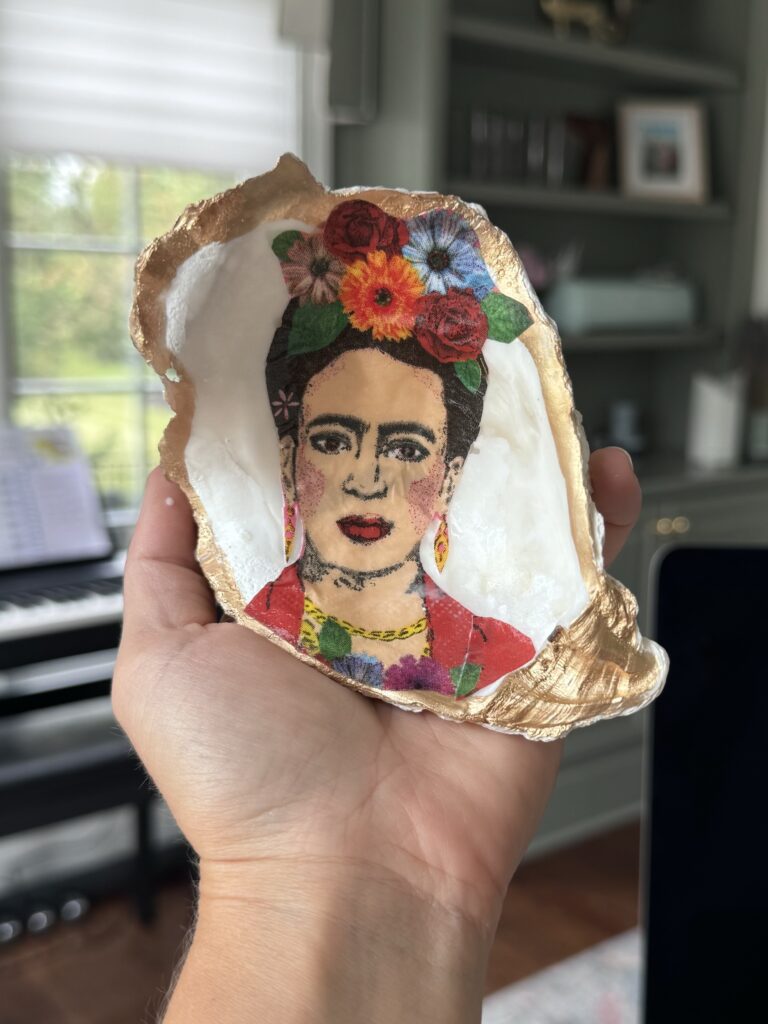
Congratulations! You’ve created a beautiful decoupage oyster shell.
Uses for Your Creation
- Trinket Dish: Perfect for holding rings, earrings, or loose change.
- Decorative Piece: Adds a unique, artistic touch to any room.
- Handmade Gift: A thoughtful and personalized gift for loved ones.
Conclusion
Creating a decoupage oyster shell is a rewarding and enjoyable project. Not only do you get to express your creativity, but you also end up with a beautiful and functional piece of art. Whether you’re making these shells for yourself or as gifts, they are sure to bring joy and elegance to any setting.
PS. Can we just stop here for a hot second to admire Frida? She is an absolute gem.
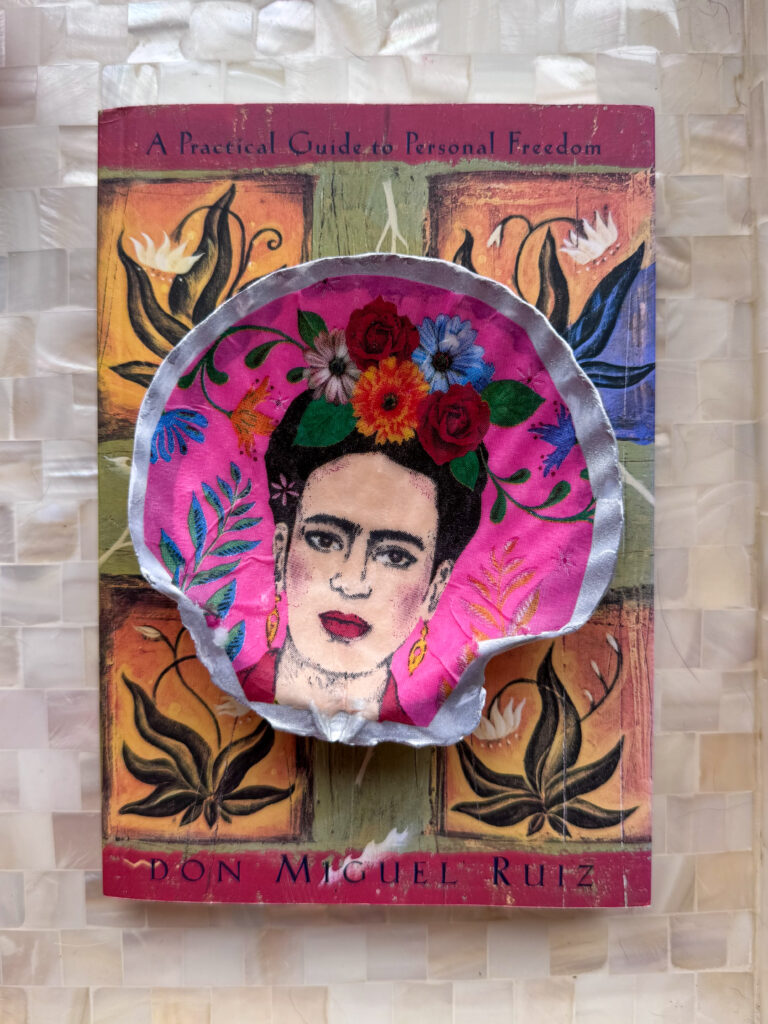

Well, tell me… was this a super easy decoupage oyster craft or what?
If you enjoyed this project, be sure to checkout my other DIY projects here… and, as always, thanks so much for coming here to hangout with me 🙂
