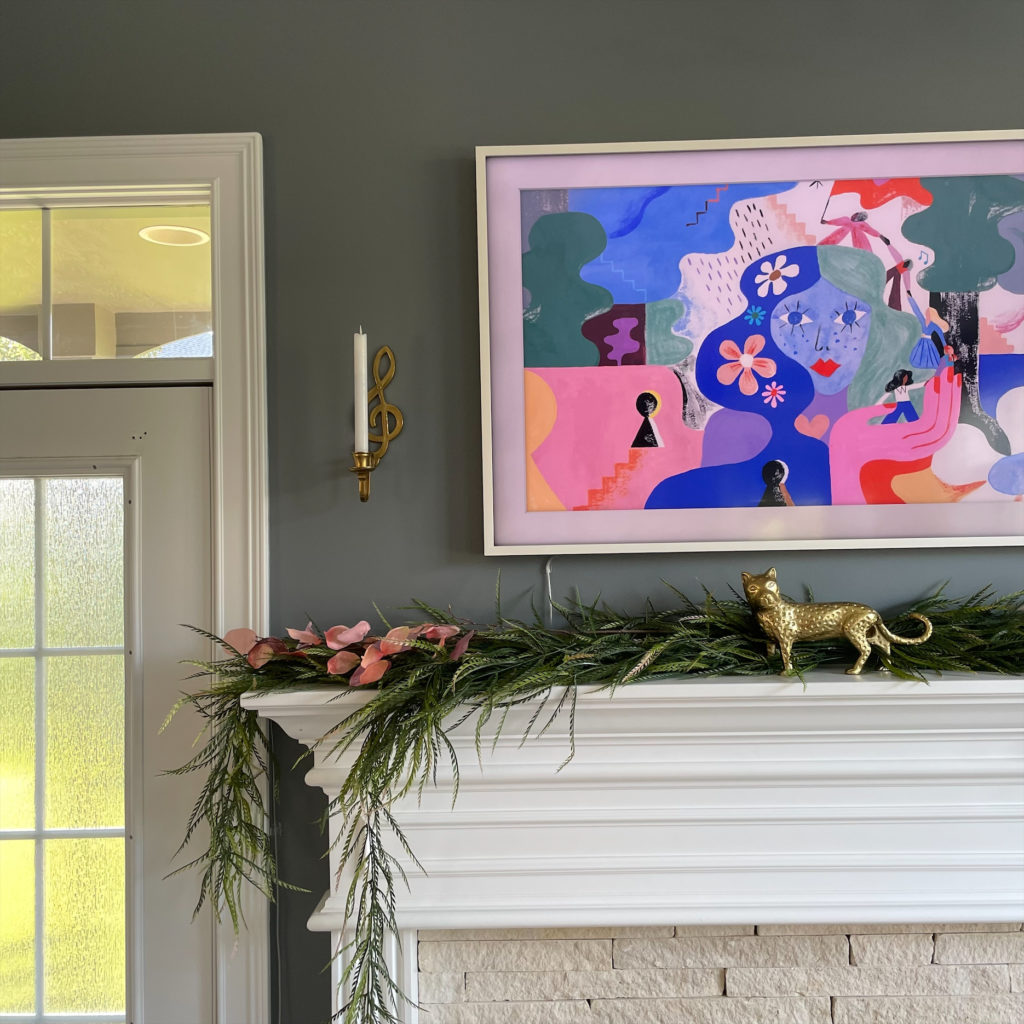
The frame TV dupe is one of my favorite budget-friendly Hacks.
I tackled this DIY dupe for the spring 2022 One Room Challenge which was a massive overhaul of our master bedroom.
While we do have a Samsung Frame TV in the house that I absolutely love, they come with a high price tag and it is not in the budget for us to have more than one. I love their sleek minimal appearance and of course the fact that you can display gorgeous artwork on it (or even family photos).

Make it work within a budget
Since it was not in the budget to have a frame TV in our bedroom, I thought I would try to dupe my own TV frame to place on our older, existing television. The TV was in good shape and already came with a thin black, standard TV frame. Instead of heading to Home Depot to pick our raw wood trim (which I knew would be more than I wanted to spend), I decided to take it one step further, and headed to my local goodwill to see what I could find there.
Goodwill always seems to have a nice, large selection of frames and artwork, so I sifted through their inventory to see what I could find. There was one frame in particular, that appeared to be a good candidate. It was not pretty but definitely had the potential to be pretty. Additionally, and more importantly, there was a nice, deep lip on the inside of the frame that would perfectly hide the entire TV frame behind it.
So, I took it home and got to work.
Peep this ugly old frame and poster. It was a perfect match and just what I was looking for.

In the garage, I carefully deconstructed the frame using a metal putty knife and needle nose pliers to remove the corner staples that were supporting the frame. I had to be extra careful not to crack the actual frame as I deconstructed it. My apologies as I don’t have many great photos of this part to share with you…
Once the frame pieces were separated, then it was time to properly size them for the television. I used my miter saw to do this, and made sure to cut each piece at a 45 degree angle, so that it would be perfectly square with my television. Being that I had no extra trim pieces to work with, there was absolutely no room for error. I kept telling myself “measure twice, cut once….”

With the properly sized trim pieces in hand, I then grabbed my handy wood glue and started gluing the corners of the trim back together. Once glued, I used a square clamp to make sure all pieces were properly attached and that it didn’t fall crooked. I tried to mimic the original frame and used my staple gun to staple, twice, on the back side of each mitered corner as an added support for the frame.
After the glue dried the next day, it needed no additional tweaking other than paint.
I was loving how the frame turned out already…
So, now it came to a tricky part. How in the world was I going to install this frame to the TV without actually having to glue it down? I dug through my collection of miscellaneous things and suddenly a light bulb went off in my head as I pulled out these 3M Picture Hanging Strips. They are essentially a fancy form of Velcro that can hang a wall photo with a weight maximum of 16 pounds. Being that I only needed to hang the frame, which was around 3 pounds at most, I only needed two of these strips to secure the frame to the television.
I actually couldn’t believe how smoothly this process had gone to this point…
Paint Time
The only thing I had left to do was to paint the frame a new color. I dug through my collection of miscellaneous paints and came across a few sample jars the previous home owners had left behind. I found a sample called “Templeton Gray” by Benjamin Moore and it looked beautiful against the pink wall color I had chosen (Glidden “Forever Fairytale”). So, I got to painting the entire frame with this beautiful blue-gray color and continued to fall in love with the direction this project was headed.
But, when I was all done with the paint, it still seemed like it was missing something, so I grabbed my favorite bottle of magic; Antique Gold Rub’n’Buff, and carefully added a thin layer to the interior of the frame for a little added character. Just like that, it was done. And it was beautiful. You can view this short video I made on it here.

So, here’s the cost breakdown for you on this budget friendly DIY project….
- Goodwill frame $15
- Tools/Glue – I had on hand
- Paint – sitting in the basement storage room for free
———————
TOTAL: $15 for a beautiful custom TV frame dupe.
Amen and amen to that. I love a good budget friendly DIY hack. In fact, I have another one I think you might enjoy here. This one unfortunately was more than $15, but also had a huge impact on my bedroom for the OneRoomChallenge. I duped a 5.5’ tall $600 Eucalyptus Tree for a fraction of the cost using supplies from Home Depot, Ryobi, and Hobby Lobby. Not to toot my own horn too much or anything, but I think my dupe turned out even better than the high priced inspiration piece I had chosen to model my project from.
Disclaimer: This post contains affiliate links. This means, if you purchase something from a link I provided, I will receive a small commission. This is at no extra cost to you! Thank you for your support!