


Prepare yourself, because this is such an easy DIY project. I literally had so much fun putting this faux Eucalyptus Tree together and it looks even better than my inspiration.
When I was tackling the primary bedroom for the spring 2022 OneRoomChallenge we were coming down to the final week, which is typically the décor part of the project. I had already painted the room pink and was getting the furniture, bedding, curtains situated, etc., but something was still missing. You know how sometimes you just need to add a little greenery to a space to make it look complete? Well, I realized this was exactly what I needed.
So, I headed online to see what kind of faux Eucalyptus tree I could get my hands on… Wow, let me just tell you that finding a faux tree was a lot more expensive than I had expected. Like, almost $1,000. Again, wow.
Then a light bulb went off in my head…
About a year prior, my good friend, Natalie from @bradwillbuildit had made a faux olive tree from a dead tree that was being removed from her yard. She perfectly constructed it using a few supplies and a tree branch. I wanted to mimic this project so it would match my Pottery Barn inspo.
Once I got the kids into school, I headed to the woods behind our house. Yes, the woods. I searched and searched until I found the perfect stick to use as a base trunk for the faux tree I wanted to make. It just needed a little tweaking with my pruner and I would have it looking alive again in no time.
As for the greenery, I ended up finding some beautiful faux eucalyptus I thought would be perfect to bring the dead branch back to life. I purchased 12 individual pieces of Eucalyptus sprig, also, for half off.
I knew we needed a larger basket that would house the tree trunk, so while I was at Hobby Lobby picking out the greenery for the tree, I also found a large basket for half off that looked like a great option. It needed to be large and open because I planned to load it up with concrete.
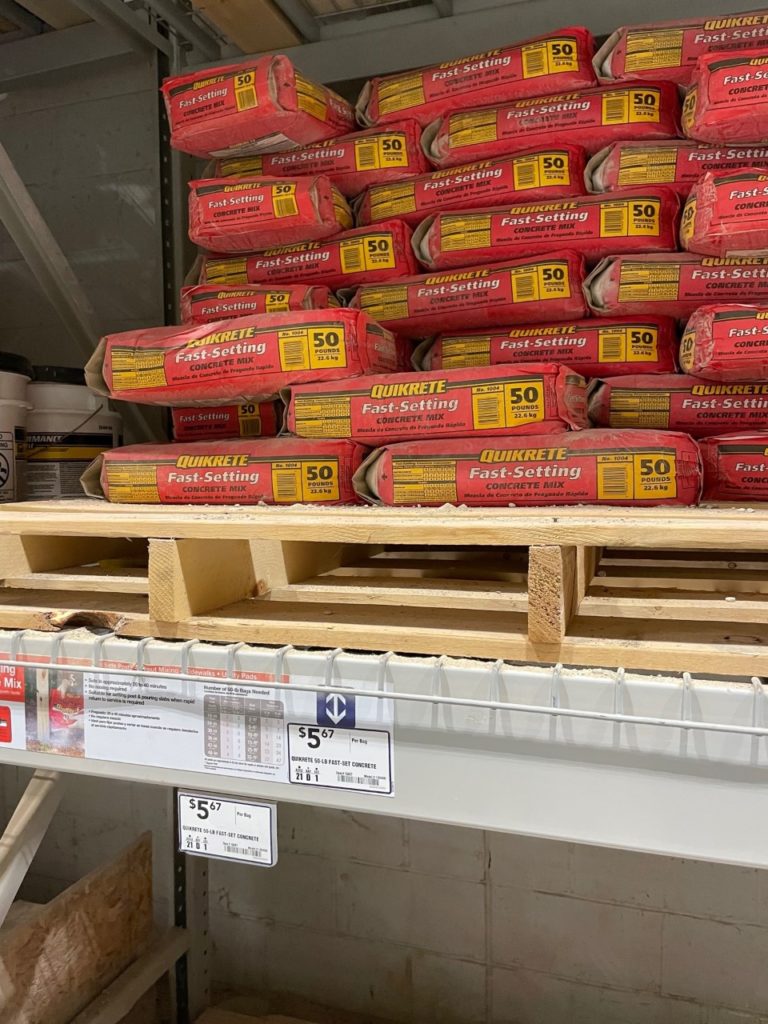
I then headed to the Home Depot where I picked up a 50lb bag of 5-minute quickset concrete. This bag was a lot heavier than I had anticipate it to be, but I managed to get it onto the cart and into the trunk of my car all on my own. This was my first time using 5-minute quickset concrete, so I watched a few videos before tackling it myself. The main thing you need to know about 5-minute quickset concrete is that they are not kidding about the 5-minute “set” part. This stuff is magical, but you need to be ready to move as soon as you get it mixed up and ready to go.
Once I had all of the supplies, I headed home to start tackling the project.
Constructing the Body of the Eucalyptus Tree
First, I needed to prune the dead branch to a size I thought proportionate for the basket I had purchased. Then, lined this basket with leftover waterproof roofing material and taped the seams to act as a barrier between the basket and the concrete. I didn’t want to risk having the concrete seep through the woven material of the basket.
Once the basket was sealed, I grabbed my drill, concrete mixer attachment, painter’s tape, and pulled out the water hose. There was no room for error here, so I took a deep breath and started pouring the concrete into the lined basket.
I closely followed the instructions on the Quikcrete bag and mixed it with my drill attachment until it had a peanut butter like texture. Then quickly positioned the tree branch base deep into the concrete mixture. I positioned it to my liking, making sure it wasn’t out of level or awkward looking and then grabbed the painters tape to help hold it upright as the concrete cured. This was a helpful step.
NOTE: I do think if I were to do this project again, I would actually use a bucket to house the tree, as opposed to lining the basket and pouring it directly into the basket. I think it would be easier to move the completed tree around, and if I ever wanted to change from the basket to a pot, I could simply lift the bucket out of the basket.
Let’s Bring This Tree to Life
Now came the really fun part which was constructing the tree and fluffing it with the faux Eucalyptus leaves. Again, I used my drill and a pilot drill bit to drill tiny holes into different sections of the branch. I started at the bottom of the tree and worked my way up, breaking the individual pieces off of the faux Eucalyptus stick and sticking them directly into the pilot holes I had made. I did this for the entire tree until all of the Eucalyptus was used up and the tree was looking natural. With a few adjustments, I had it looking like I wanted it.
It was after the dry fit when I came back and secured each stick with this cordless hot glue gun. This was time consuming, but so worth the extra step. Piece by piece, the Eucalyptus tree was coming to life.
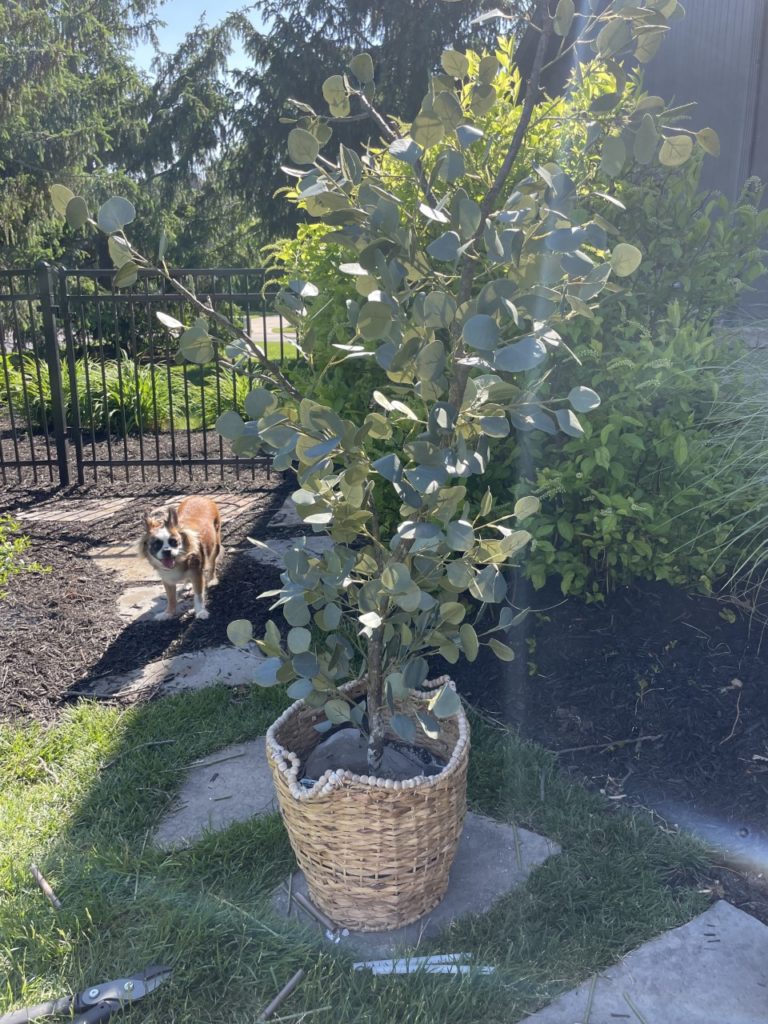
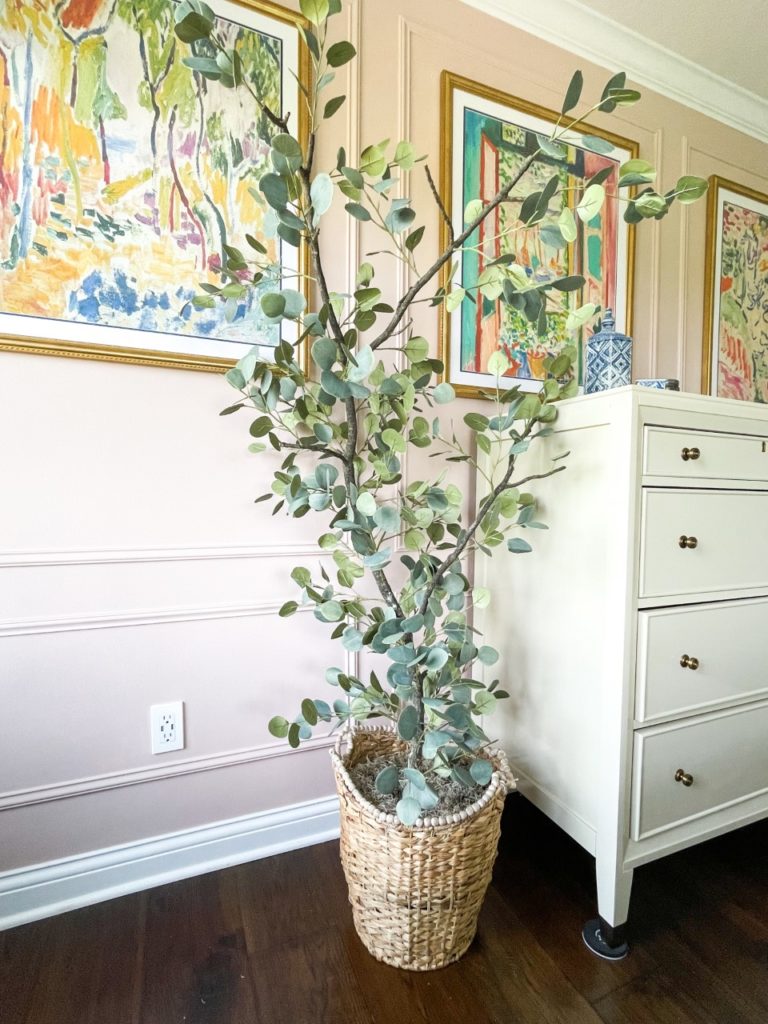
Now there were only two things left to do; have Barrett move it from the backyard to our bedroom and then cover the top part with moss to hide the concrete base.
And, just like that, we had a gorgeous Eucalyptus tree sitting in our newly finished bedroom.
Cost Break Down for supplies:
- Faux Eucalyptus Greenery: $60
- Basket: $20
- 5-minute Quickcrete: $6
- Faux Moss: $9
TOTAL: $95
You can watch this quick video tutorial HERE.
Is this a DIY dupe you would like to try?
Disclaimer: This post contains affiliate links. This means, if you purchase something from a link I provided, I will receive a small commission. This is at no extra cost to you! Thank you for your support!


