

A brief overview of board & batten DIY and applying traditional wallpaper.
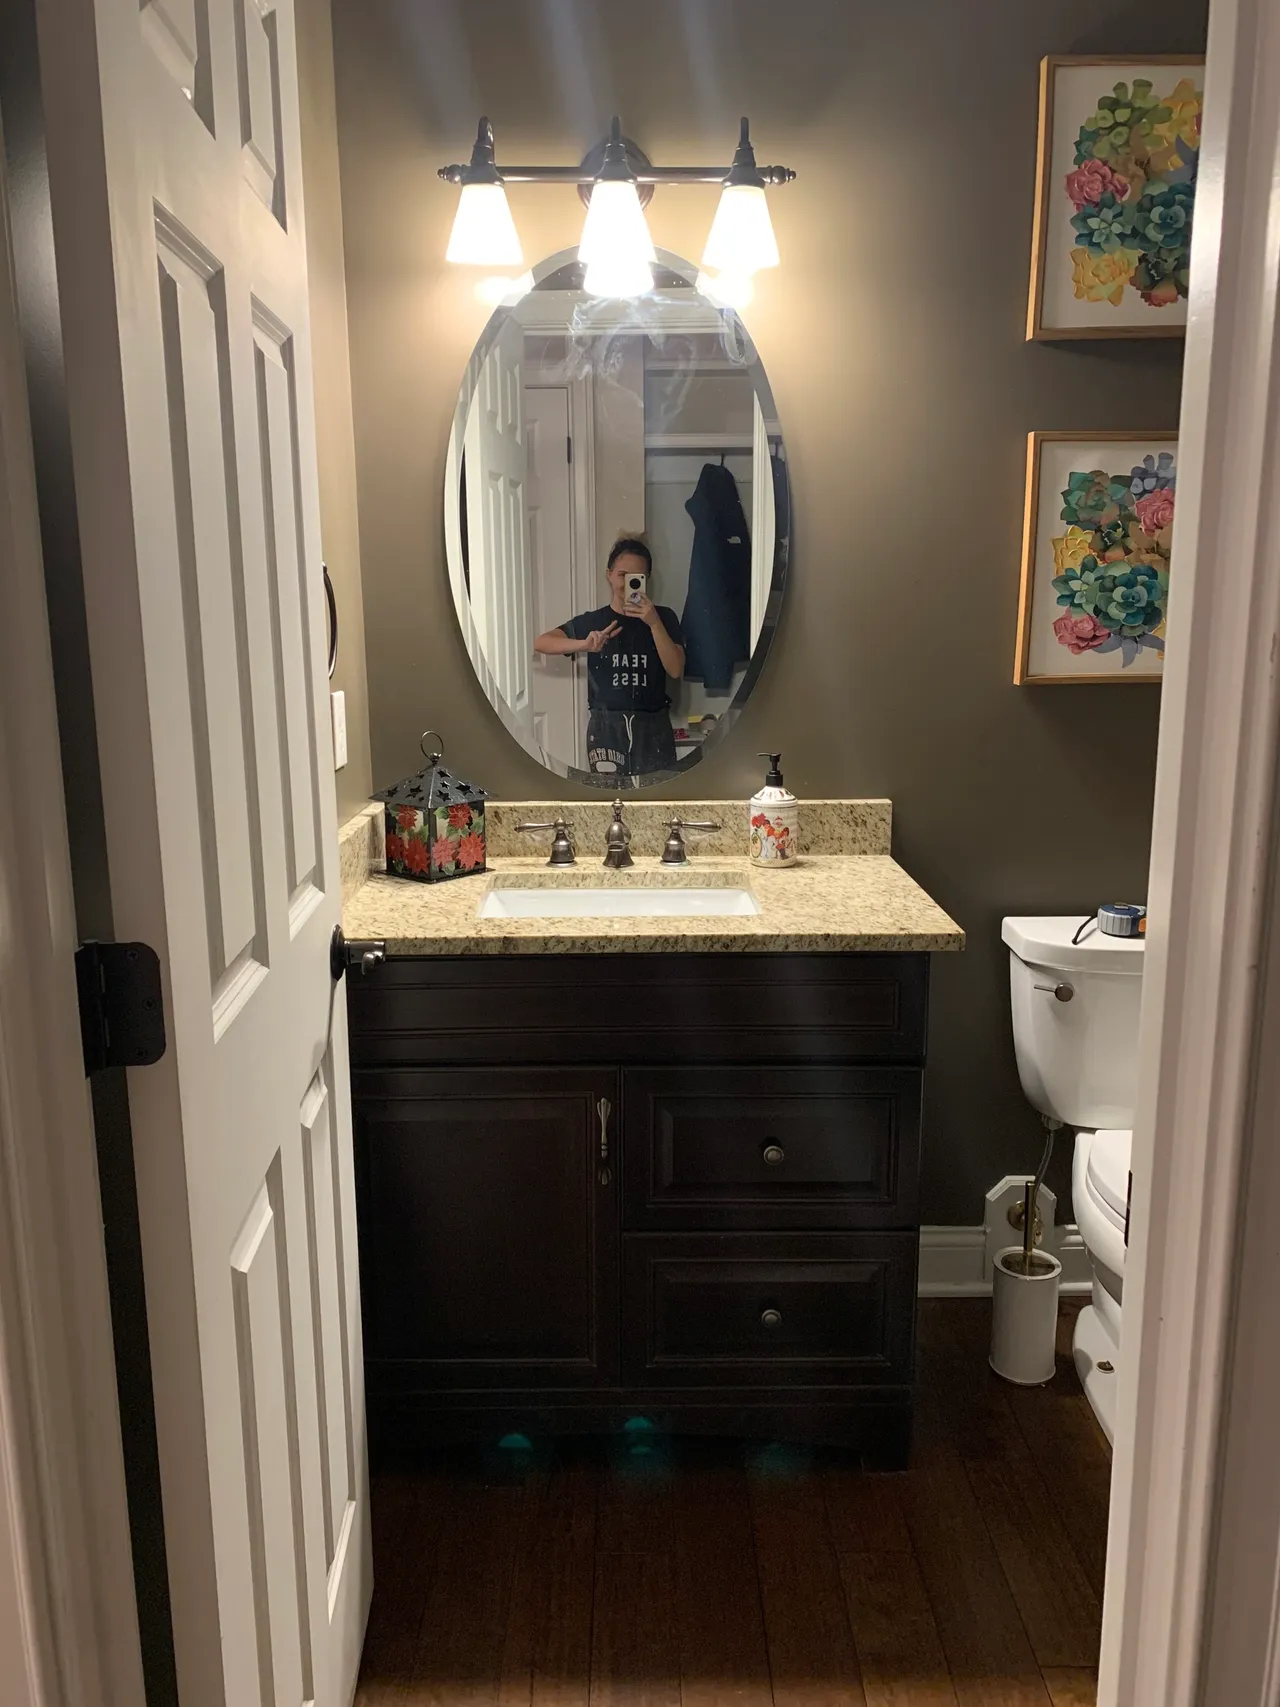
This moment, right now, is like, really great… My husband, Barrett, had a sleepover with the kids in the basement so that means that I got to sleep upstairs so somebody had ears close enough to the baby… It is a dream. Now I’m laying here early in the morning, ready to write about the first project I tackled when we moved into this house – the Powder Room and Banana Leaf Wallpaper.

Let’s Brighten Up The Space
For the most part, I had a great idea of what I wanted to do in there. The first and most important thing on my to do list for the room was to brighten it up. It had an ugly brown vanity, with an ugly brown color on the walls; not my style. I also knew I wanted to try my hand at Board & Batten, with a beautiful wallpaper on the top. For days, I search for the perfect wallpaper … and nothing felt right so I did something I never thought I would do; I ordered the exact same wallpaper that I put in the powder room of our last home. And I feel no shame about it.
The first step in the process
The board and batten. Because I wanted to do this in a budget friendly way, I purchased one giant sheet of 3/4 MDF at Home Depot for about $60. And then used a table saw to rip it down into the appropriate sized pieces. This took forever, and at the end of the day I honestly think it would be more worth it to just buy some two by fours and cut those down instead, but I digress. I did it anyway because I was committed.
The baseboards sat 8 inches high, and the length of the walls. I then cut quarter round at the same measurements.
To install the baseboard, I used my Brad Nailer and 1 5/8 inch Brad nails. You do not want to use long Brad nails, especially in a project like this. If you use anything longer, you risk shooting the Brad nail through the wall and straight into a pipe. Do yourself a favor and DO NOT make this mistake. I haven’t done it yet, and hope I never do because I know it would be no fun.
Tip: when using the Brad Nailer, I made sure to shoot the nails in at an angle going both in the up-and-down direction so that it had a nice grip on the wall.
Imagine a zigzag motion for the nails. I chose not to use glue for this part, just in case I want to easily remove this down the road. Some people prefer to use some sort of adhesive on the back, and some people don’t. That is up to you, but I can tell you one day I will probably not want this up anymore as my style evolves so want to make sure it’s easy to take down.
Mapping out the Board & Batten
To measure the height of the board and batten, I picked 1/3 the height of the wall and went with that. That’s just a general rule of thumb that I go by when it comes to board and batten, but some people prefer to install at different heights for different reasons. To each their own! I wanted to reserve more space for the wallpaper. We have 9 foot ceilings (108 inches). So I took off 8 inches for the baseboard, leaving me with 100 inches to work with. I rounded down a third of the wall and cut the height of 33 inches, and then the top horizontal piece at 5 inches thick. For the vertical pieces, I went with 4 inches wide.
For the horizontal pieces, I went with the length of each wall while also taking into account the seven eights of an inch for the MDF that would be at one end. Because this was one of my first big DIY projects I did not miter these corners at a 45° angle. I placed the MDF flat against the wall, from from corner to corner. Once this was ready to go I used the brad gun to place it up on the wall. For the horizontal pieces, insert a single nail right into the center of the board. Prior to securing the board on the ends, use a level to make adjustments while the board it still able to swivel on just the one nail. Then I applied the vertical MDF with a Brad nailer in the same zigzag motion as the baseboards. This part is so easy but be sure to make sure the pieces are level.

The Extra Mile
Now this is the next part that some people skip, but I think it’s really important. To achieve that beautiful finished look, I caulked with a paintable caulk. This is one of my favorite parts of a project… It’s just the finishing touch that makes the final product look beautiful. And it’s necessary.
Once the caulk dried, I painted three coats of a white trim paint. Between the drywall and the MDF, I wanted to make sure the paint looked cohesive on top. I used a foam roller for this for the smoothest finished. I was also motivated to finish all the painting prior to installing the wallpaper.
Wallpaper Installation As A First-Timer
As mentioned earlier, I ended up using the exact same wallpaper I had a professional installer applied in our old house. This time around, I was going to be the one installing it, and it was going to be my first time… After weeks of debating I ended up ordering this wallpaper from York paper wall coverings. It’s absolutely beautiful, cheerful and brings a whole vibe to the bathroom.
Wallpaper, especially if it’s your first time, can be really hard but is TOTALLY doable! This is traditional, pre-pasted wallpaper not the peel and stick kind. With pre-pasted wallpaper you need to soak it in a giant tub of water to activate the glue OR roll a generous amount of water directly onto the backside of the wallpaper…
There is a whole process to it – I found it most useful to watch YouTube videos here.
Once it has soaked for a few minutes you can take it to the wall to apply it. This particular wallpaper was a challenge, because it was very important to line up the print. It sounds like such a simple task, but holding up a giant sheet of wet paper, praying it won’t rip, trying to get it level and aligned on the wall, again without letting it rip or crinkle too much, is very challenging. But I figured it out, for the most part. This is something I would recommend be done by two people… I managed it alone, but it was walking the line of misery. Totally worth it though 🙂

It is extremely important to change out your X-Acto knife razor blade, every few cuts. The wallpaper will dull the blade so quickly and eventually start ripping the paper instead of cutting it. Had I done this the right way, with 1 million X-Acto knife blades on hand, I wouldn’t have one rip in the wallpaper. Because I was learning, there may or may not be a few rough patches. Luckily the wallpaper is visually busy enough they don’t stick out too much.
What do you think of the wallpaper?
Next up, I’ll tell you about the vanity I picked and how the install of that went … let’s just say it was a slightly unfortunate situation…

Disclaimer: This post contains affiliate links. This means, if you purchase something from a link I provided, I will receive a small commission. This is at no extra cost to you! Thank you for your support!


