


I’ll be honest—I have what seasoned gardeners affectionately refer to as a “black thumb.” Plants don’t just die under my care; they actively stage protests. But this year, I’m determined. I’m growing a salsa garden, and if it’s the last thing I do, jalapeños will thrive in it. It’s about time I turn my salsa dreams into a spicy reality. After doing a bit of research, let’s go over some tips for growing tips for growing jalapeños
If you’re in the same boat of drought-stricken gardening confidence, don’t worry. Together, we’ll keep our jalapeño plants alive long enough to flavor our chips and guac. Here’s everything I’ve learned about growing jalapeños successfully (spoiler alert: it’s not rocket science, though at times it feels like it).
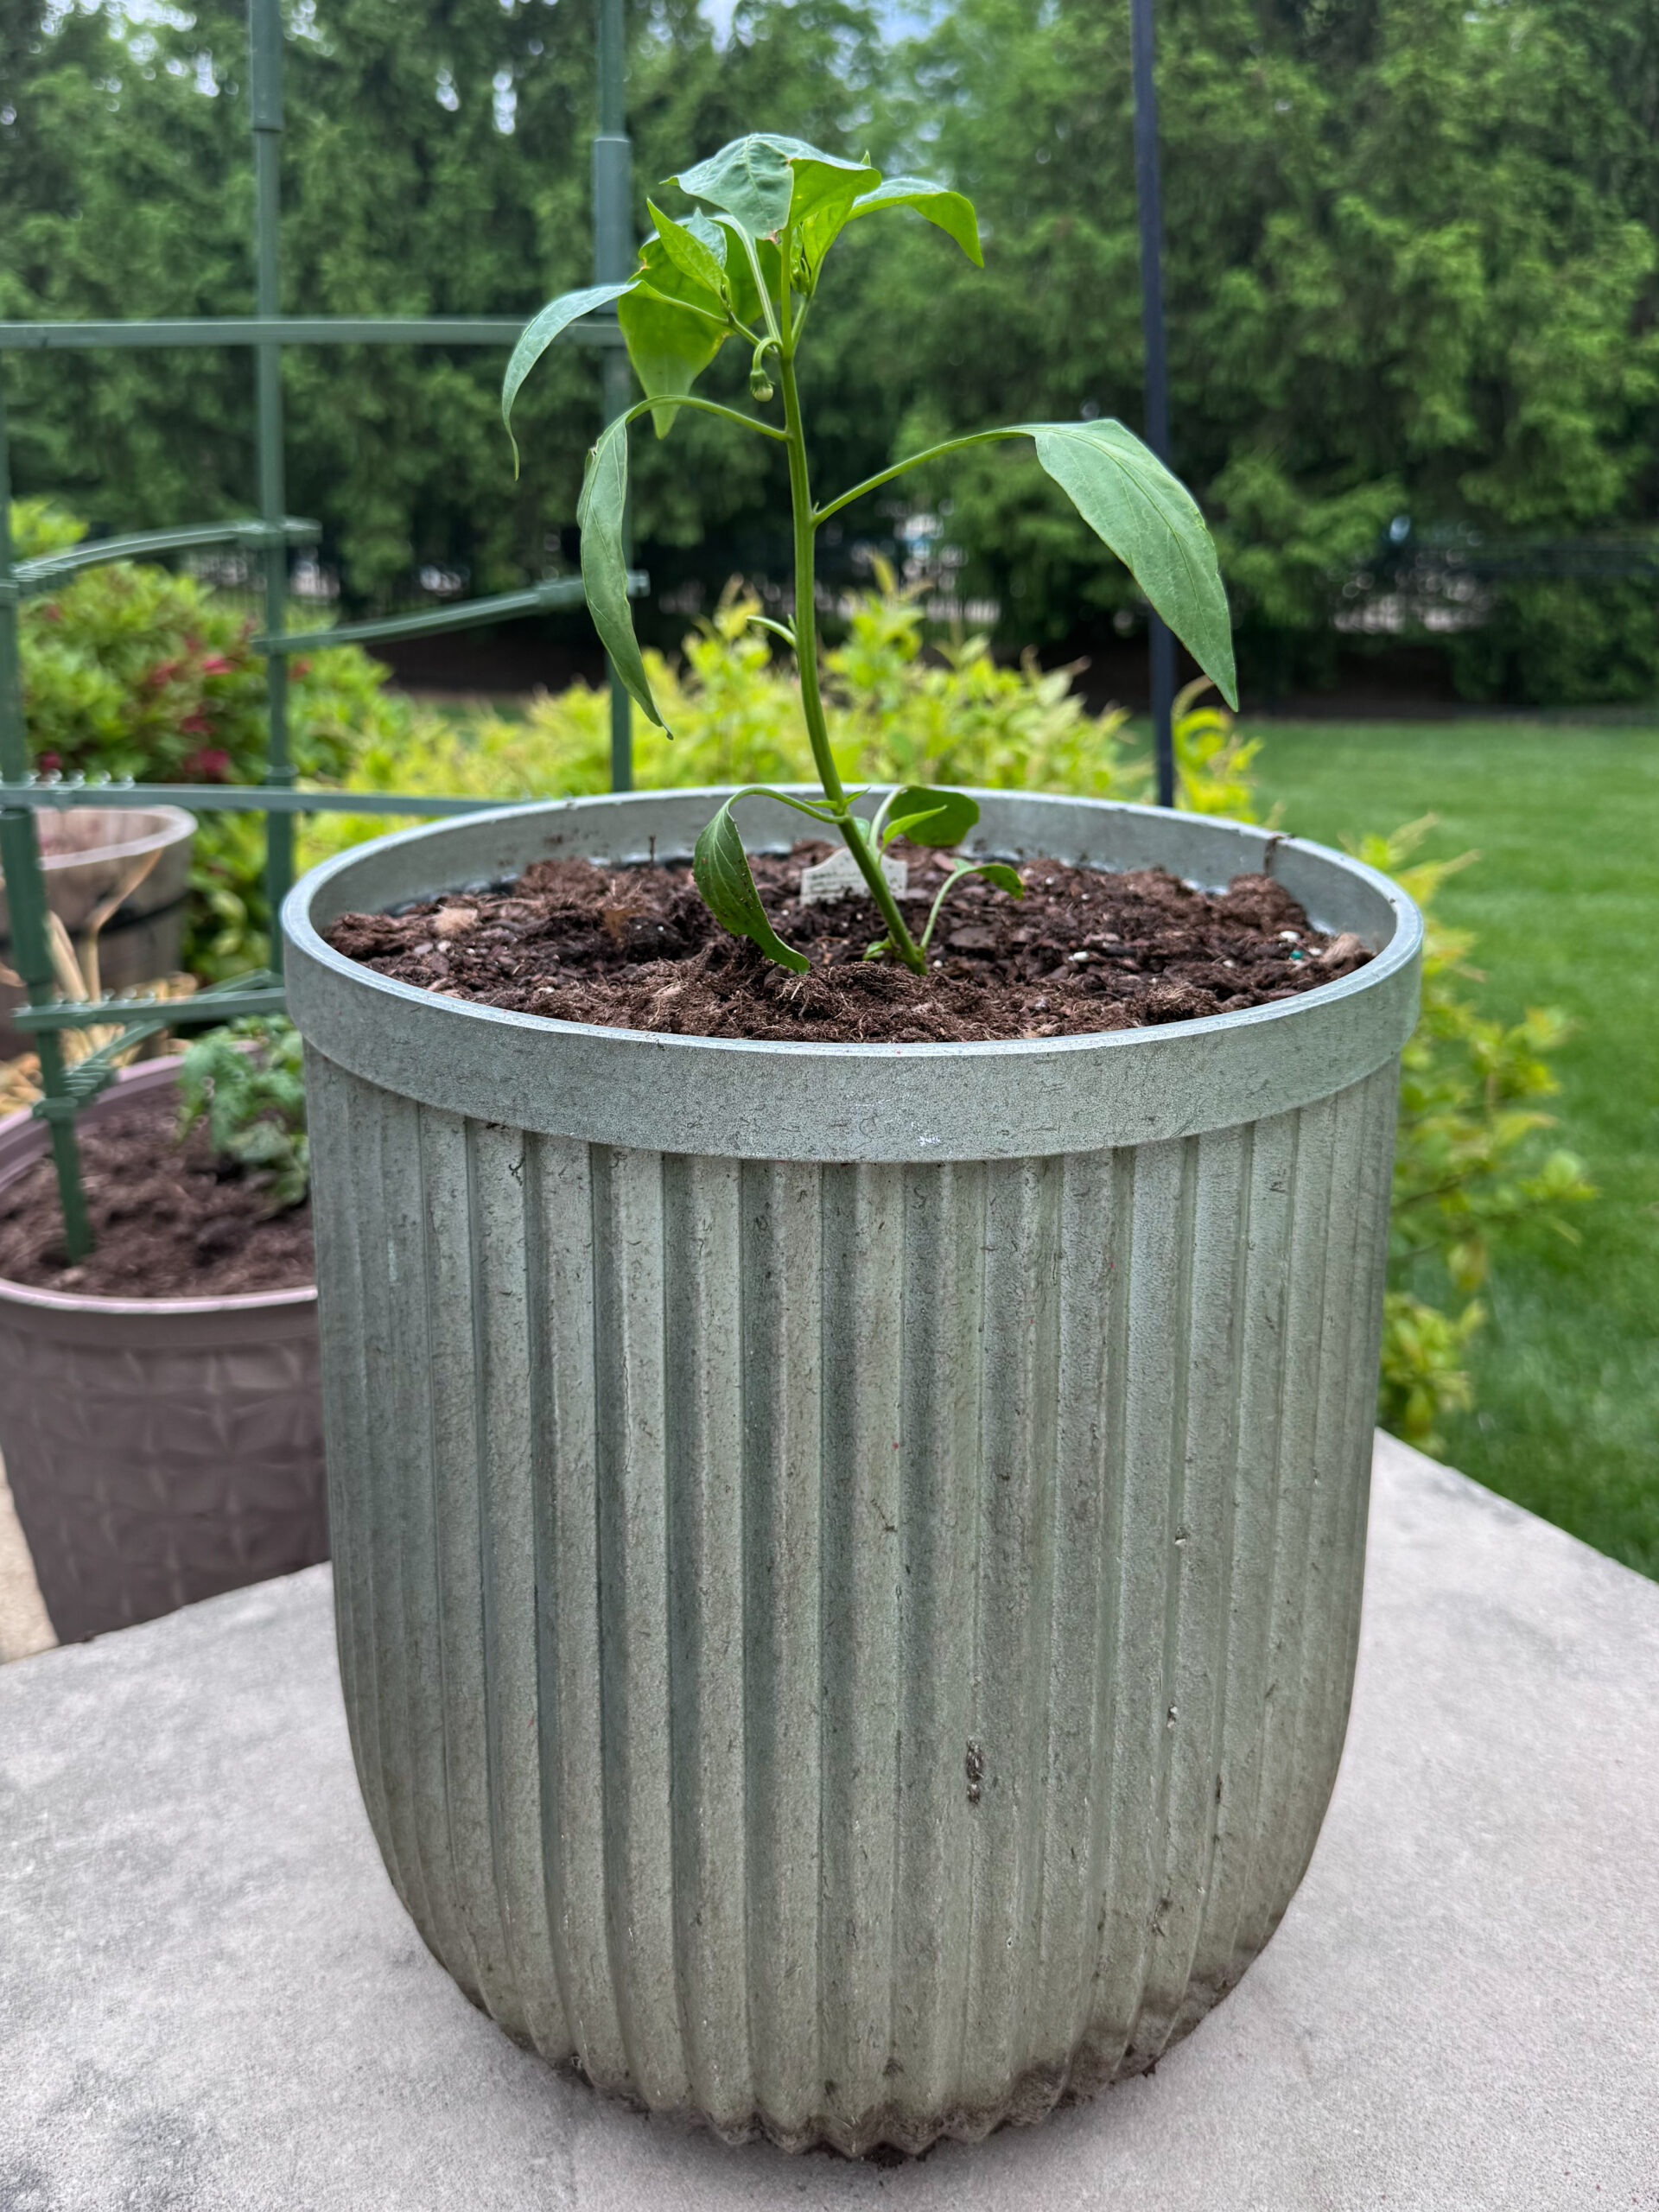
A few tips on growing jalapeños
Why Jalapeños Are the MVP of Salsa Gardens
First off, jalapeños are the salsa pepper. They’re just the right spicy—not too mild, not burn-your-mouth hot. And they have a slightly tangy flavor that makes any homemade salsa pop. Plus, jalapeños are versatile. You can use them in salsa, stuff them with cheese, or pickle them to add some zing to anything.
The good news? Jalapeños are also one of the easiest peppers to grow. Even for serial plant killers.
Step 1: Choosing the Right Spot (Hint: They Love the Sun)
Jalapeños love sunshine. I mean, they really love it. We’re talking 6-8 hours a day of direct sunlight. If your yard doesn’t have a sunny spot, consider planting your peppers in pots that can be moved around. Sunlight is non-negotiable for these little heat-lovers.
Pro tip for fellow “black thumbs”: avoid windy areas. Jalapeño plants aren’t fans of gusty conditions (and neither are we, to be honest).
Step 2: Soil Prep for Maximum Pepper Power
Apparently, jalapeños are divas about soil. They require well-draining soil that’s rich in organic matter. Skip the bargain-bin soil bags and opt for soil amended with compost. If you’re growing in pots, mix potting soil with coco coir and vermiculite for the ultimate moisture balance.
Step 3: Starting Seeds vs. Buying Plants
Here’s where you have choices. If you’re feeling ambitious, start seeds indoors 8-10 weeks before the last frost. Just make sure to keep the seedlings warm (70–90°F) and on a sunny windowsill.
Honestly, though, if you’ve killed a houseplant within the past six months, you might want to head to your local nursery and grab jalapeño starter plants instead. There’s no shame in starting off with a stronger contender.
Step 4: Watering (The “Goldilocks” Method)
When it comes to water, jalapeños are like Goldilocks—not too much, not too little.
- Too much water = weak plants and bland peppers. A soggy jalapeño plant is a sad jalapeño plant.
- Too little water = wilted sadness. Allow the top inch of soil to dry out before watering.
Pro tip: If you’re aiming for spicier peppers, don’t water just before harvest. Apparently, this stresses the plant enough to make it kick up its capsaicin. Jalapeños thrive on a touch of drama.
Step 5: Feeding Your Peppers
Feed your plants when they start flowering. Use a balanced fertilizer with potassium, or go for a fertilizer designed for tomatoes (chile peppers and tomatoes have similar needs). Skip those all-purpose miracle fertilizers unless they specifically mention peppers. Remember, you’re trying to make peppers, not a plant that looks like it belongs in the jungle.
Step 6: The Art of Harvesting
Your jalapeños will start out green and will eventually ripen to a deep red. If you like the classic jalapeño texture and snap, harvest them when they’re green. If you prefer a hint of sweetness and extra heat, wait until they turn red.
But here’s the golden rule of harvesting peppers (learned the hard way, trust me): never yank them off the plant. Use a sharp knife or pruners to cut them off without damaging the stem.
Bonus tip from painful experience: wear gloves when harvesting. Capsaicin has a sneaky way of finding its way to your eyes at the most inconvenient moments… ask my how I know, or … don’t.
Troubleshooting Common Jalapeño Woes
Despite your best intentions, things may still go awry. Here’s how to fix the most common jalapeño problems:
- Drooping plants? You’re either overwatering (typical) or underwatering (also typical). Check the soil moisture.
- Yellowing leaves? It’s likely overwatering or nutrient deficiency. Give your soil a check-up.
- No peppers? Your plant could be stressed by extreme temperature swings or lack of pollination. Encourage airflow and, if needed, hand-pollinate with a small brush.
Step 7: Celebrate Your Success (Yes, Even You, Black Thumb)
Once you’ve harvested your first batch of jalapeños, it’s time for the fun part. Whip-up some fresh salsa and bask in your gardening triumph. You didn’t just grow peppers; you grew insanely good homemade salsa.
Here’s my go-to recipe for a basic jalapeño salsa that makes me feel slightly like I should open a food truck:
- Ingredients: Your homegrown jalapeños (start with 2-3), tomatoes (2 medium), onion (½ a medium one), garlic (2 cloves), cilantro, lime juice, and salt.
- Instructions: Roast the jalapeños, tomatoes, garlic, and onion in the oven or on a skillet. Once lightly charred, blend them with a pinch of salt, a squeeze of lime, and a handful of cilantro. Adjust spice levels to your liking.
Final Thoughts
If I can grow jalapeños, so can you. All it takes is sunlight, a bit of TLC, and a good reminder not to overwater.
And hey, if you’re still nervous, just remember why you’re doing this—for the salsa. A bowl of spicy, homemade salsa will make every “black thumb” moment worth it. Now, get planting. You’ve got peppers to grow! 🌶️
Did these tips for growing Jalapeños help? Seems pretty basic, right? I am excited to have a salsa party in the coming week!
Ps. be sure to check out my blog on building your own self watering irrigation system for your garden… it is a true game changer!


