


Here is a great video tutorial on how to easily build a self-watering irrigation system for around $100-$130, depending on what items you might already have on hand. The video showcases the system my dad and I built at my grandparent’s home.
In this blog, I explain the installation process on the most recent self-watering irrigation system I easily constructed for my backyard vegetable garden and plants.
Building a self-watering irrigation system for your garden and outdoor plants makes for a great weekend project. You can purchase the supplies from your local Home Improvement Store or order the parts from the list below. You can have your own self-watering irrigation system for your outdoor plants and garden within a few hours.
To get started…
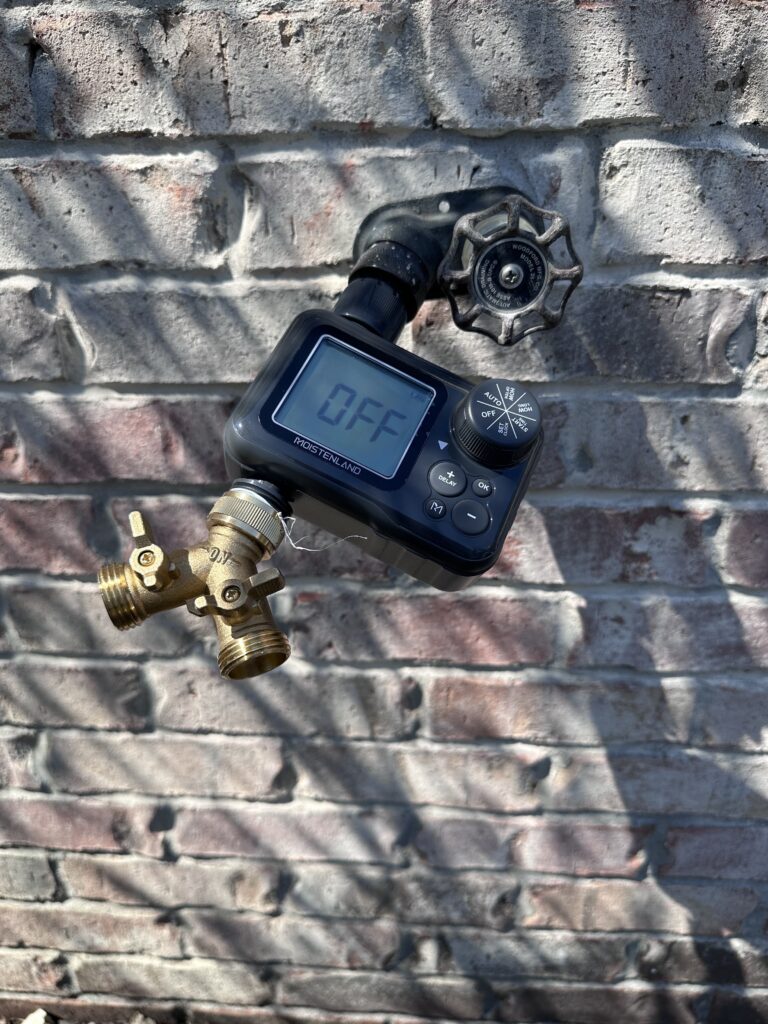
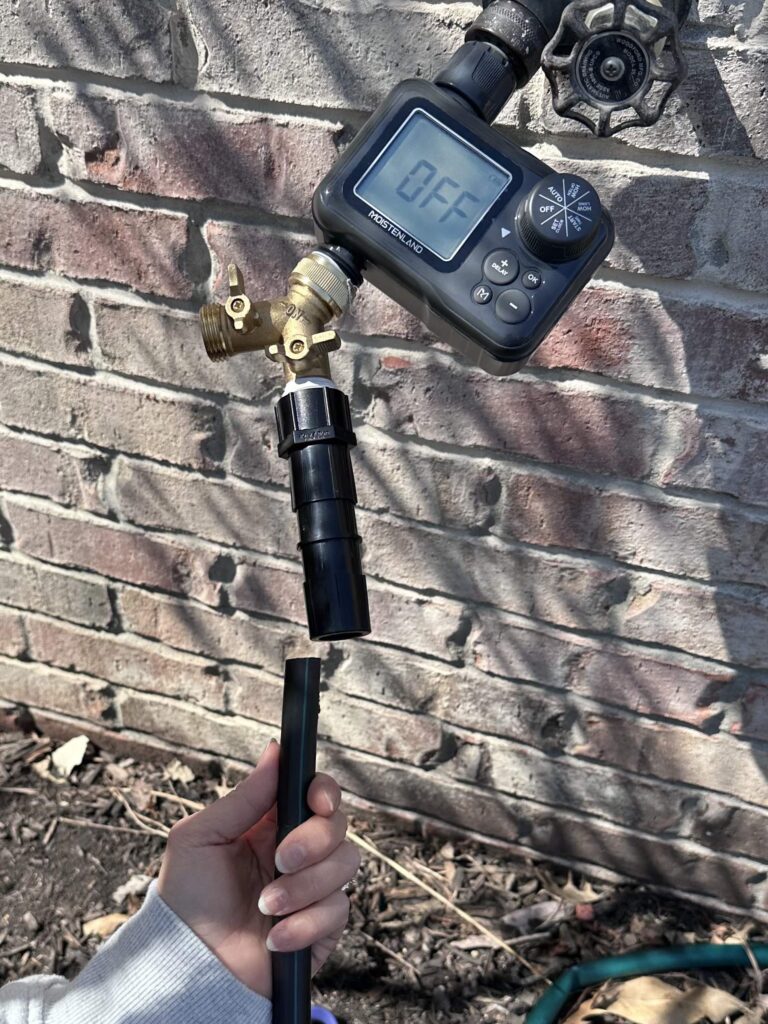
We first installed a single hose watering timer directly into the spigot. Then, attached a hose splitter to the timer (we used plumbers tape to ensure a solid, leak-free connection). Then we jumped right into setting up the 1/2 inch main line.
Constructing the Main Irrigation Line
For the main line, we used 1/2 in. poly tubing and buried the line around the areas we did not want to see it (and to also protect it from the lawn mower). When we needed to change the direction of the hose, elbows and tees were used to route it accordingly. For example, we used 1/2 in. elbows to wrap it around a rectangular deck last year. If we needed to split the hose in two directions, we’d attach the tee.
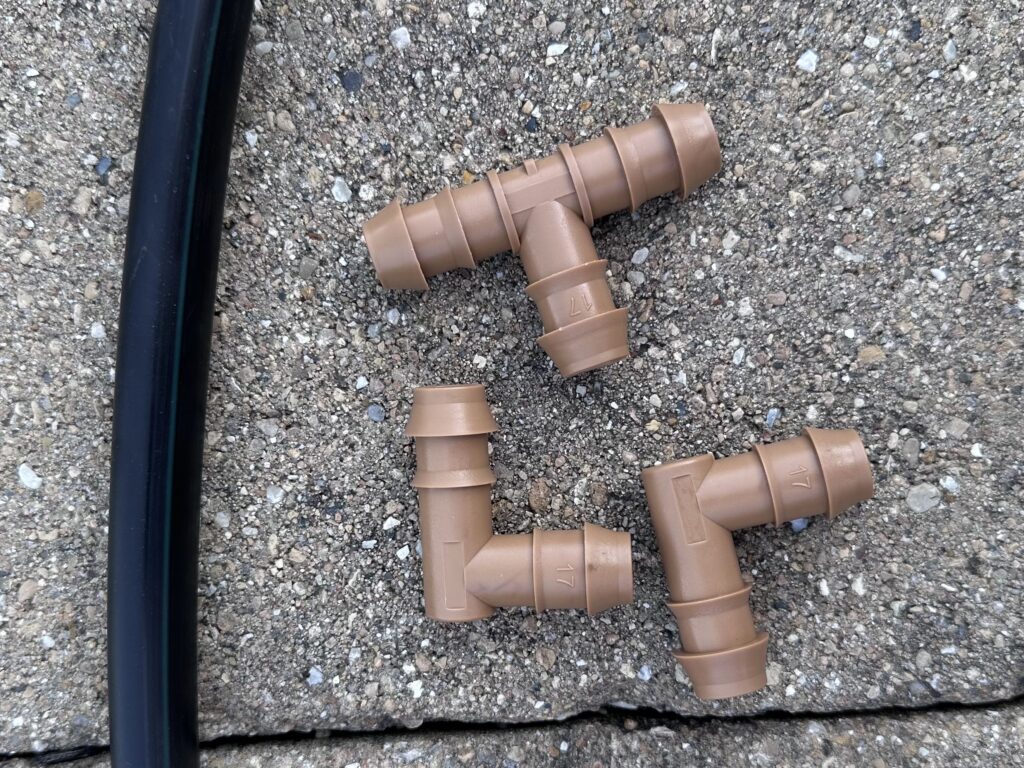
Note: Utilize the approproate fittings when routing the hose around the space. Not doing so will encourage hose kinks. Water flow will be dramatically compromised if the hose bends and closes up – USE THE ELBOWS and TEES 🙂 Once the main line is placed accordingly, simply cap it off using the hose plug capper (you might use a rubber mallet to assist in this tight fit). After this was completed, we went back to the main line to where we connected an irrigation PVC adapter.
1/4 Inch Drip Tubing Install
Once you have the main line (1/2 inch hose) routed around your garden, then it is time to pull out the 1/4 inch drip tubing. The 1/4 inch drip tubing will make up the tiny hoses that will feed off of the main line. These tiny hoses are what will be placed directly into your planter and/or garden. Now is when we will utilize the drip tube punch tool and 1/4 inch fittings to add the sprinkler heads.

Word of advice – because the drip tubing hose and parts can be stubborn, I HIGHLY recommend having a glass of HOT water nearby. I dipped the end of the tubes into the hot water for a few seconds to make it more pliable prior to adding the fittings. This made the project much faster and a million times easier on the hands.
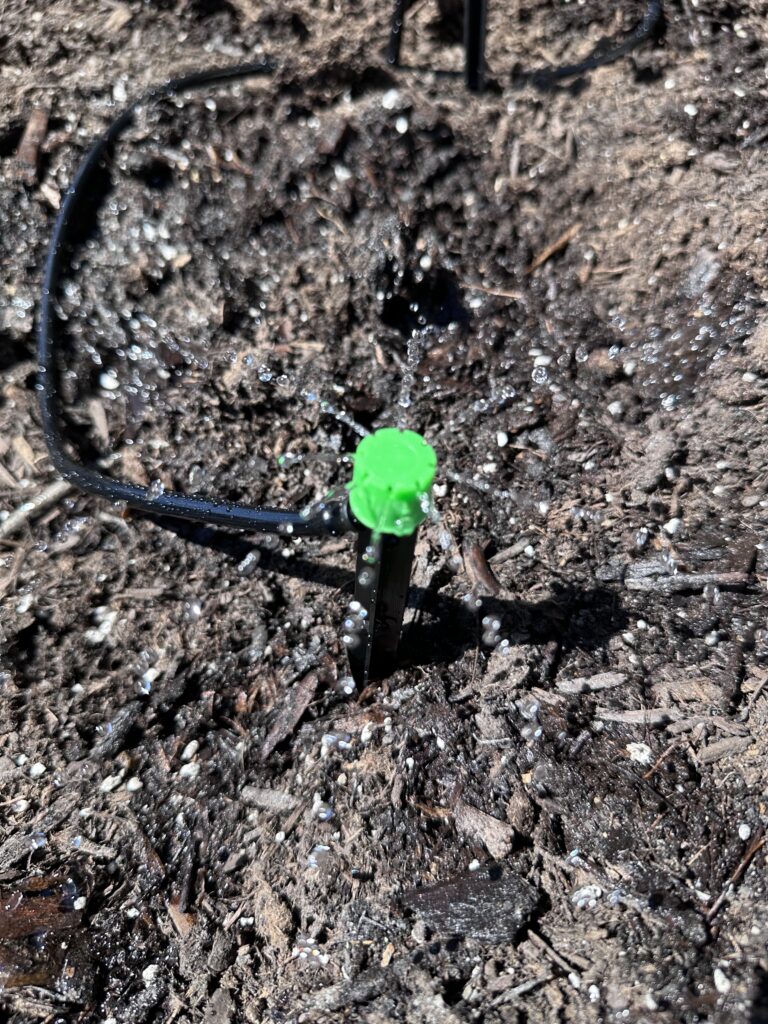
We used the drip tube punch tool to put a hole in the main line and then used the straight couplings to attach the 1/4 inch tubing to the main line. Then added the dripper (or green tipped “sprinkler”) to the other end of the tubing. These drippers have a 360 sprayer that can be adjusted to spray larger areas and/or can be completely shut off.
Once all the drippers were placed, we setup the sprinkler timer to turn on automatically and we had water flowing into the vegetable garden bed within seconds.
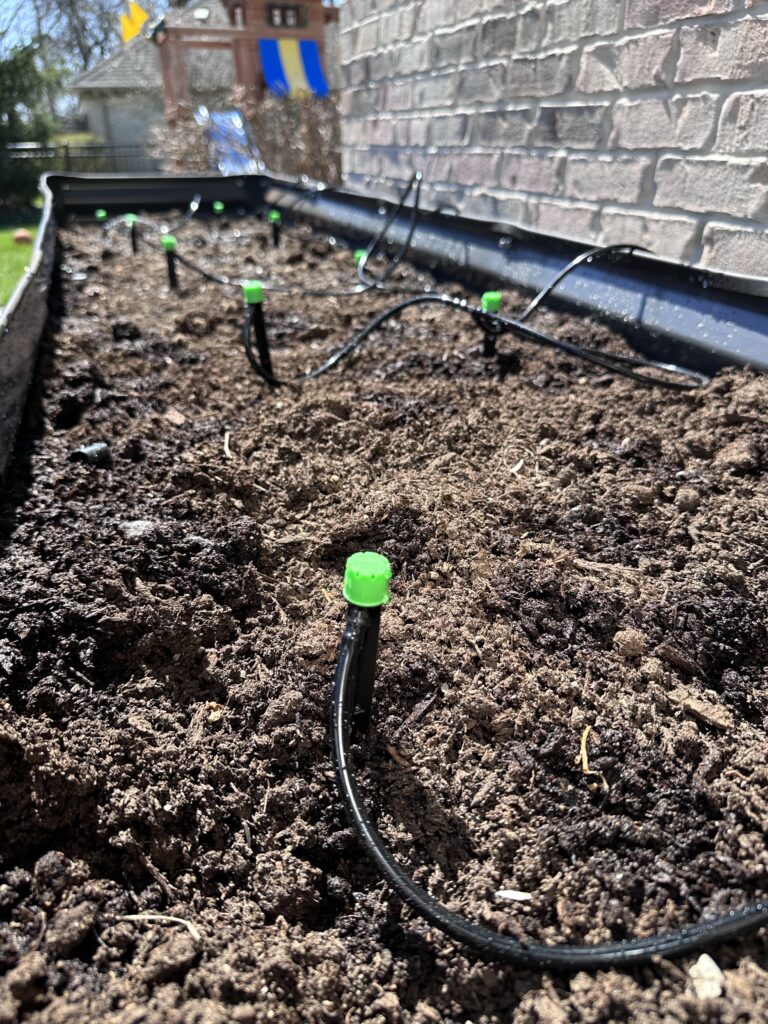
It was magical watching that water flow out of the sprayers!
This is project is so simple and can only take a few hours to put together. It will save your plants long-term and will also help them grow to their fullest potential by staying on a watering schedule. Plus, this is a great tool to utilize if you plan to do some travels — with this system, you don’t have to hire help to keep your plants alive. It is this easy to build your very own self-watering DIY irrigation system.
If you have any questions on making one of these for your garden, feel free to reach out! I am always here and happy to help you DIY successfully. I have more videos on my Instagram story highlights where I documented this process on camera – this may also help to answer some of your questions. Checkout my other DIY projects here.
Self-Watering Irrigation System Parts List (Click here for full parts list):
- 100ft 1/4inch Drip Tubing
- Drip Irrigation Fittings
- 1/2 inch Plug Capper
- Drip Irrigation PVC Adapter
- Garden Hose Splitter
- 1/2inch Rigid Pipe Strap
- Drip Irrigation Emitters Sprayer Heads
- Drip Irrigation Hole Punch Tool
- Irrigation Fittings
- 1/2 Poly Tubing
- Sprinkler Timer
The full list from above is also available in my Amazon Store Front.
Disclaimer: This post contains affiliate links. This means, if you purchase something from a link I provided, I will receive a small commission. This is at no extra cost to you! Thank you for your support!


