Disclaimer: This post contains affiliate links. This means, if you purchase something from a link I provided, I will receive a small commission. This is at no extra cost to you! Thank you for your support!
As a homeowner, there are several minor repairs that you can handle yourself. One of such repairs is patching up drywall holes and damage. After having to repair my fair share of drywall holes around the house, I finally feel confident enough to share my favorite drywall repair technique with you. With a few tools and materials, you can easily fix a hole or crack in your wall without having to hire a professional. This blog post will guide you through the step by step process of tackling a drywall patch like a pro!
If I am being completely honest, I think it is easier to watch how to do this rather than reading how to do it… so, feel free to watch my <2 minute video on this process here.
Here is the list of items you need to tackle this job (Joint Compound, Drywall Knife, Utility Knife, Jab Saw, mask, primer, paint brush, sponge, sanding sponge)
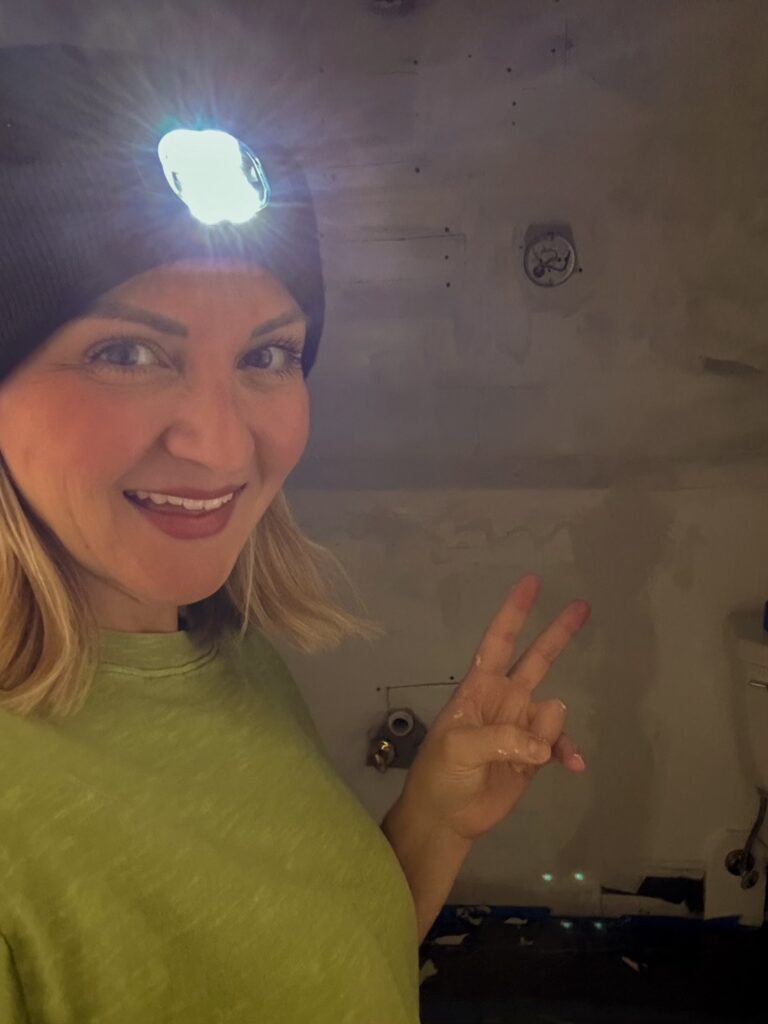
Step 1: Make sure the wall hole is a rectangle or square
Using a jab saw, cut out the damaged part of the wall to form a clean square or rectangle shape. Ensure that the size of your cut-out is slightly bigger than the hole or crack. This will make it easier for you to work on filling in the gap. Then, cut out a piece of scrap drywall about one inch wider on the length and width than the hole, using a utility knife.
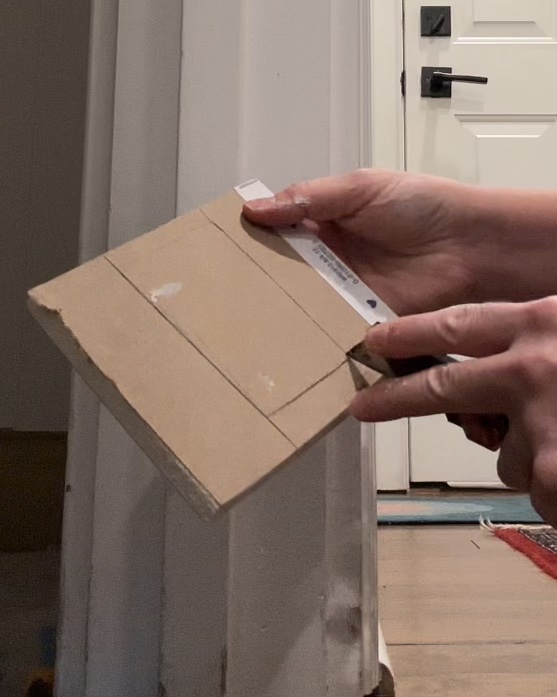
Step 2: Peel Back Extra Pieces
Next, gently score the drywall to the approximate size of the wall hole, leaving the 1 inch buffer “wings” on the exterior of the piece you are cutting. Once you have gently scored the perimeter of the hole, peel back any extra pieces of drywall around the cut-out area until you have exposed the wings of your drywall paper. Be careful not to damage these wings as they are essential in helping you attach your new piece of drywall.

Step 3: Use Joint Compound To Adhere It To The Wall
Apply joint compound to the sides of the hole in the wall as well as to the “wings” of your new piece of drywall, then carefully insert it into the cut-out area. Then grab a drywall knife, your joint compound and start smoothing out the seams. I like to start from the center area and then fan out the joint compound to smooth it as much as possible.

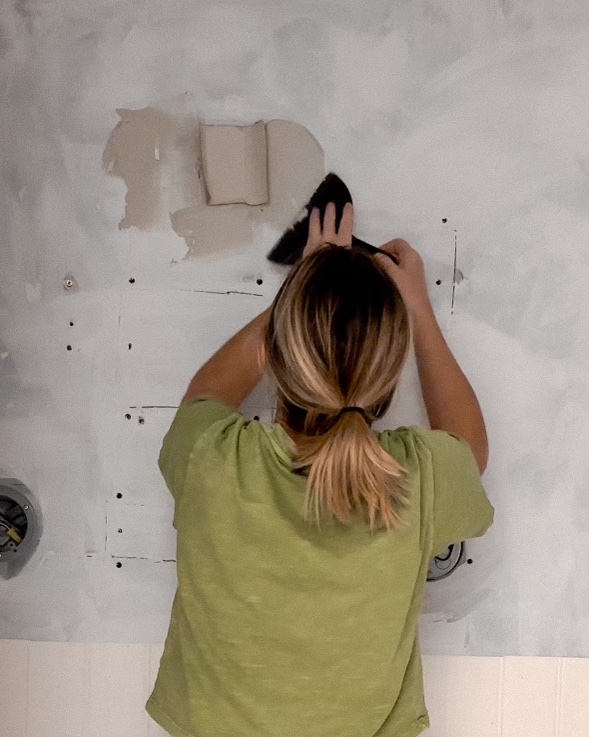

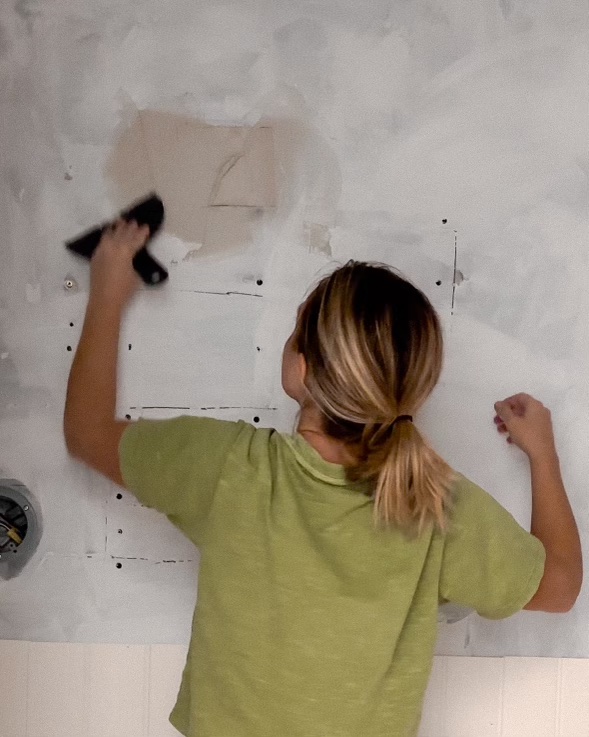
Step 4: Wet Sponge And Sanding Sponge Until Smooth
After letting everything dry completely (which could take several hours), use a wet sponge to smooth out any excess joint compound that may have seeped out around the edges of your patch job. Once everything is smoothed out as much as possible, use a sanding sponge to finish the job. Be sure to sand until the surface is completely smooth and there are no rough spots or bumps. Please note, this typically takes a few rounds before its ready for paint and primer, so be patient with yourself.
PS. be sure to wear a face mask and eye protection when dry sanding this as drywall dust is no joke- better to be safe than sorry!
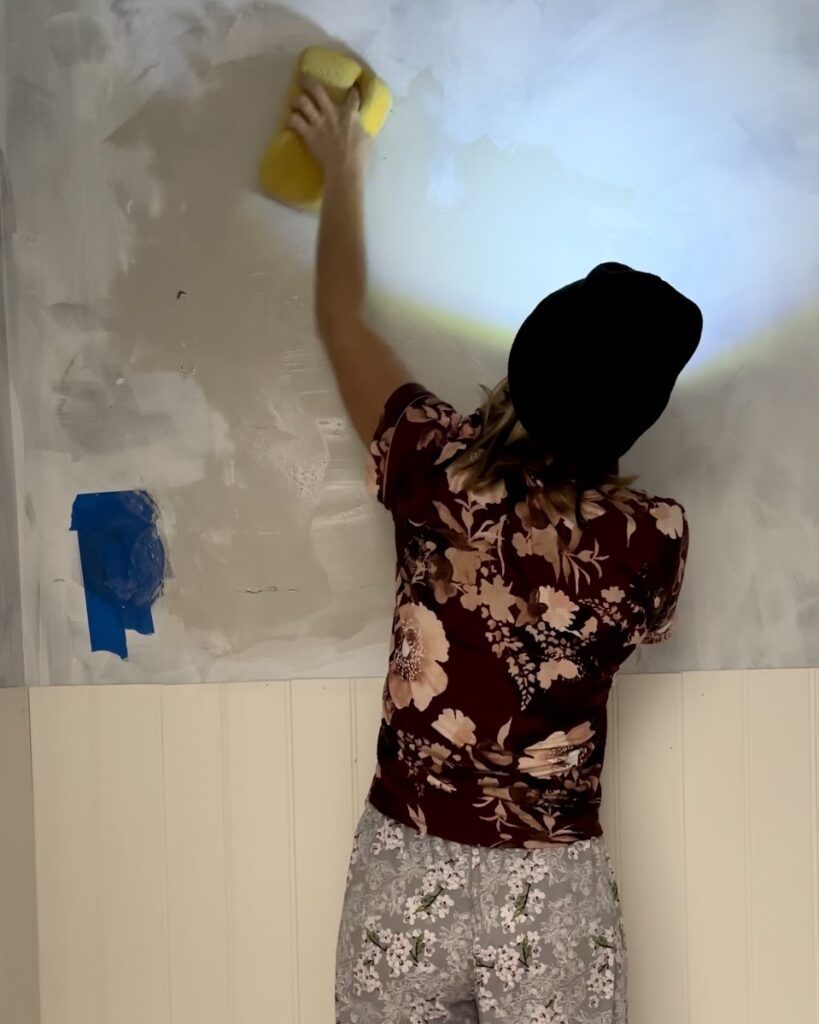
Step 5: Primer And Paint Application
Lastly, it’s time for primer and paint! Once everything is smooth and dry, you can apply your primer and then your paint. If necessary, you may need to apply multiple coats of each until everything looks seamless and uniform.
Repairing your drywall is not as daunting as it seems. With the right tools and materials at hand, you can easily fix any hole or crack in your wall without having to spend so much money on hiring a professional. Remember to always take your time when working on your repairs, and follow each step carefully for an excellent result. So go ahead and tackle that drywall patch like a pro!
First things first, we need to score the drywall around the hole. Take a utility knife or a box cutter and score around the perimeter of the hole. Make sure not to cut too deep or you might create more damage than necessary. Once you have scored around the entire hole, use your hands or pliers to peel away any loose pieces of drywall until you are left with a clean edge.
Patching up drywall can seem daunting if you’ve never done it before, but with our step-by-step guide, you’ll be a pro in no time. Remember to take your time with each step and be patient; rushing through the process could result in an unsightly patch job that needs even more work later on. With these tips and tricks in mind, you’ll have your drywall looking as good as new in no time!
Checkout my other blog posts here 🙂
