


Who doesn’t love the infamous leg lamp from “A Christmas Story”? It’s an iconic holiday decoration that is both funny and festive. This year, why not try to DIY your very own classic Christmas Story leg lamp to display out your front window during the holiday season? In this blog, I’ll share with you an easy DIY method for constructing your very own leg lamp. Whether you’re a DIY enthusiast, holiday movie buff, or just looking for a fun and unique holiday decoration, this project is for you! The best part is it’s significantally less expensive than purchasing a leg lamp online.
Here are the things you will want and need to start this DIY project (Individual links below and the compiled list is here):
- Leg manniquin (I purchased two legs since I had two shoes, fishnets, etc. and gave one lamp as a gift)
- Extra Warm light bulb (I appreciate the yellow color for the full effect)
- Lamp Shade (about 20 Inches wide on bottom, I purchased mine from the consignment store for $1.99)
- Black Fringe
- Black Heels (size 6.5-7)
- Fishnet Thigh Highs (Black for a classic look or change the color for some added fun)
- Circular wooden base
- Black Paint, Stain or Spraypaint (optional)
- Lamp Shade Holder
- Liquid Nails (Or Duct Tape if you want to keep it simple)
- Large Cardboard Box to paint “FRAGILE” (optional)
Believe me when I say I searched high and low for a leg mannequin from secondhand shops, but it was near impossible to find. This, unfortunately, is the most expensive part of the entire build.
Step 1: Paint Your Base
Take your circular wooden base and paint it black if desired. This is totally optional, however, it will make your leg lamp look sleek and polished. Allow the paint to dry completely before moving on to the next step.
Step 2: Secure the Shoe to the base using two 2 inch wood screws.

Once your base is dry, it’s time to secure the shoe to the center of the base. I used two screws for this part, but you might be able to get away with using wood glue to secure the shoe to the base. We don’t want it to be too fra-gee-lay, so I do recommend securing with screws :).
Side note: I would like to mention that these shoes were purchased second hand, and were initially beige in color. I took them home and spray painted them black. I already had the spray paint on hand and so this helped to keep the overall cost down in regards to what I spent on shoes ($10 total). Be sure to keep an open mind if you are looking to keep this as a budget friendly project.
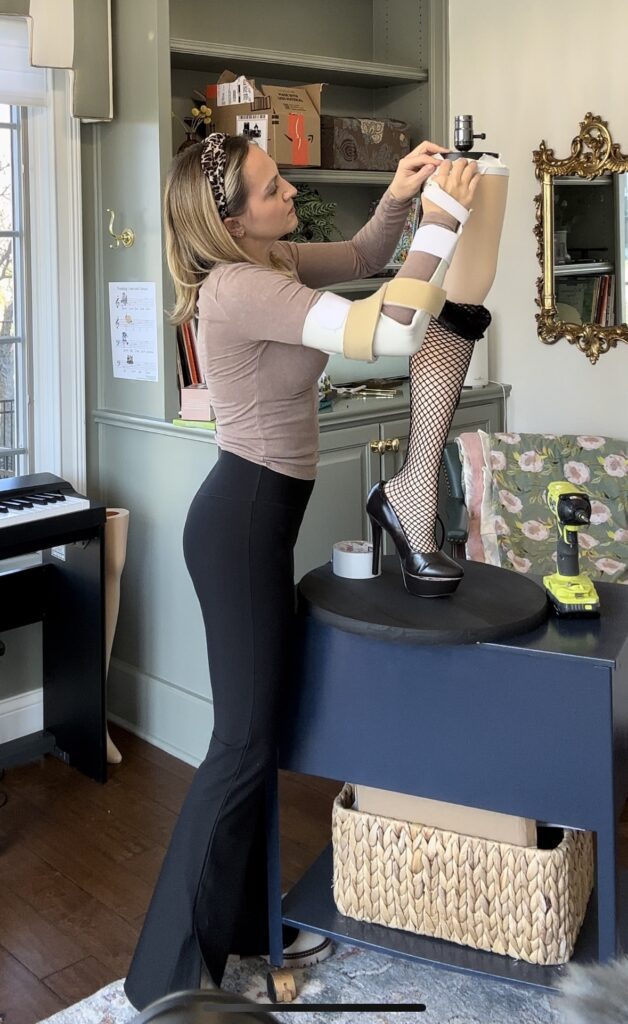
Step 3: Add the Leg Components
Add the fishnet thigh highs to the leg and then insert the foot into the black heel. Initially, I thought the shoes were too small for this particular mannequin’s foot, but that was just not the case. A bit of elbow grease is required to get the foot into the shoe. Reminder to make sure the shoe is size 6.5-7 only. You might need a little bit of glue to secure everything in place.
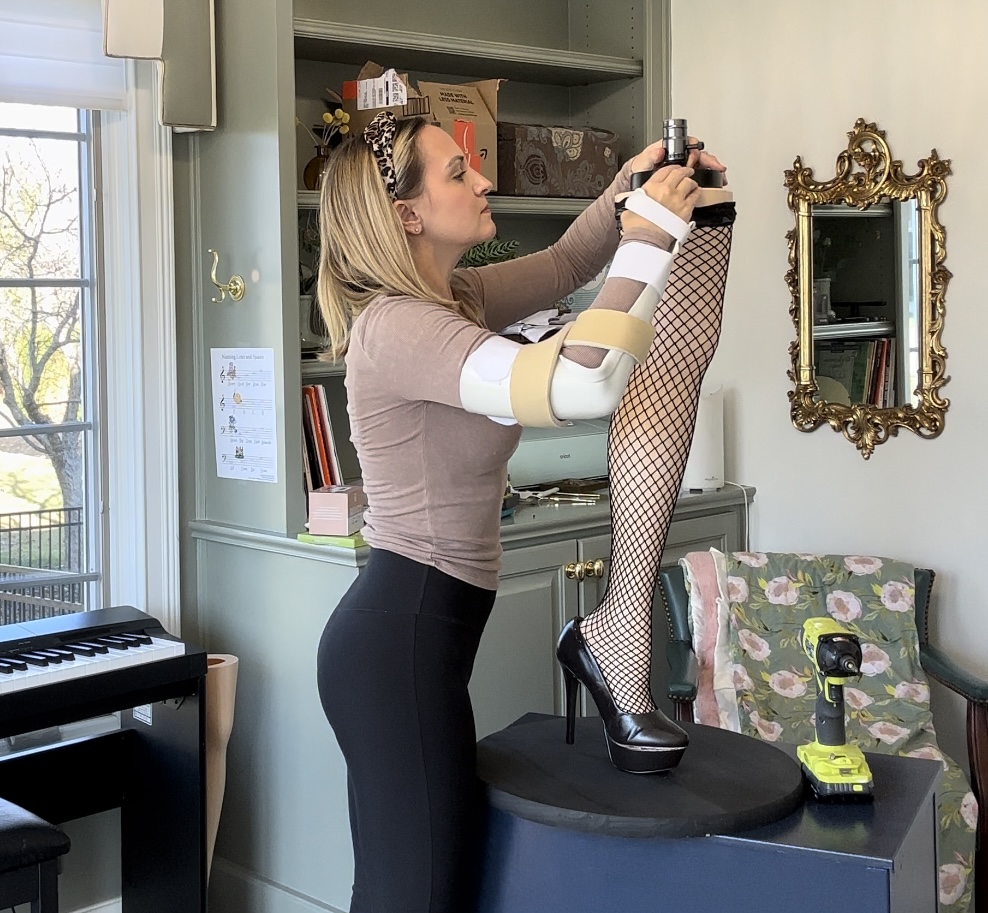
Step 4: Attach the Lamp To the Leg
Since was in recovery from wrist surgery, I decided to take the easy road by using duct tape to attach the lamp to the top of the leg. Honestly, it kept this project very simple for me and was completed in about a minute’s time. Plus, when the fish nets are pulled up and the lamp shade is in place, no one can see the duct tape.
If you would rather use glue or hardware to secure the lamp, that is always an option as well.
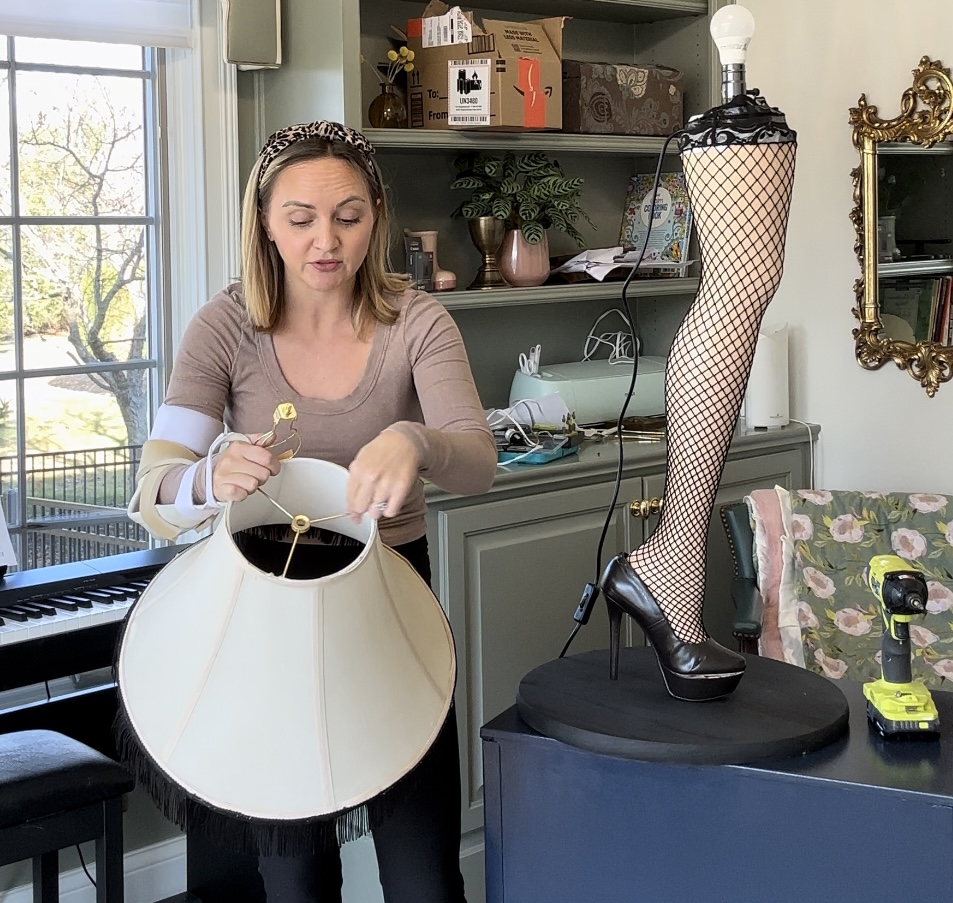
Step 5: Add the Finishing Touches
Now that the main components of the leg lamp are in place, it’s time to add the finishing touches. Attach the black tassels to the shade of the lamp using glue or string. Then, add the extra warm light bulb to the lamp. This will give your lamp a warm, cozy glow that is perfect for the holiday season.
Once the bulb is in place and the lamp shade is ready to be attached, screw in the lamp shade light bulb attachment seen in the below photo. Please note it is important that the lamp shade have the metal fittings at the top of the shade like the one in this photo.
Once everything is in place, I recommend running the lamp’s electrical wire down the back of the leg and used clear moving tape to secure the cord to the leg. When the fish nets are pulled over top of the cord, you no longer see the tape. The black cord blends nicely as it appears to be the seam of the fish net panty hose.

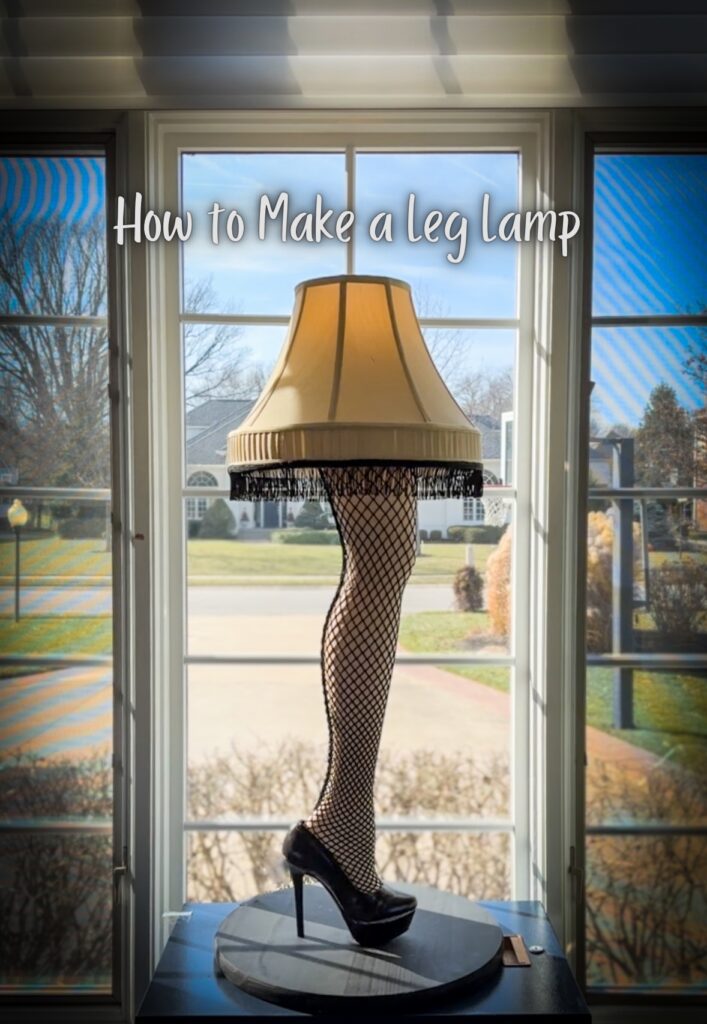
Step 6: Put Your Leg Lamp Masterpiece on Display
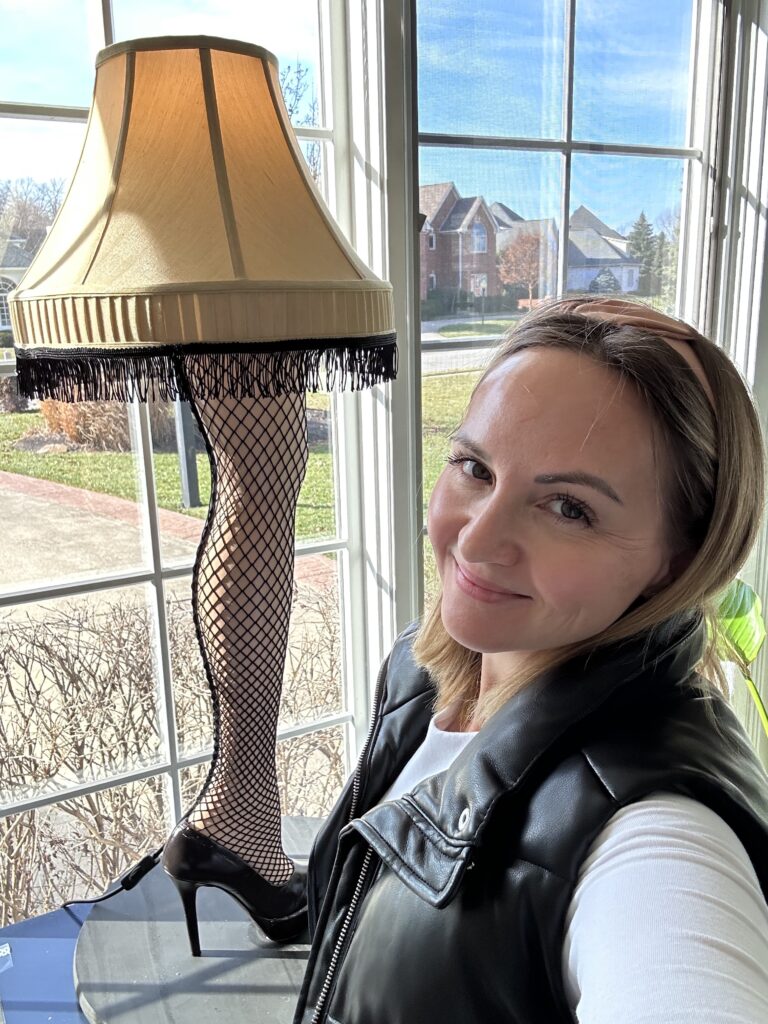
Once you’ve completed your leg lamp, it’s time to set it up. Place it in a prominent window where everyone can see it. Turn it on at night to give it that classic “A Christmas Story” look. Your friends and family will love your unique holiday decoration! Not bad for a 15 minute DIY project (excluding the paint dry time!)
Now that you have all the information you need to make this Classic Leg Lamp DIY (inspired by the Christmas Story), why not give it a shot? PS. this would make for an awesome Christmas gift.
You can find a quick video tutorial here. And be sure to read about my other DIY projects here.
In conclusion, making your own leg lamp is a fun and easy DIY project that is perfect for the holiday season. With a little bit of creativity and some basic supplies, you can create a festive decoration that will be the envy of all your friends and family. Not only will it add a touch of humor to your holiday decor, but it will also remind you of a classic movie that brings so much joy to so many people. So go ahead and give it a try, and let us know how your leg lamp turns out! Happy crafting!
Disclaimer: This post contains affiliate links. This means, if you purchase something from a link I provided, I will receive a small commission. This is at no extra cost to you! Thank you for your support!


