If you are looking to do a small, yet extremely satisfying craft to get those creative juices flowing, then grab a box of dye, a pack of flour sack towels and some rubber gloves. Learning how to tie dye using the Kanoko Shibori method only takes a few minutes. It is a simple and easy craft that doesn’t require much time and money to complete.
Occasionally I will stroll the aisles of Target in search of clearance toys to use as birthday gifts for the birthday parties my kids attend. I have a plastic bin in my closet full of toys for boys and girls, making it easy to prepare for birthday parties. I almost always have a gift on hand that will work (and it is always budget friendly). Anywho, on this particular day at Target, I stumbled across this tie dye kit for just $2.50. Naturally, I grabbed the last two kits available and started brainstorming crafting ideas.
Supply List:

Tie dye can get messy, so make sure you are wearing an apron and/or old clothing…
Be sure to use rubber gloves when handling the dye, otherwise you could have colorful fingertips for the week — trust me on this one. I even lined the counter with plastic grocery bags to keep the dye from staining my laundry room countertops.
When I was in college, I studied in Japan for a semester to meet my requirements for a minor in Japanese language. It was then when I learned how to tie dye using the Shibori method. While there are quite a few ways to Shibori, I am going to show the Kanoko style. This uses uses rubber bands (traditionally string) to achieve a fun look.
How To Tie Dye the Kanoko Shibori Way
To begin, fold the towel in an accordion fashion. To achieve the Kanoko effect, use small rubber hair bands and tie acorn sized sections along the edge of the fabric as seen in the photo. Ps. I would like to mention that I forgot to take photos along the way. Instead, I snapped screenshots from the video I made, so the photos aren’t the best…sorry….

I used four rubber band sections on one side and three sections on the opposite, doing seven total sections.


Once each towel was sectioned off with the bands, I went back to each section and added more rubber bands to it. I worked the bands deeper into the fabric until it looked like a mummified oversized piece of garlic. I am actually quite proud of the “garlic” description because thats literally exactly what it looked like.
Let’s Tie Dye!
Follow the instructions on your dye kit for activating the dye. In my case, the dye came in little squirt bottles that needed additional water to activate the dye. Since I was limited on the amount of dye I had, I used the bottles to douce the towels with the squirt tip. Soaking in a bowl of dye is also an option. Allow the dye to process for at least 30 minutes. For deeper color, let it soak for longer.
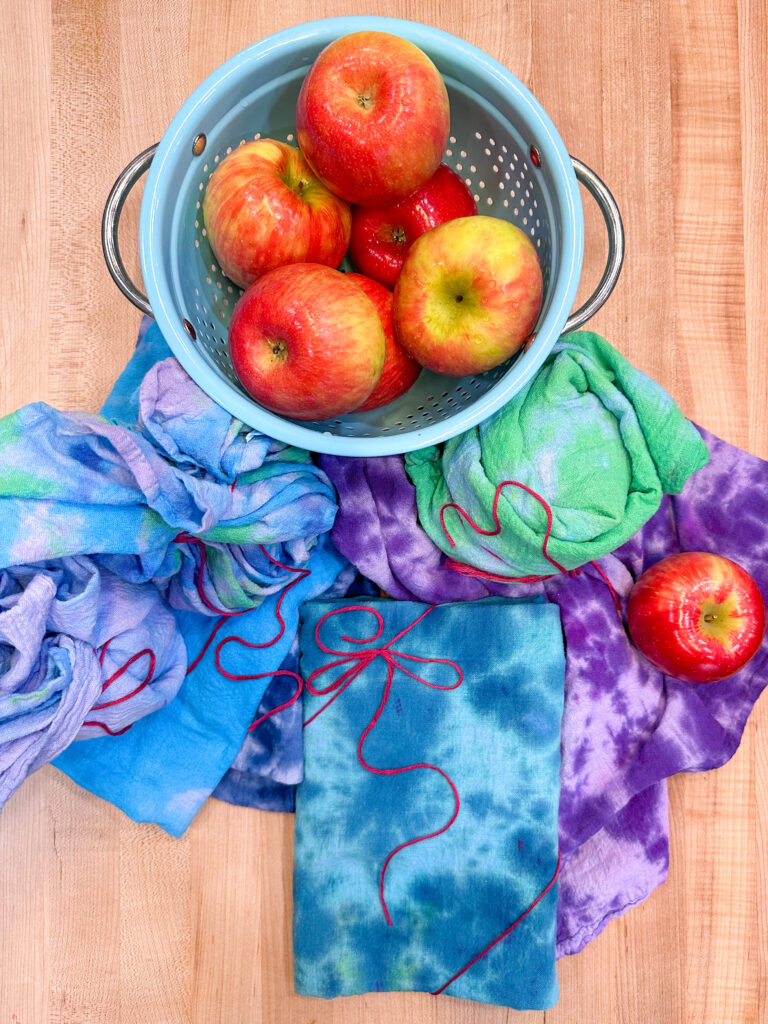
Traditionally, Shibori is done in an Indigo color, but because my tie dye kit came with multiple colors, I used all of them! I did my best to keep the towels separate from each other to avoid the colors from mixing. However, if you are going to a multi-colored tie dye look, then by all means mix away!
Once the towels had soaked long enough, I removed the rubber bands and tossed them into the washing machine to remove the remaining dye. After drying them, I admired their beauty!!

The beauty in tie dye is that every piece is unique. I truly love this form of art and am looking forward to sharing these special towels with family and friends.
Now that you know how to tie dye using the Kanoko Shibori method, is this something you would try? Ps, here is a quick video tutorial as well.
Thanks for stopping by and click here to see other fun DIY projects.