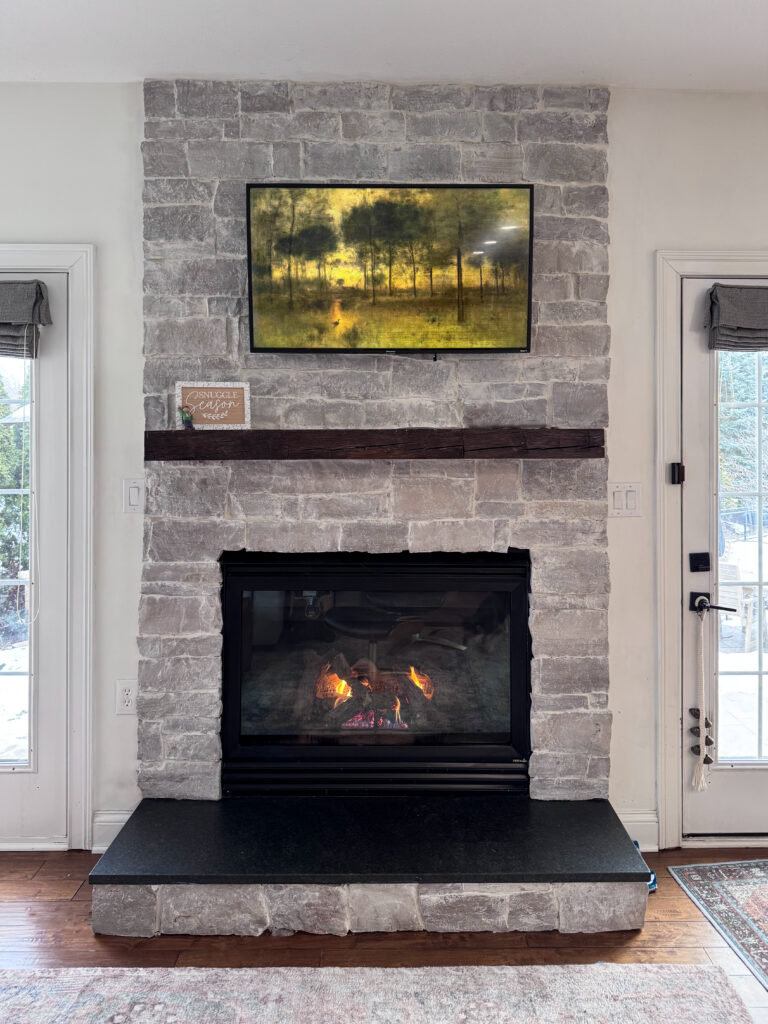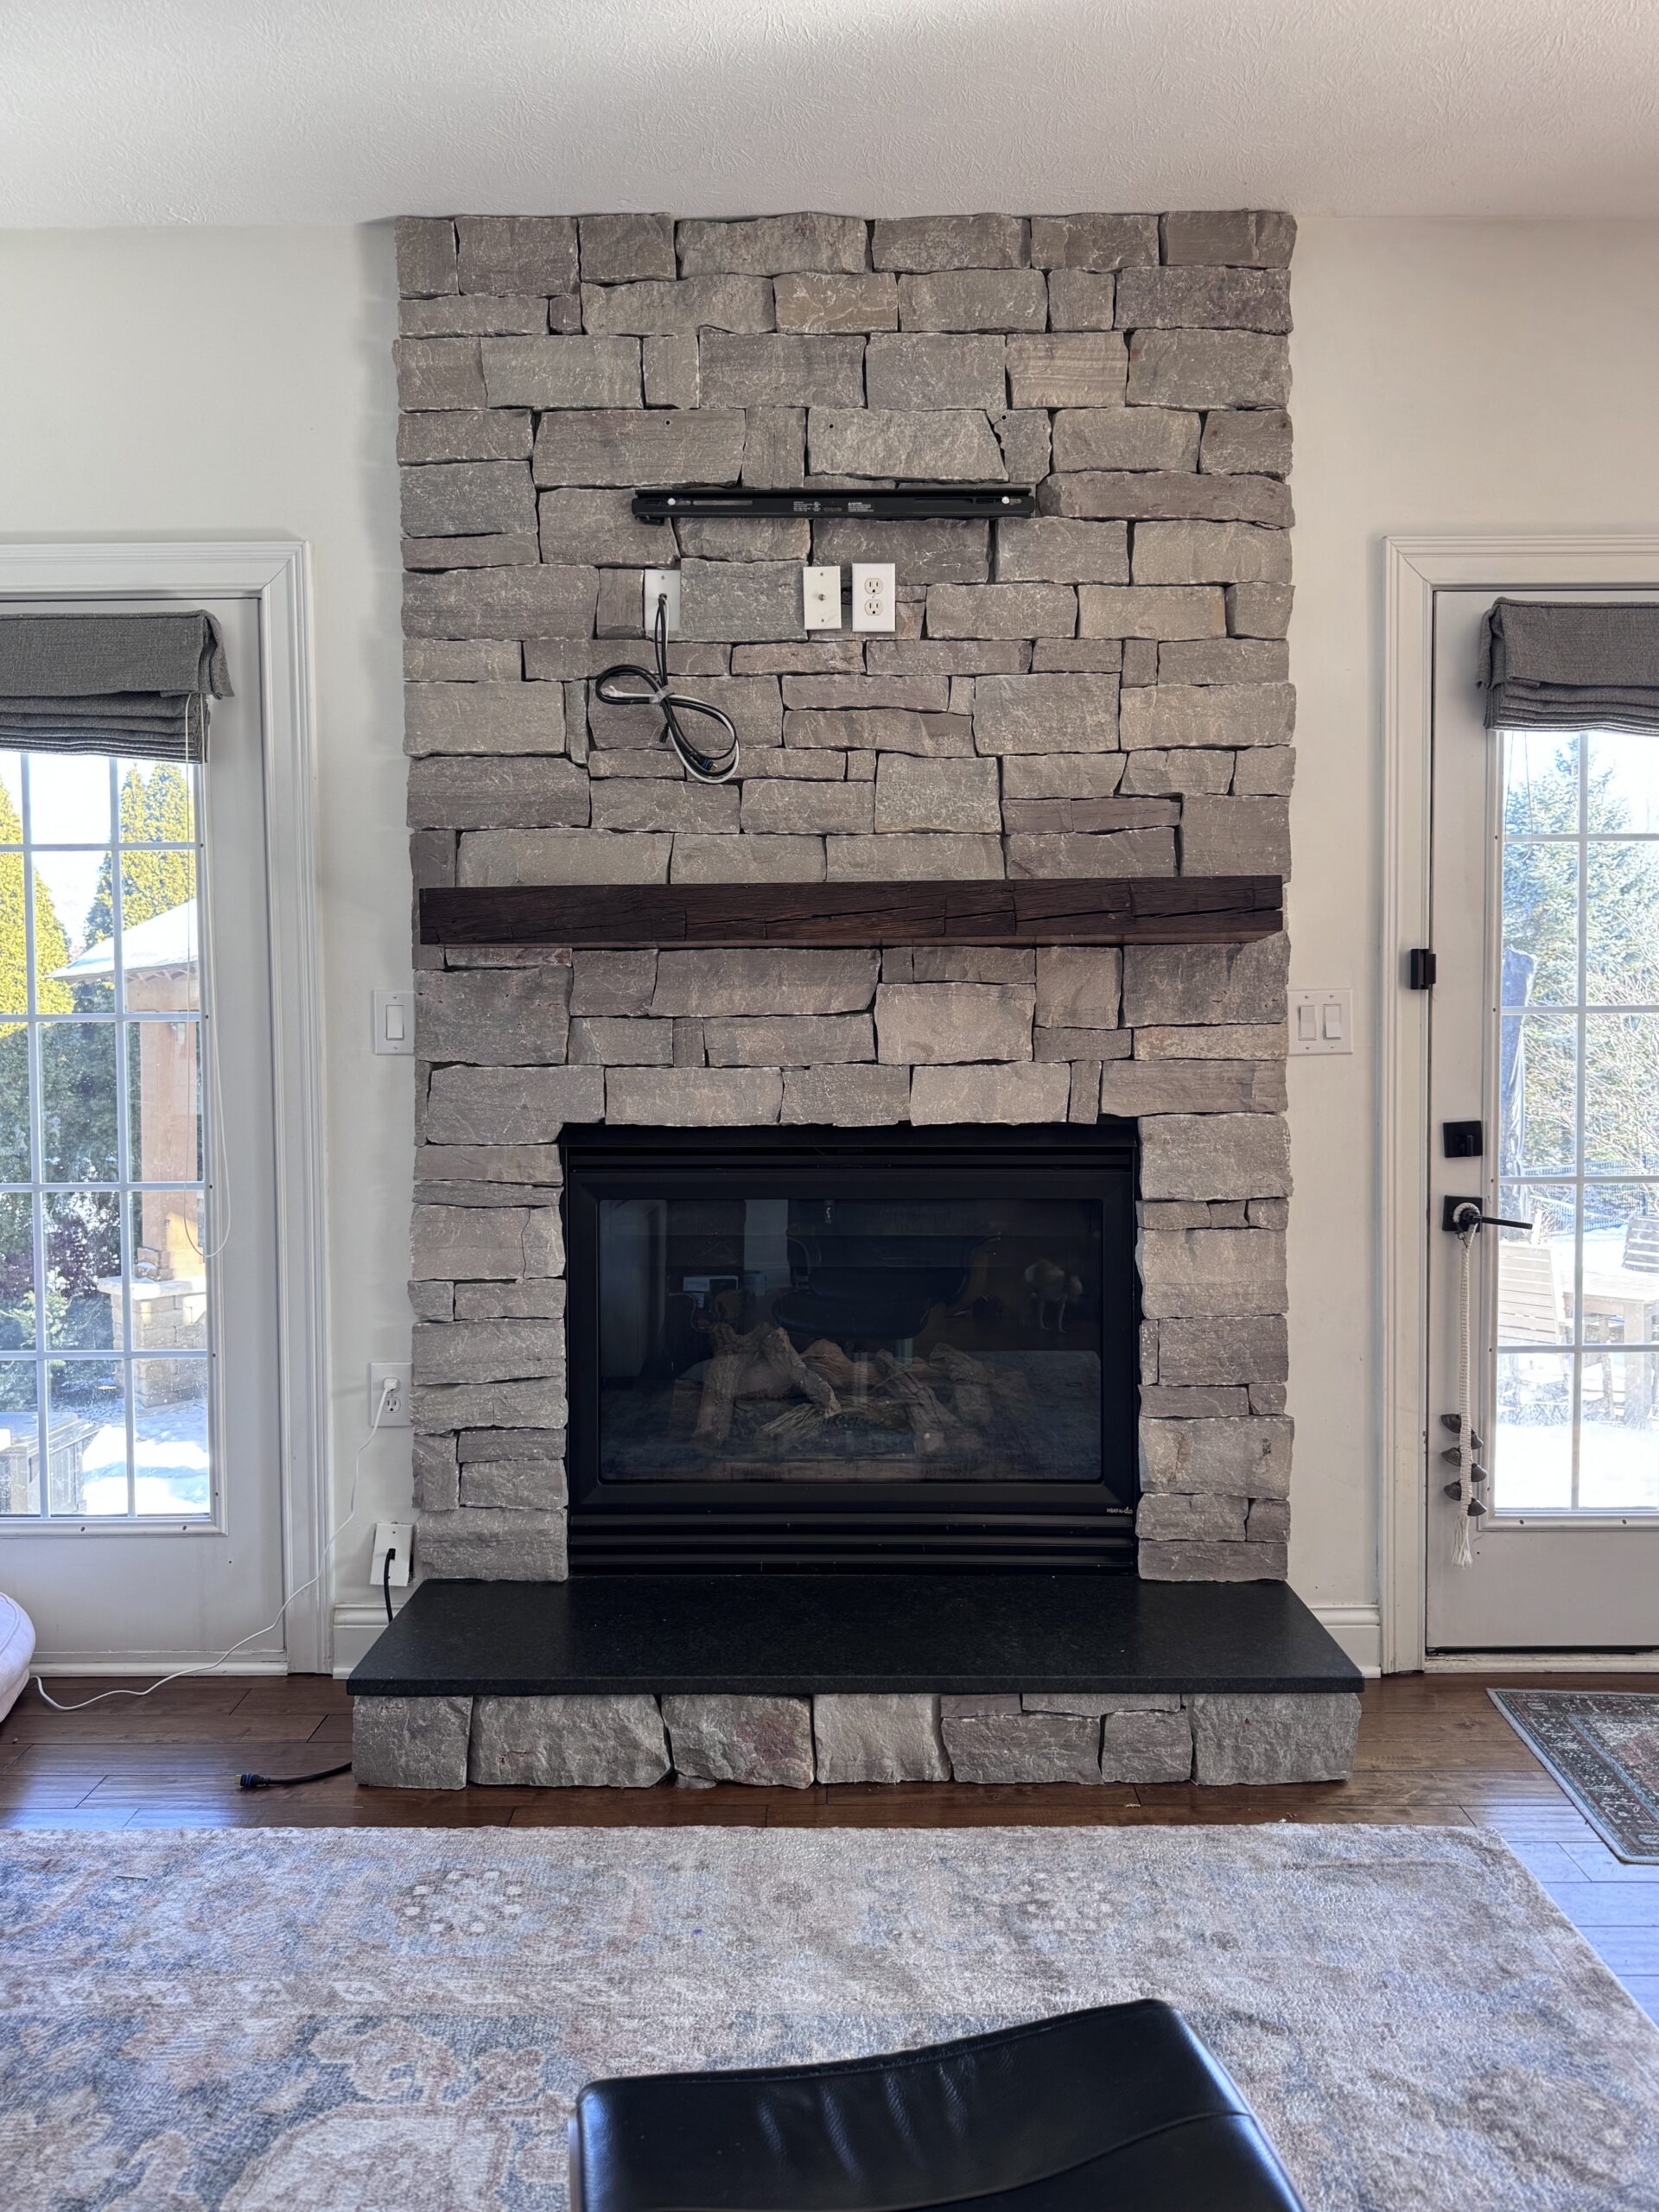

Does your stone fireplace look more like a pile of rocks glued to the wall than a cozy centerpiece? When we purchased this house, I knew something was off with the fireplace. It wasn’t until years later that it hit me—there was no mortar! Just stones glued flat against the wall like a kindergarten craft project. It looked inexpensive and unfinished, and after four years of living with it, I had had enough. It was giving “unfinished DIY,” and not in a cool way. That’s when I decided to take the plunge and try the DIY German schmear technique for our fireplace makeover.
Feel free to watch a quick video on this HERE!

Spoiler alert: This simple, messy process transformed our fireplace in just a few hours, and it can for yours too!
Below, I’ll guide you through the materials, steps, and tips to achieve that beautiful, rustic German schmear look.
What Is a German Schmear?
First, if you’ve been wondering, “What is this German schmear thing anyway?”—think rustic European elegance. The German schmear (sometimes spelled “smear”) is a technique where you apply mortar to give your stone or brick surfaces an aged, textured, and cohesive look. For fireplaces, it works beautifully, especially if you’re dealing with a gap-filled or outdated stone façade.
Whether your fireplace has mortar or, like mine, no sign whatsoever of grout in between the stones, this project will turn your fireplace into the cozy focal point of your living room.
Materials and Tools You’ll Need
Before we dive in, gather all your supplies. Trust me, once the mortar mixing starts, you don’t want to be running around looking for that missing bucket or sponge!
Here’s what you’ll need (click here for the entire list, less the mortar):
- Premixed Mortar (highly recommend if you’re working with a small area!)
- Painter’s Tape (protects your walls or mantels)
- Drop Cloth (this project is messy, folks)
- Old Cloths (for wiping up accidental smears)
- Trowel (to fill your grout bag easily)
- Grout Bag (to pipe the mortar like you would icing on a cake)
- Bucket of Water
- Sponge (preferably one you won’t mind sacrificing for the cause)
- Gloves (mortar is rough on the hands, so protect those digits!)
- Ladder (if your fireplace has some vertical height)
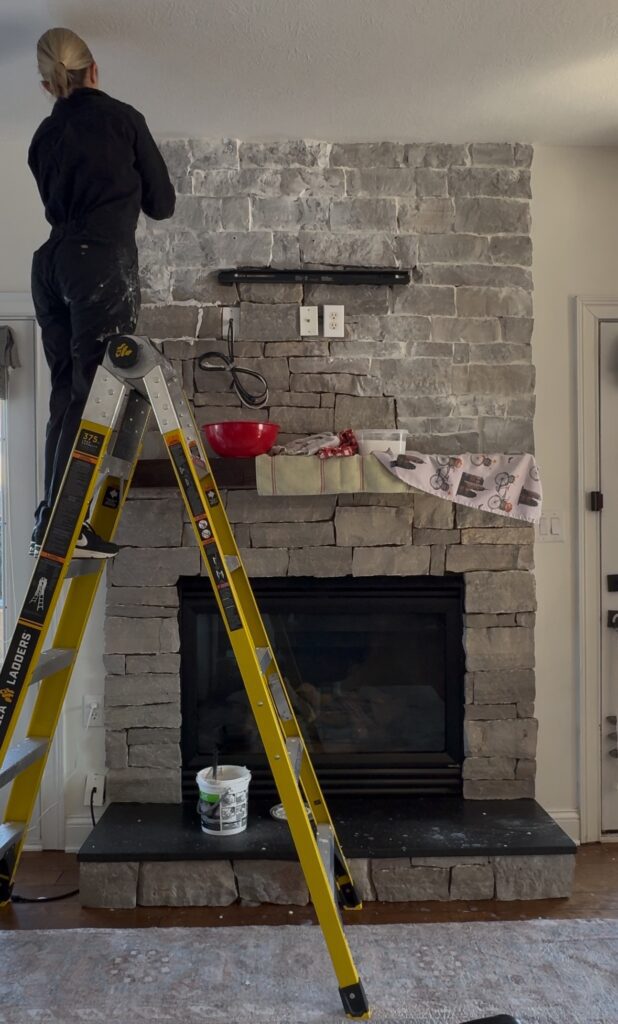
Now that we’re prepped, it’s time to get that fireplace glowing with personality! PS. I did not prep well – don’t be like me. Learn from my mistakes and use painters tape and a drop cloth — I spent wayyyyy to long cleaning up my mess after this project was completed.
Step-by-Step Guide to German Schmearing a Stone Fireplace
Here’s how to create fireplace magic, one smear at a time:
1. Prep Your Workspace
This might not sound exciting, but trust me—preparation is key. Start by covering anything you don’t want splattered with mortar. Lay down your drop cloth, tape off the walls and floorboard, and maybe even grab an old T-shirt you don’t mind ruining. Remember, German schmear may be fabulous, but it is unapologetically messy.
2. Fill Your Grout Bag with Mortar
Scoop the premixed mortar into your grout bag. Don’t overfill—a bag that’s too heavy will make this process harder than it needs to be. Aim for a manageable amount that won’t strain your hands. The premixed mortar is a lifesaver here—you can skip the hassle of mixing powder and water and get straight to the fun part!
3. Pipe Mortar into Gaps
Using the grout bag, pipe the mortar directly into the gaps between the stones. Feel free to go heavy-handed or light here, depending on how much texture and visibility you want to keep from the stones. This is the step where your fireplace starts looking more polished and less pile of rocks.
4. Smear and Smooth
Wait just a few minutes for the mortar to set (but not dry completely). Then grab your wet sponge and get ready for the fun part—smearing! Lightly smooth out the mortar, blending it onto the edges of the stones if you’d like to create a cohesive, natural look. You’re essentially creating a faux-aged texture to give that “Old-World charm.”
Pro tip: Don’t overthink this step! The beauty of German schmear lies in its imperfection.
5. Clean as You Go
Keep a bucket of water and an old cloth nearby for quick clean-ups. Removing excess mortar while it’s still wet and workable will save you a major headache later.
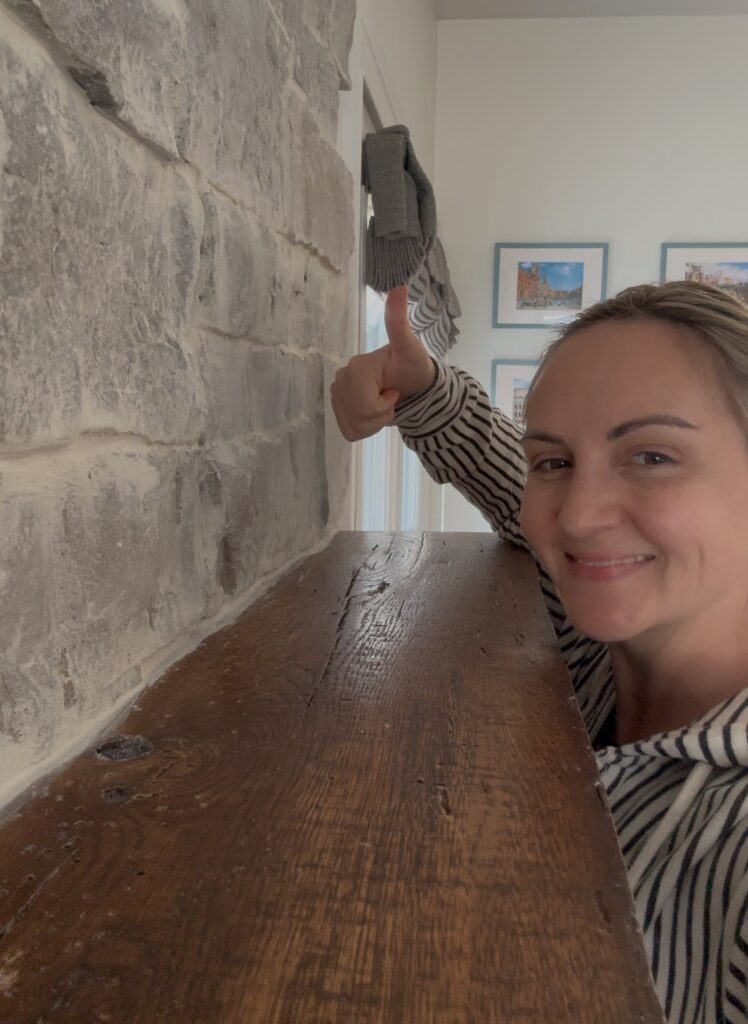
6. Step Back and Admire
Once you’ve finished smearing, give your fireplace a once-over to ensure it looks even. Then, take a moment to bask in the glory of your work (and maybe reward yourself with a well-deserved coffee or cider by your new-and-improved fireplace).
Common Mistakes and How to Avoid Them
To save you from rookie mistakes, here are a few things I learned along the way—and wish someone had told me sooner!
- Skipping Surface Cleaning
If your fireplace stones are dusty or grimy, the mortar won’t adhere properly. A quick wipe-down beforehand can make all the difference.
- Not Taping Off Edges
If you skip painter’s tape, prepare for the chaotic aftermath. Trust me, it’s worth the extra five minutes.
- Waiting Too Long Before Smearing
Mortar dries quickly! If you wait too long, it’ll harden, and smearing it will turn into an arm workout you never signed up for.
My Personal Experience with the German Schmear
I was intimidated to try a German schmear at first, but after prepping the area and grabbing a bag of premixed mortar, I was pleasantly surprised at how simple it was. Within a few hours, my fireplace went from “meh” to the standout feature of our living room. (Shoutout to the premixed mortar for saving me from mixing outside in -16° weather!)
Transform Your Fireplace Today
The German schmear technique is ideal for anyone who wants to give their stone fireplace a polished, rustic look without spending a fortune. With just a few tools, some mortar, and a little elbow grease, you can achieve a stunning transformation in no time.
And the best part? It’s completely customizable—pipe as much or as little mortar as you need to get the look you’re after. Now go grab that grout bag and get to work. Your dream fireplace is just a smear away!
Got questions or want to share your own fireplace German schmear DIY makeover success? Drop a comment below—we’d love to hear about your DIY adventures!
Check out some of my other DIY Projects here!