When we redid our kitchen, I knew I wanted a dedicated area for a butcher block counter.

The only design stipulation was the Butcher Block counter be near the refrigerator. I imagined pulling fresh produce out of the fridge and immediately dropping it onto the counter top for easy food prep. Butcher block counters are pretty low maintenance, if you ask me, so I will share more on that below.
We call this the “drop prep station,” because it is connected to our 11’ kitchen island but is “dropped” to a lower level, which differentiates it from the quartzite countertops. Let me be the first to tell you, you want a drop prep station in your kitchen if you are getting ready to tackle a renovation. This has been a game changer and makes preparing meals so much more enjoyable.
Maintaining Butcher Block Counters is a must
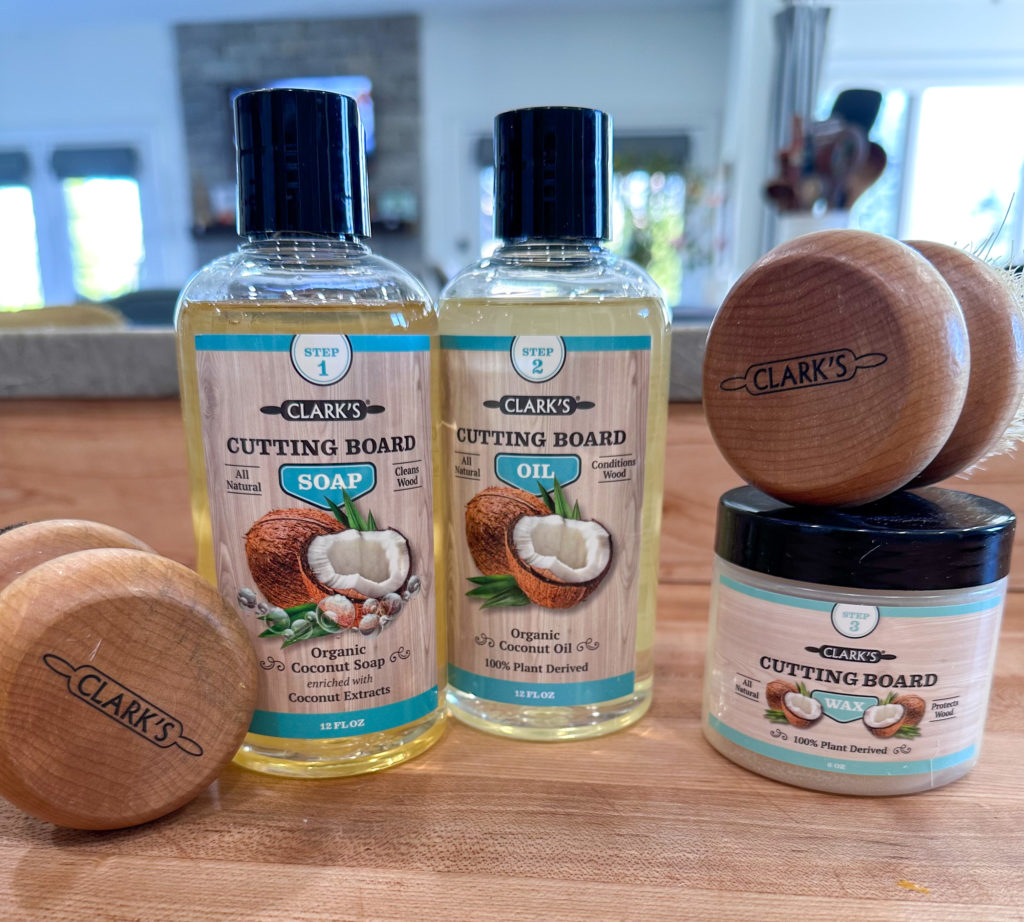
After installing new Butcher Block counter, it’s important to oil the surface every day for at least a week. Doing this seals it and protects it, while also preventing it from drying out too much and eventually cracking. I find I need to oil it a little more during the winter months due to the dryer air. Regardless, be sure to use a food grade oil like the one I buy from Amazon, called Clarks. I like this kind because it has a fresh and clean scent. They also offer additional scents you can see here.
I typically do this monthly, but know it needs oiled when fruit starts to stain the surface. Strawberries are the biggest culprit as we eat a ton of strawberries in this house.
Here is how I do it:

First, I use a wet, warm washcloth with a touch of dish soap to wipe down the countertop. Remove all the crumbs and stains prior to putting the oil on. I let it air dry until I can no longer visibly see watermarks on the wood. At this point, spread the oil onto the countertop using a lint free cloth. Then, walk away for at least an hour (overnight is preferable) to give the oil enough time to absorb. One this is complete, depending on if there are oil puddles on top of the wood or not, I may do a second coat.
If you see an oil puddle after it’s been sitting for an extended time, then there is no need for a second coat. On the other hand, if it is completely dry and you think it could use more oil, repeat this process until you start seeing puddles of oil after an hour so you know the wood is no longer thirsty.
Once the butcher block has been successfully oiled, then it is time to add the wax coating. The wax is great because it brings out the natural beauty in the woodgrain of your unique slab, while also giving it a protective barrier from things like, yep, you guessed it, strawberry stains. Generally speaking, cutting board wax is a Caranauba and Beeswax food grade mineral oil. Caranauba wax is a plant based wax made from palm leaves and used for leaving wood looking glossy and beautiful.
To renew the shine and luster in your butcher block countertop, simply grab a lint free cloth and rub the wax directly onto the wood surface and let it sit for an hour or more. Some people say you can check after 30 minutes, but I typically leave it on longer. In fact, I prefer to oil the wood, let it sit over night, and then the next evening apply the wax and let that sit overnight as well. This isn’t always how it works out but it is definitely my recommended process.
Once the wax has marinated, you can just buff off the excess wax and you are done! Chop, Chop.
Here are a few thoughts if you are considering butcher block counters in your kitchen:
- Apply oil and wax monthly to protect and avoid dry wood splitting. It really isn’t too much of a task, and if I am being honest, I find it oddly therapeutic.
- Do not cut raw meats directly on top of the wooden slab. This is a matter of preference, but the thought of my kids cutting an apple on the countertop I recently used to prepare raw chicken on sounds like a recipe for the pukes and other sickness. No thank you.
- Do not cut onions (or garlic) directly on top of the butcher block. I have never been a big fan of raw onion (or onion in general) but I can appreciate it for cooking and will never deny that onions provide wonderful flavor to foods. That being said, if you cut an onion directly on the butcher block, your block will smell like raw onion for days, even weeks, and so will the rest of your kitchen. Gross and no thank you.
- Initially, with my new butcher block counters, I had every intention of not cutting directly on top of them. I thought I would hate the knife marks in the wood and that it would drive my OCD self insane. BUT, I changed my way of thinking. In fact, I actually love the patina look of the knife nicks in the wood grain. It reminds me of how food brings the family together and the joy I have in cooking meals, daily, for the people I love. There is definitely something to be said about a worn out butcher block. Just go for it. Plus, if you have kids, chances are they will cut directly on top of it, regardless of your preferences. LOL.

You can watch this video here, too, on how the process usually goes for me.
Disclaimer: This post contains affiliate links. This means, if you purchase something from a link I provided, I will receive a small commission. This is at no extra cost to you! Thank you for your support!