

The One Room Challenge exists as a community to motivate others to finish an existing project around the home, start a new one, or to work on a long term project alongside like minded people. It was just a matter of time before I started my next DIY; the basement demolition and renovation.
There are no strict guidelines on the type of project you are tackling – that is left up to you.
As this will be my fourth consecutive ORC, I stick around because of the awesome DIY community relationships this space has afforded me. I love to see what projects my fellow DIYers are tackling, what rooms Interior Designers are beautifying, and how unique each project is. The community, for me, is what it is all about.
A little background…
It has been almost two years since we moved from Richmond, Virginia to the Indianapolis, Indiana area. We purchased this house sight unseen and have been making updates throughout the home ever since. While I have ZERO regrets buying this house (we love our home), there were definitely things that needed updating. None of these things, however, would have been enough to make us walk away from purchasing.
The worst part about the house we purchased was the kitchen… I could write a novel on this, but will spare you for the time being. Long story short, the kitchen was tackled for the Fall 2021 OneRoomChallenge, and is now amazing. I will write a blog or two on that in good time.
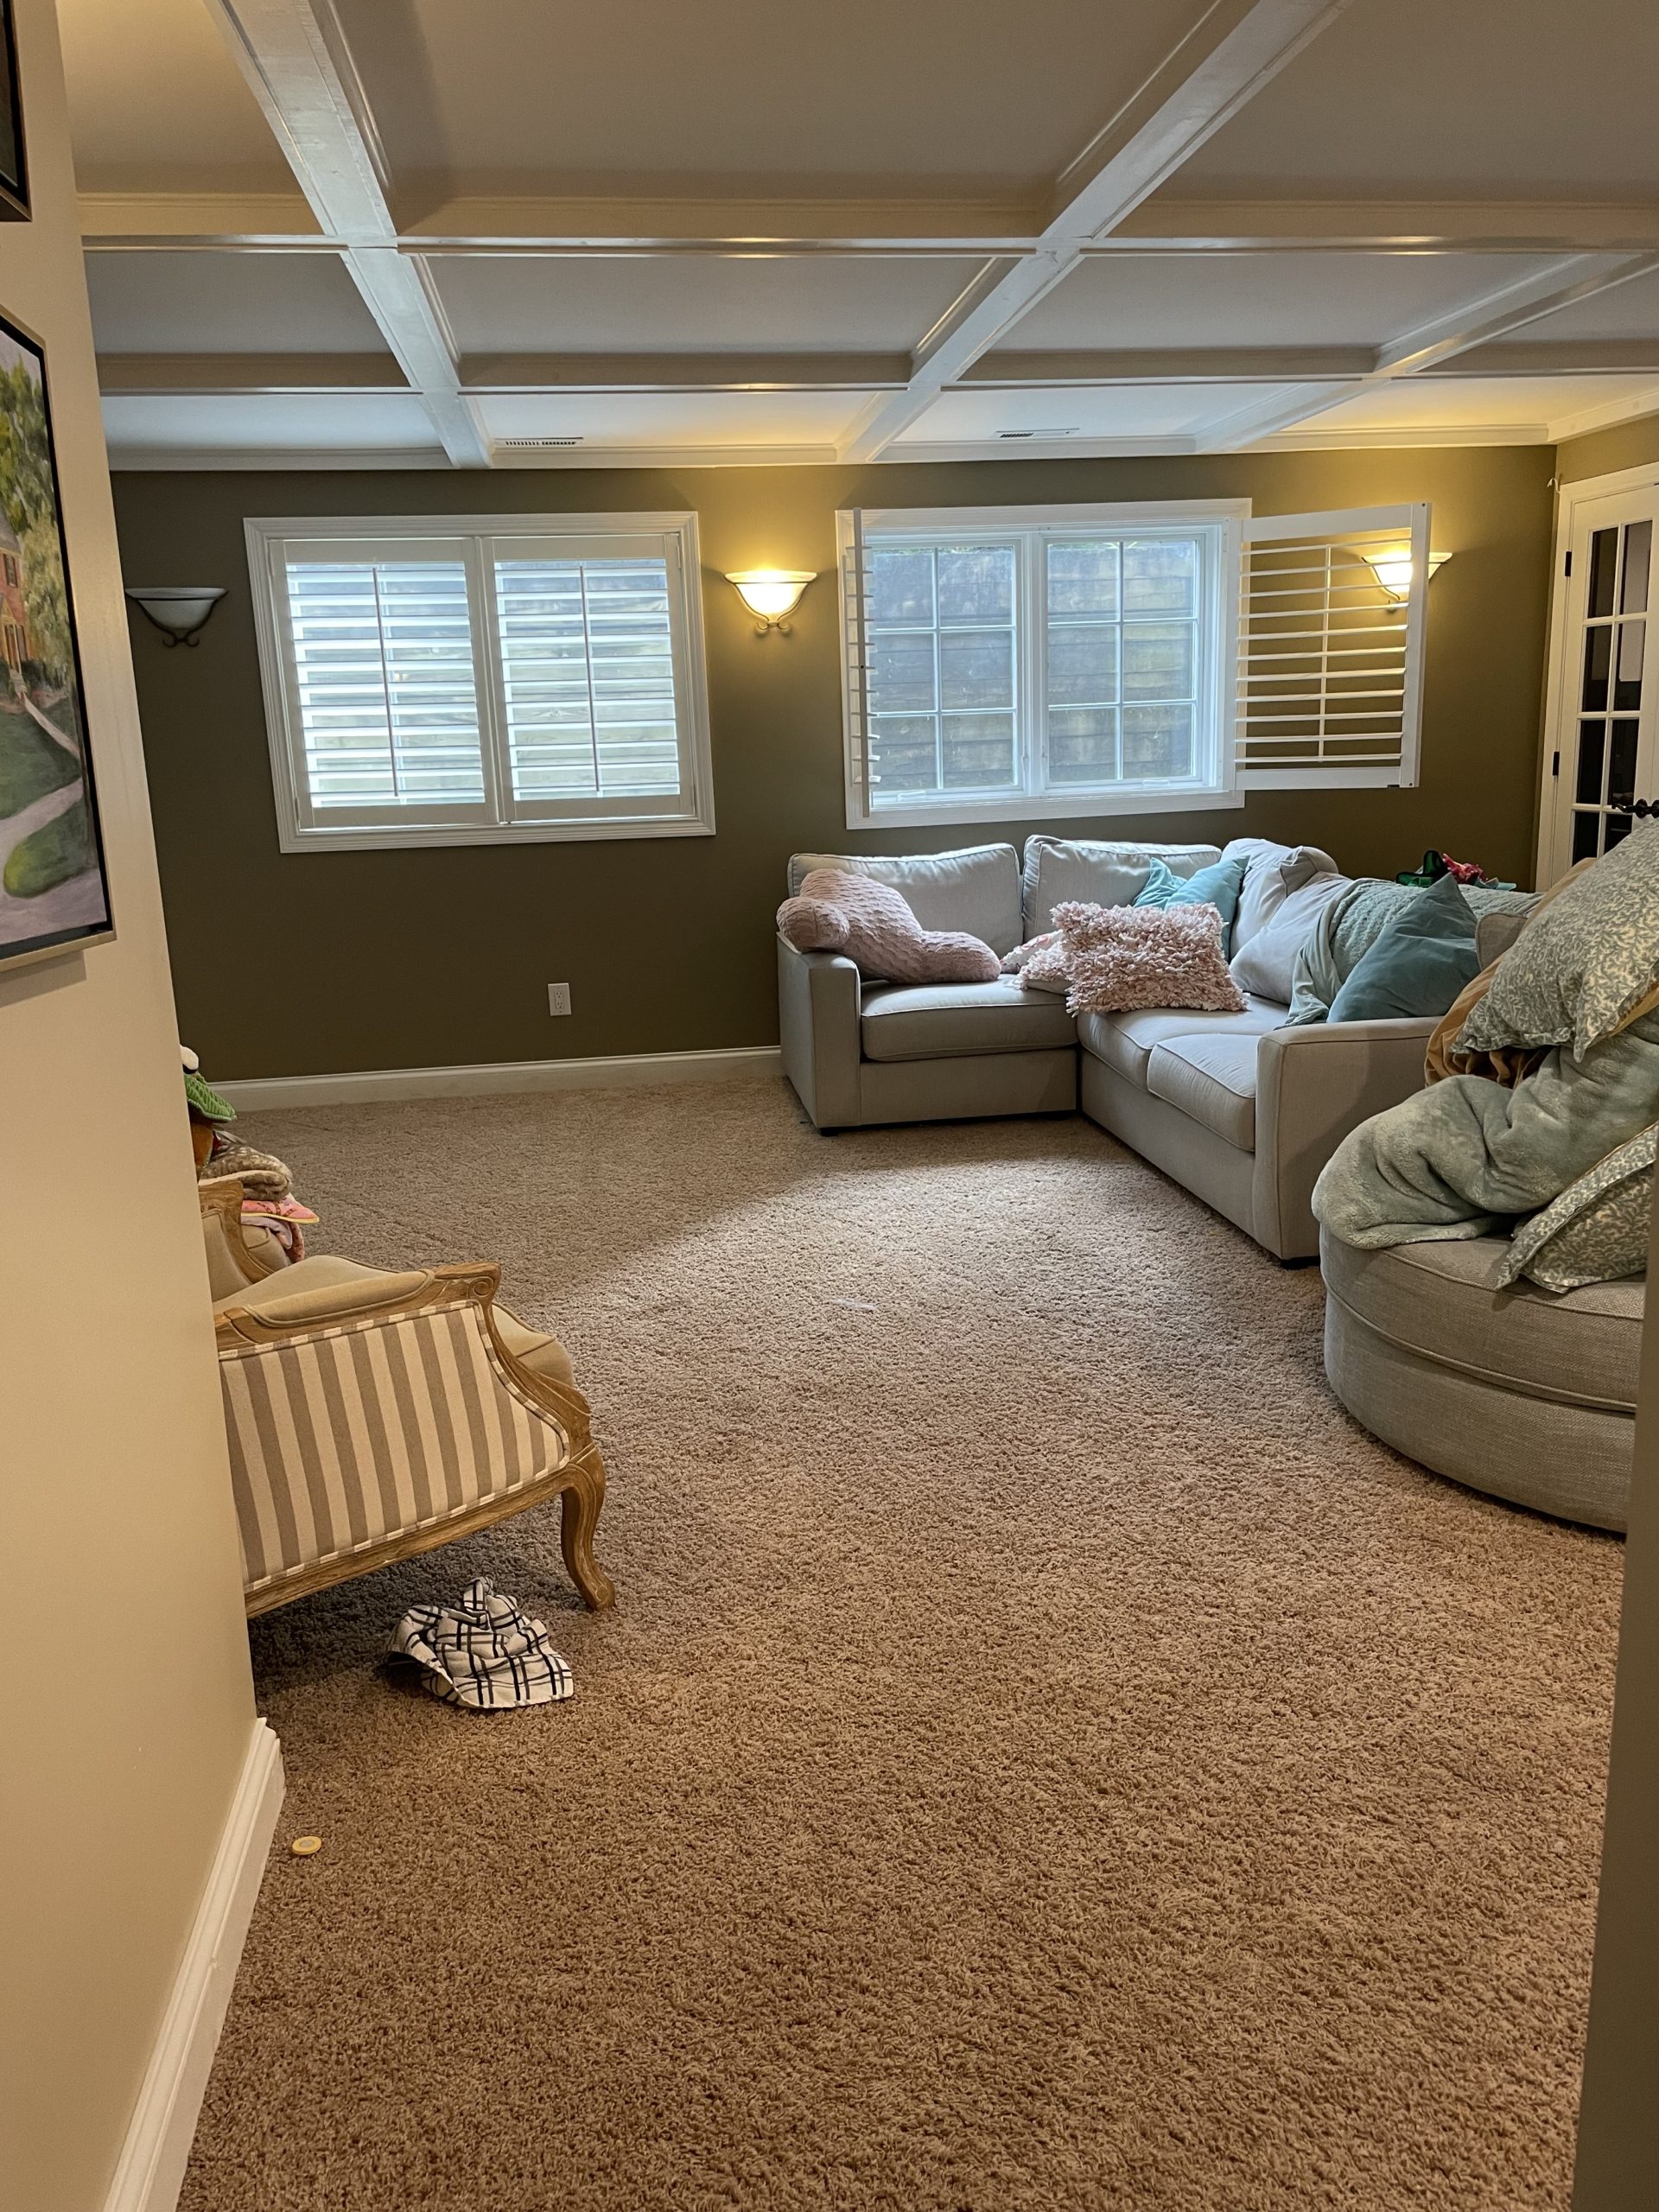
The second thing that I really didn’t care for when we bought the house was the basement. It had old, brown shaggy carpet that paired with the dark beige walls, creating a very and sleepy atmosphere. In the midwest, especially in the wintertime, we spend a lot of time in the basement, so this was not going to work long-term. I knew at some point there would be a massive DIY basement demolition and renovation. It is a great space, but the decor wasn’t quite my speed.
Upon purchasing the house, it just was not in the budget to replace the basement carpet, so we had it professionally cleaned. Let me tell you, I saw the dirty water being sucked into the commercial vacuum and that was almost enough to knock me out. It was murky, stinky and nearly black. No, just no.
So, fast forward almost two years later, it is time to rip out this carpet and start demolition in preparations for a huge renovation!
With a utility knife, a lithium battery operated cutter, and determination, I quickly started ripping that old gross carpet up… it was pretty easy to do, actually. Because the carpet was so old, it was actually already rolling up in some areas of the room. I cut it into about 3” strips, rolled it up, and secured it with duct tape. This made it easy for my husband to move it upstairs and out of the house.

After the carpet had been pulled up, then I went for the carpet pad. This thing nearly rips just by looking at it, so I bet I had it all up, rolled and ready for the dumpster in about five minutes or less.
Here is a quick little video on me taking all my rage out on this old carpet 🙂
Now, before you try to go rip out your own carpeting, let me give you a little bit of advice…. Especially if you are prone to dust related allergies; WEAR A MASK!
This was such a dust kicker-upper and had my nose running like a fire hydrant. I initially started with the mask on, but then quickly removed it since I found it annoying and you know what? You know what is more annoying than wearing a face mask for a couple of hours? A sore throat. For two days. A runny nose and a nose rash from all of the tissue usage. Yep, take my word for it. Wear a mask.
Around the border of the room, you will find tack strips that existed to hold the rug in place. With my hammer and chisel, I pulled these up one by one, as I had zero intention of reinstalling another carpet in the basement. Initially, this seemed like it was going to be a long and tedious process, but ended up not taking too long at all.
So, at the end of week one, I had successfully removed the carpeting, carpet pad and tack strips.
In no particular order for this One Room Challenge Project, you should expect a lot of painting to brighten up the room, new window treatments, wallpaper, a bathroom update, and plenty more.


